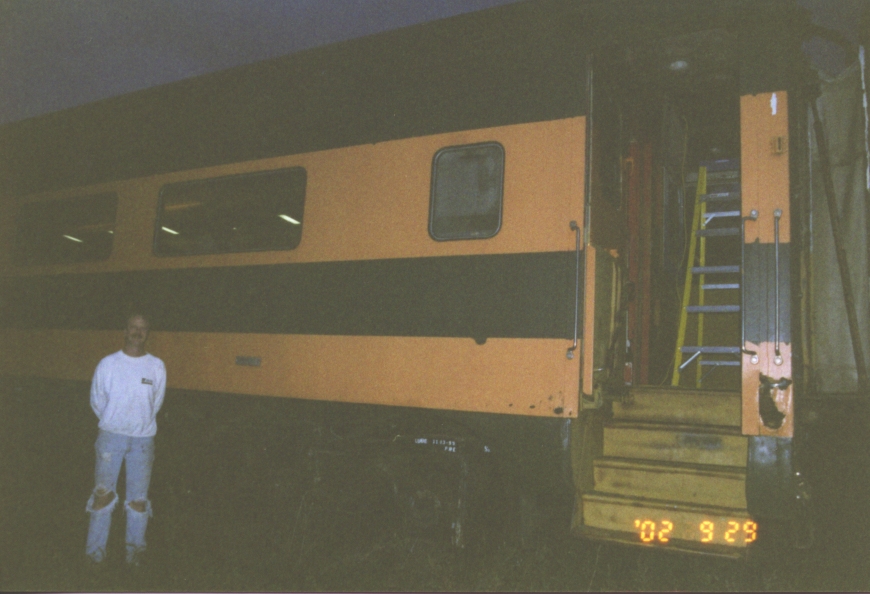


Again this year, I took a week off for a window party, and my parents came up to help. (September is wonderful work weather in Minnesota. Dry, lots of daylight, not too hot or cold out.)
|
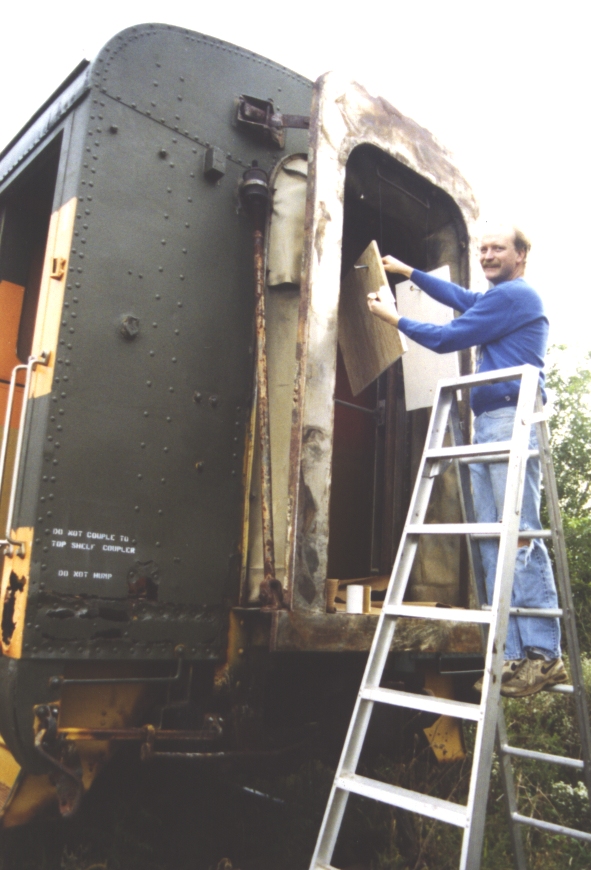
The kitchen and restroom windows are going to take a while (I plan to etch the inside to resemble the pressed-glass originals,) so I've cut plywood window covers. They will be primed, painted, and caulked in case I have to leave them for a while. I used 3/4" exterior plywood. Also notice the new stencils on each corner of the car: "Do not couple to top shelf coupler" - such as are mandatory on tank cars - they might get hooked under 1146's buffer plate. "Do not hump" - rolling over a hump in an automated classification yard won't hurt, but running into cars already on the destination yard track could send things flying inside, or worse. Fortunately, UMLER has a "do not hump" field, and it really does work. BNSF's computer routinely routes passenger cars through Northtown yard's hump bypass track rather than over the top. |
|
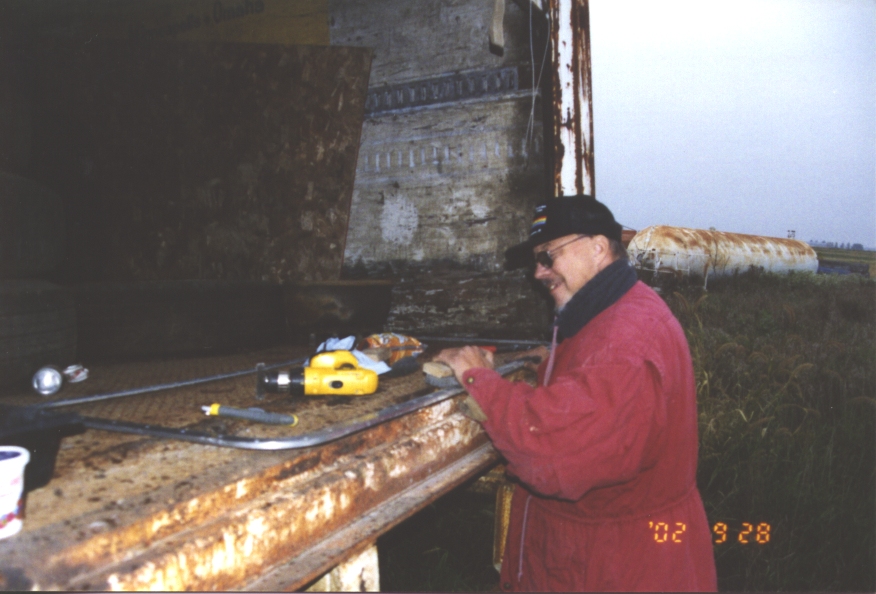
Dad found a better work bench for cleaning window frames. |
|
The restroom window covers, hung to let the primer dry. It is particularly important to seal the end grain, so that rain water doesn't destroy the covers. The covers are secured by four large carriage bolts, one each corner. Carriage bolts are quite difficult to unscrew from the outside |
|
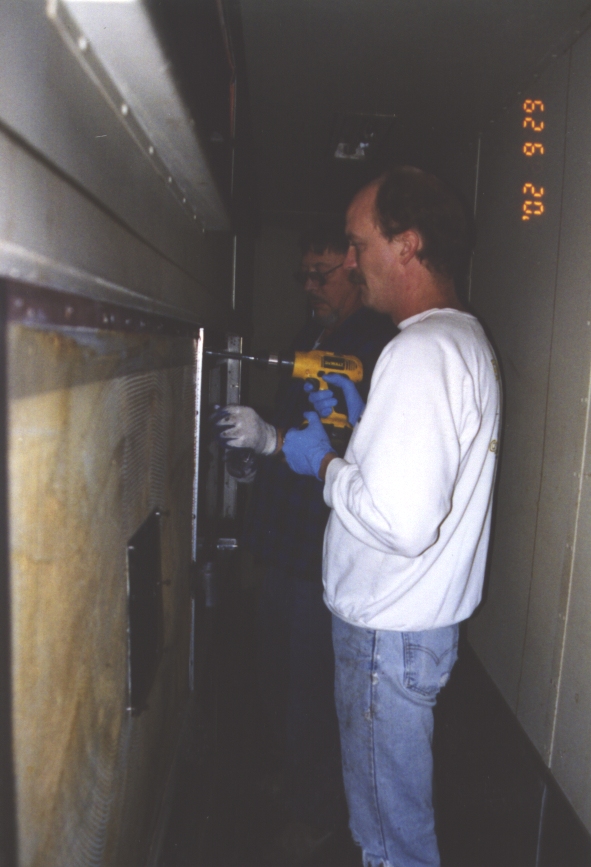
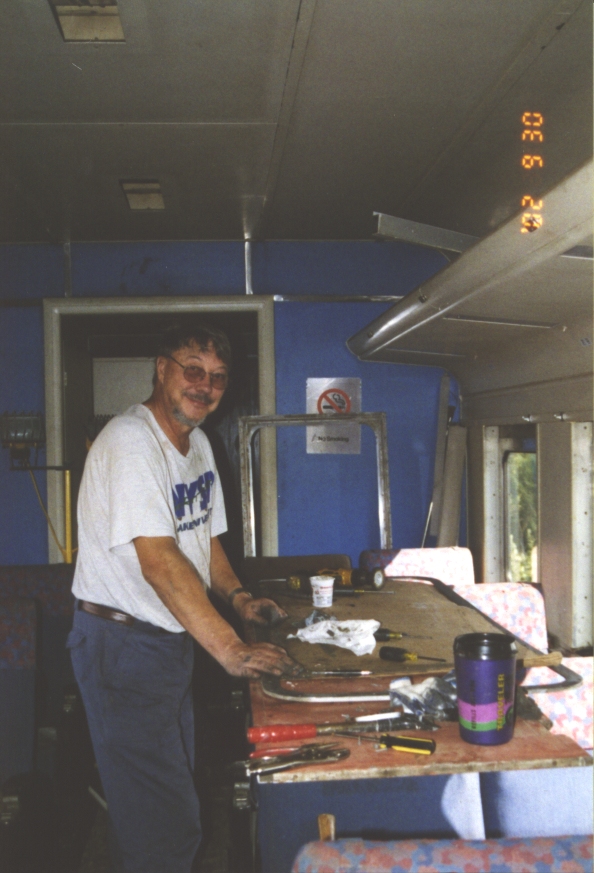
Drilling and tapping new screw holes in a large coach window sash. There are some differences in the dining room. The ceiling indirect lighting is working, but looking closely, some fixtures aren't screwed down because we got them mixed up and the screws didn't line up with the holes. Also the left side valence light is torn apart for re-wiring. |
|
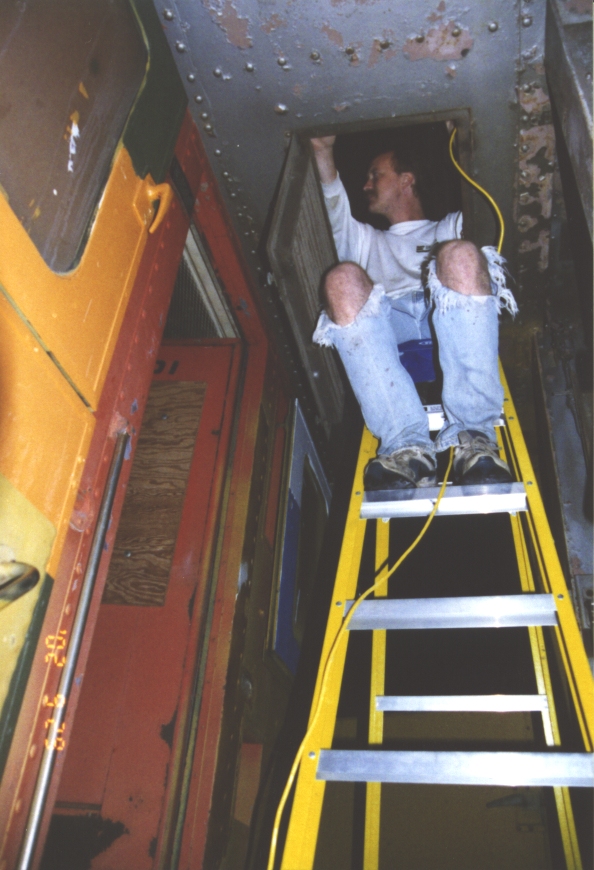
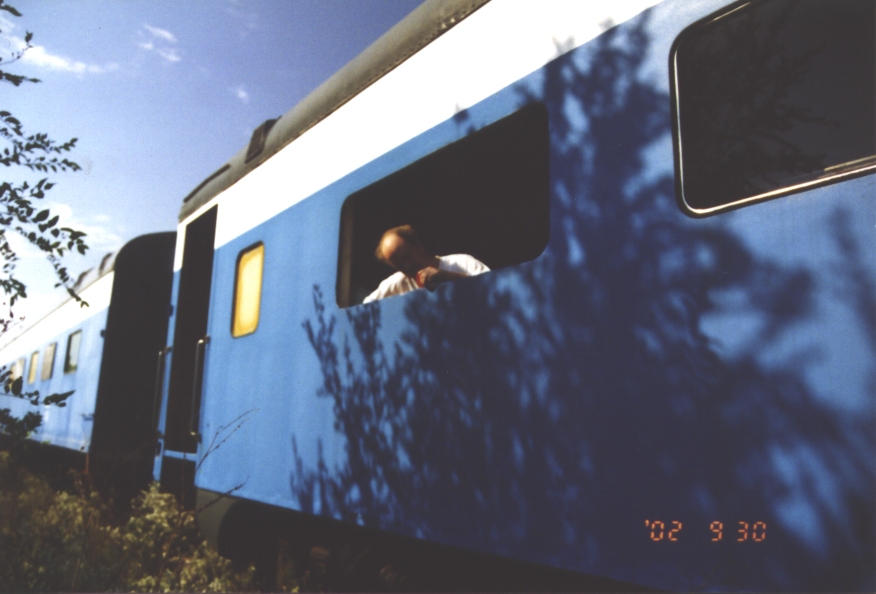
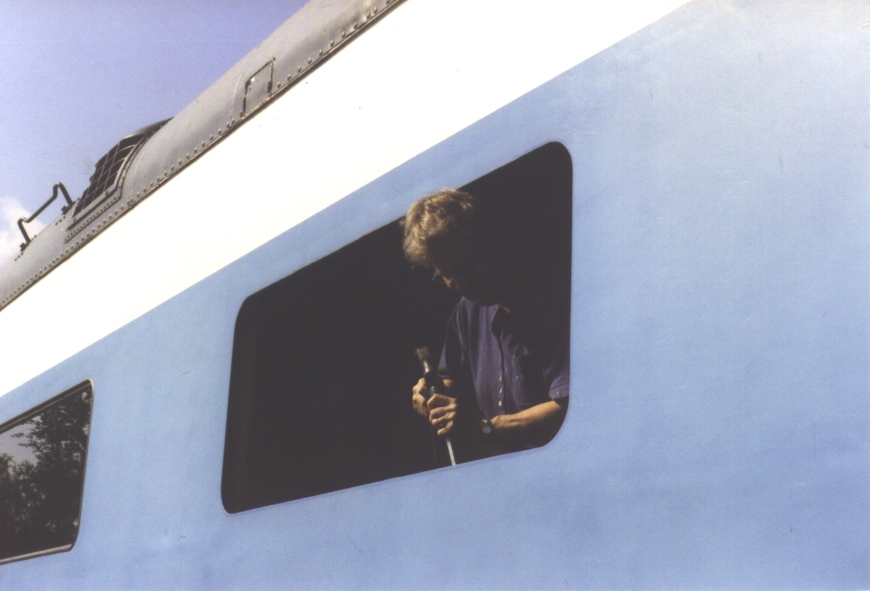
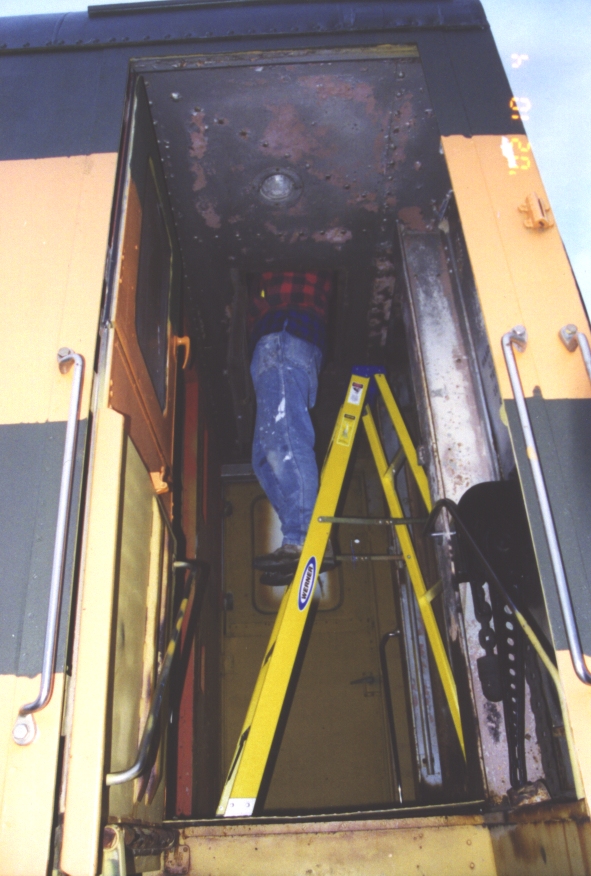
I'm in the vestibule ceiling fresh air intake. I'm looking through the air filter housing into the blower cabinet. |
|
This photo has a couple interesting points to talk about. First, the luggage rack lights in coach are lit. The wire butcher didn't bother opening each light fixture, so we were able to light them by running new wire to the first fixture and temporarily tying in. Second, 1146 now sports AEI tags. That's the grey plastic wart in the orange band of paint. It's an passive responder coded with the owner's reporting mark (ERIX) and equipment number (1146) that can be read by a trackside device as the car rolls past. "AEI" is short for "Automatic Equipment Identification". Tag position and mounting are prescribed by rule 63 of the AAR Interchange Rules. |
|
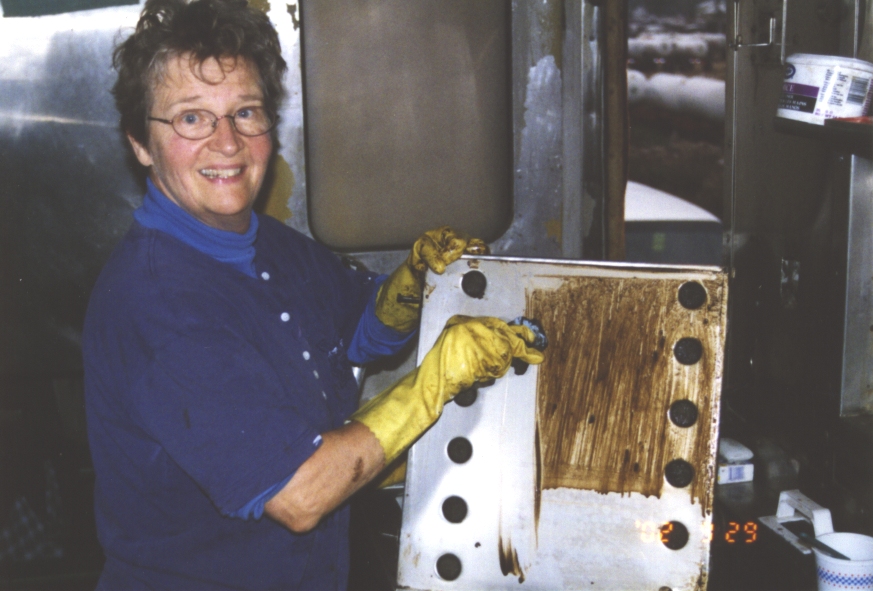
This is a sliding door from a cabinet above the commisary door. Mom has removed it to properly clean the back side. |
|
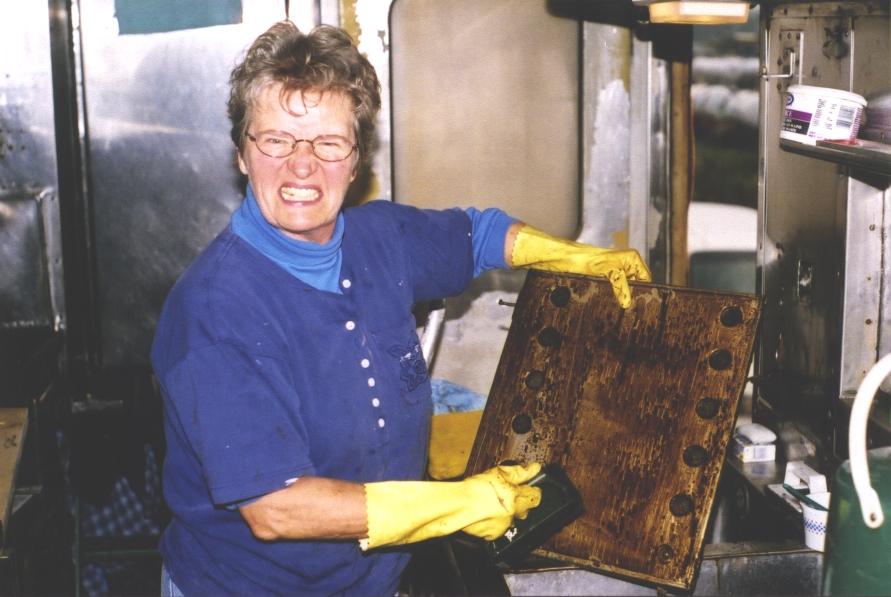
52 years of kitchen crud - that is some really dirty stainless. |
|
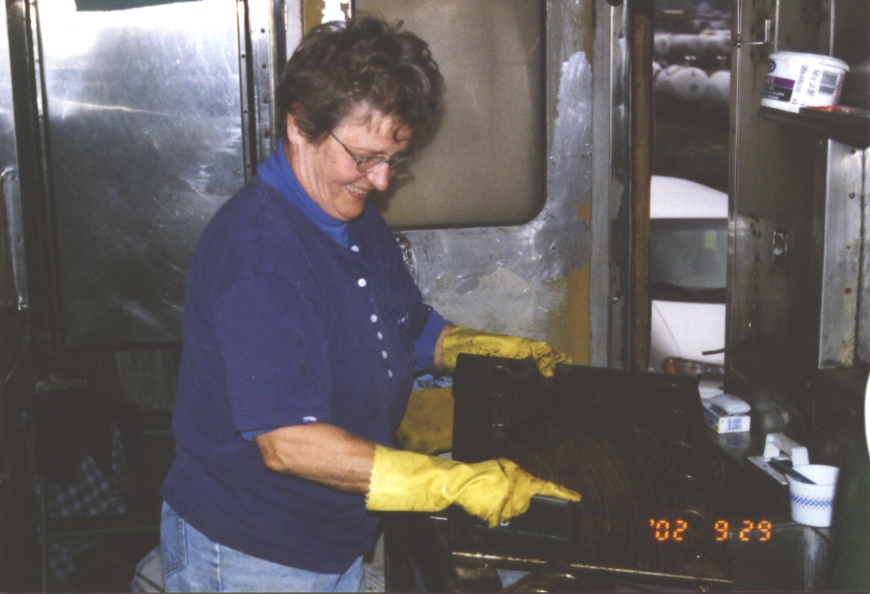
Hey Mom, tell us how you really feel! (This was about the third pass on this cupboard door.) |
|
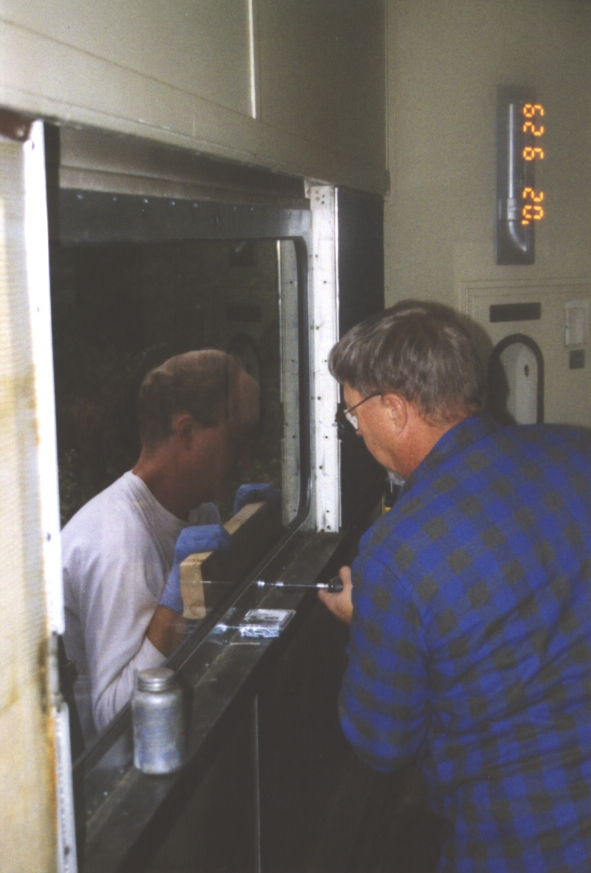
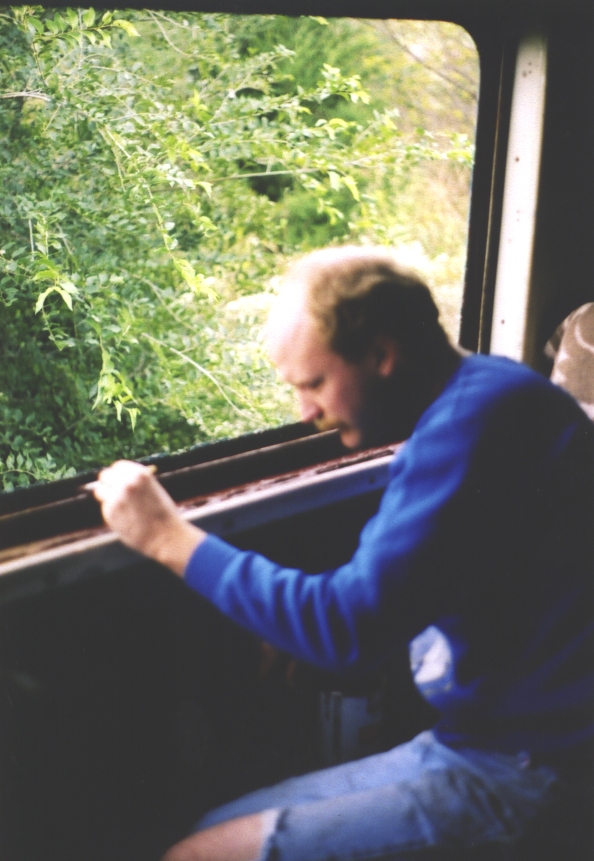
Dad and I installing a hallway window. By this time we understood that the outer gasket would pop out if we'd stretched it, but I was still taking the precaution of holding it with a wooden block. |
|
It goes so much more quickly with two screw guns. We figured these large windows have 98 screws total. |
|
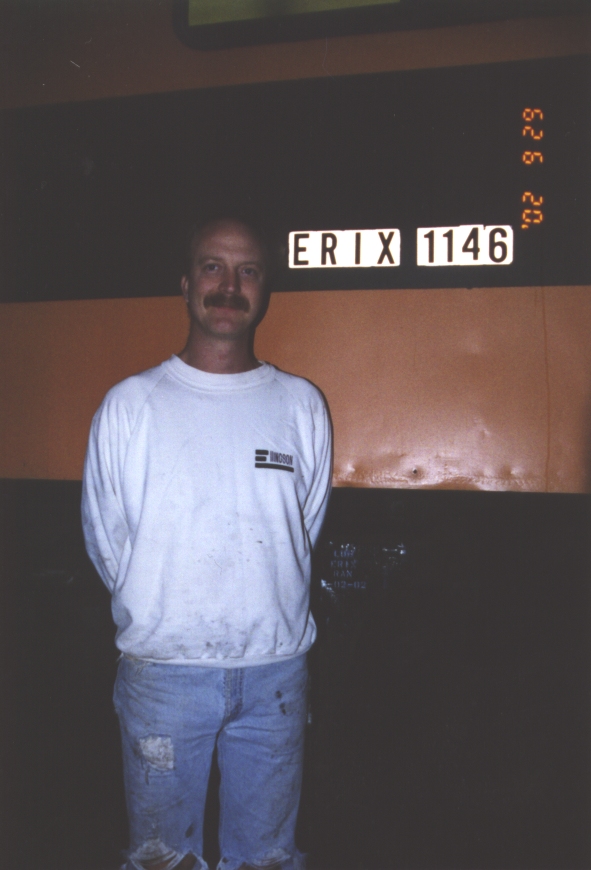
We changed my car's reporting mark from the generic - and illegitimate - "PPCX" to my own "ERIX". Yes, my reporting mark is a play on my first name. |
|
Cleaning under the cabinets. We kept some necessities in the kitchen - water for washing, drinking and cooking, a fire extinguisher, a "Box of Rags", and a first aid kit. The microwave from my house is behind Mom. We discovered that, with a 5kw generator, we had to turn lights and heaters off or the food would take forever to cook. |
|
Dad discovered that restroom doors - as well as the old plexiglass, made a pretty good work table when laid across the seat backs. |
|
Fussing with the steel window opening. The exterior skin on this one was pitted really badly. (As was the one directly opposite on the other side of the car.) We either ran a bead of 3M WindoWeld urethane caulk, or applied bondo to the inner sealing surface. Either way, the purpose was to fill the pits and get a good surface for the gasket to seal against. |
|
We've cleaned as much rust out of the window opening as we could (hammer, chisel, needle-scaler, wire wheel, sand blaster - whatever does the trick.) Mom is painting it prior to putting the window in. That's the assembled sash with glazing in the foreground. |
|
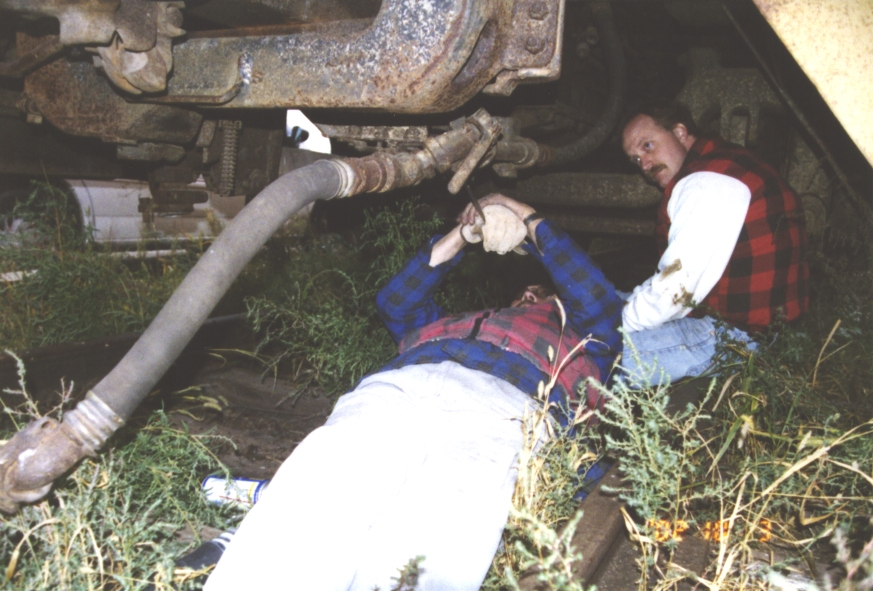
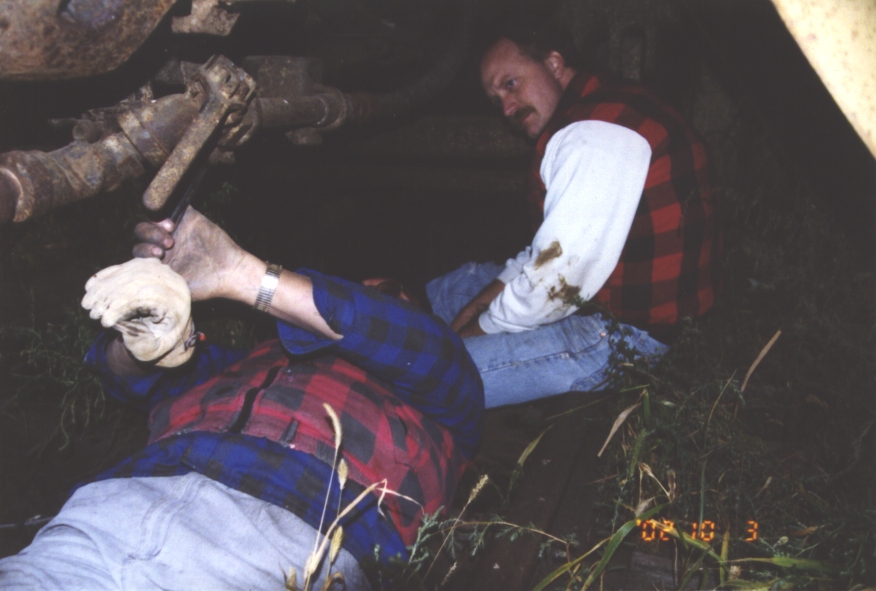
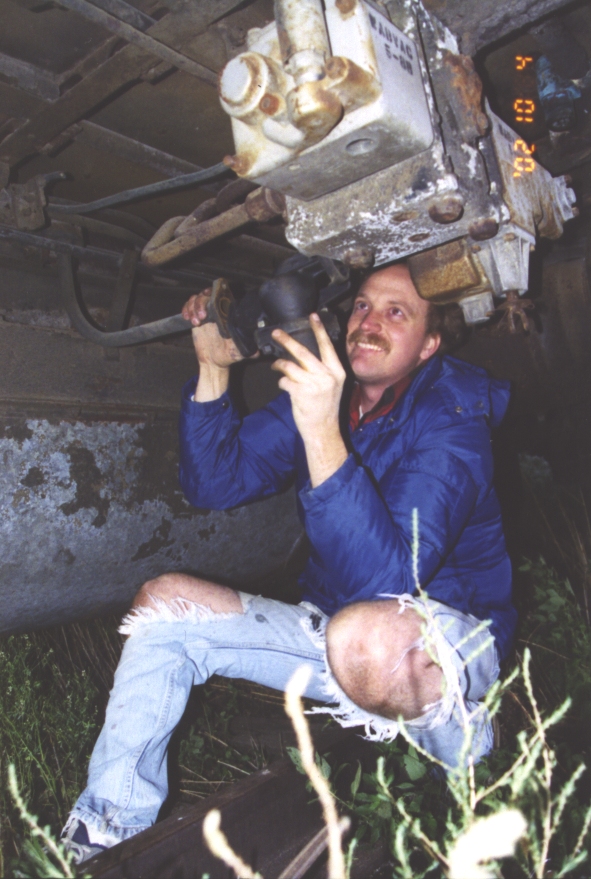
Dad and I are under the B-end, working on air brake piping. I replaced all the rubber hoses under the car (must be retired fifteen years after date of manufacture,) on the end of the car (must be retired eight years after date of manufacture;) replaced all the rubber brake valve mounting gaskets and filters - even in the combined reservoir; and replaced the old lapped conical cocks with new ball-style cocks. |
|
I'm drilling for pop rivets. The channel the window sash screws into had actually broken free, because of rust build up between it and the Z-channel underneath. My "in the field" solution was to drill through and fasten it with steel (NOT aluminum!) pop rivets. Rust is an amazing substance. It occupies a larger space than steel (stressing fasteners until they give way,) and is a very hard, brittle substance. I barely averaged one hole per drill bit, the rust dulled them so quickly. Cobalt, TiN, or high-speed steel made no difference. The reason for steel rather than aluminum pop rivets is that iron + water + aluminum creates an electro-chemical reaction, in which the aluminum is consumed. In the future, I'll remove most of that damaged steel and weld in new. |
|
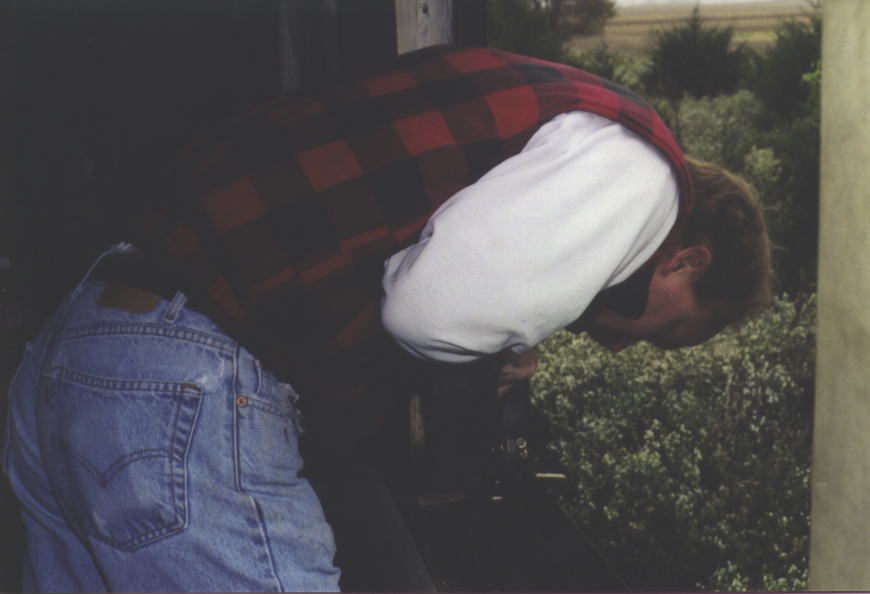
Dad and I are still struggling to unbolt something on the brake pipe. Why we didn't just cut the bolts with the torch, I don't remember. The best place I've found to get railroad-quality U-bolts, by the way, is a motor vehicle repair shop that specializes in heavy trucks and trailers. They need similar U-bolts for trailer axles. |
|
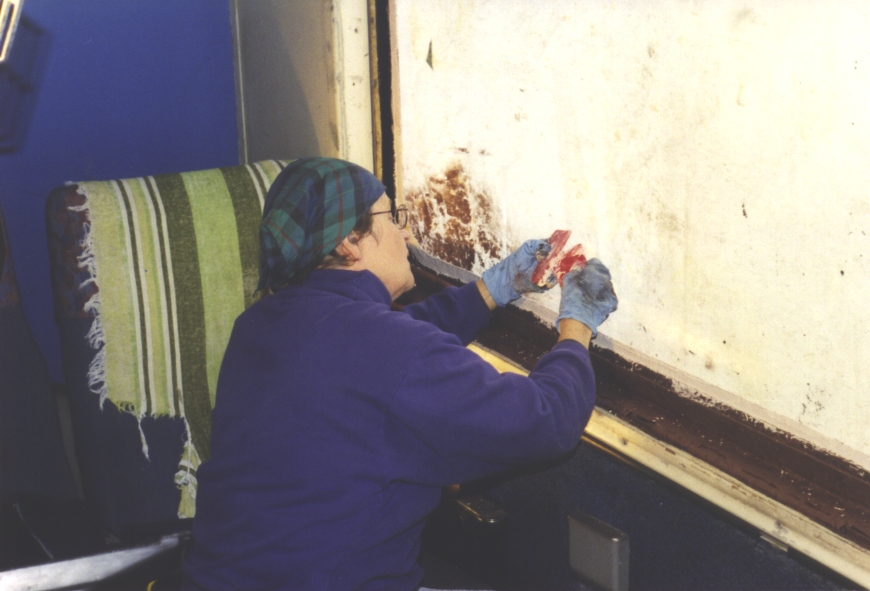
Mom is using a hammer and chisel (er, old screwdriver) to break up rust in the bottom of the window opening. To get a good protective layer of paint on the steel, it's important to remove the rust. The rust crumbles easily, and absorbs water. |
|
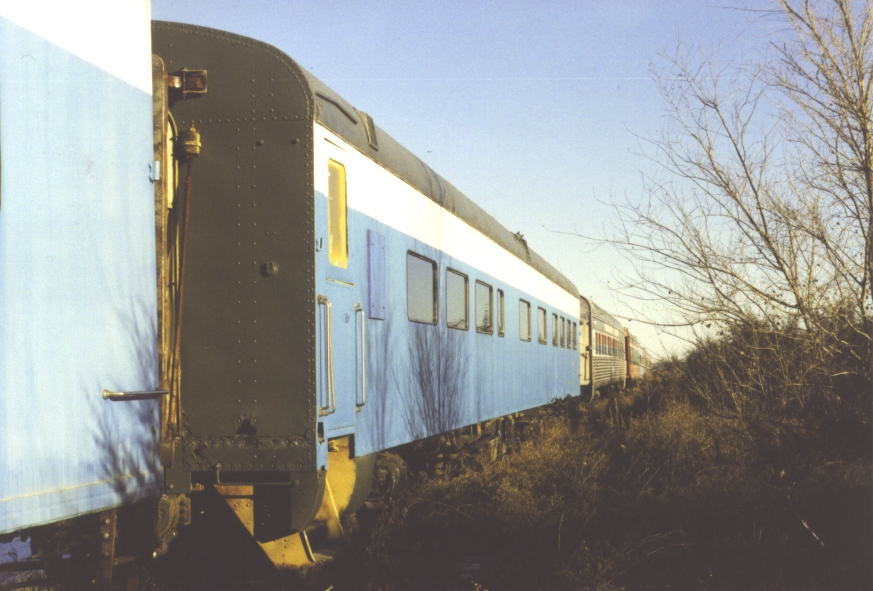
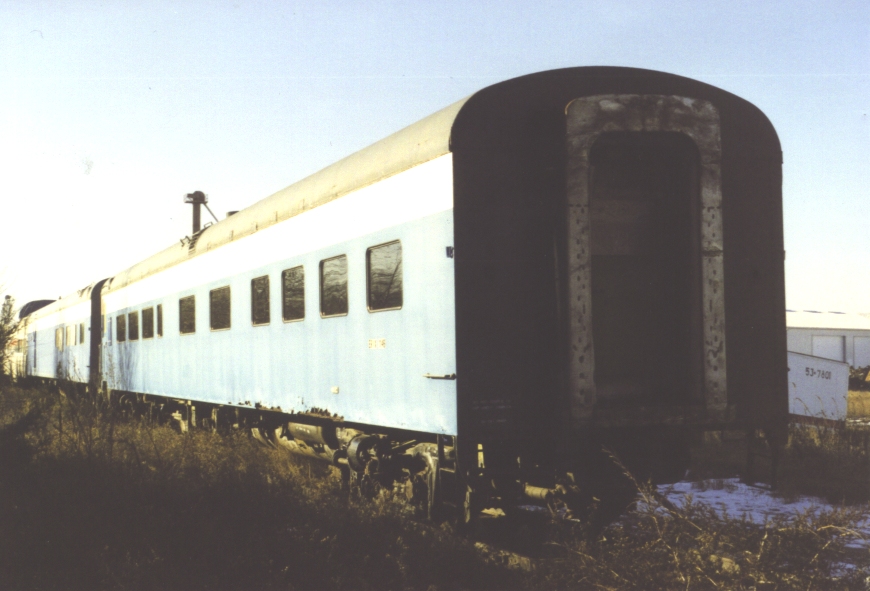
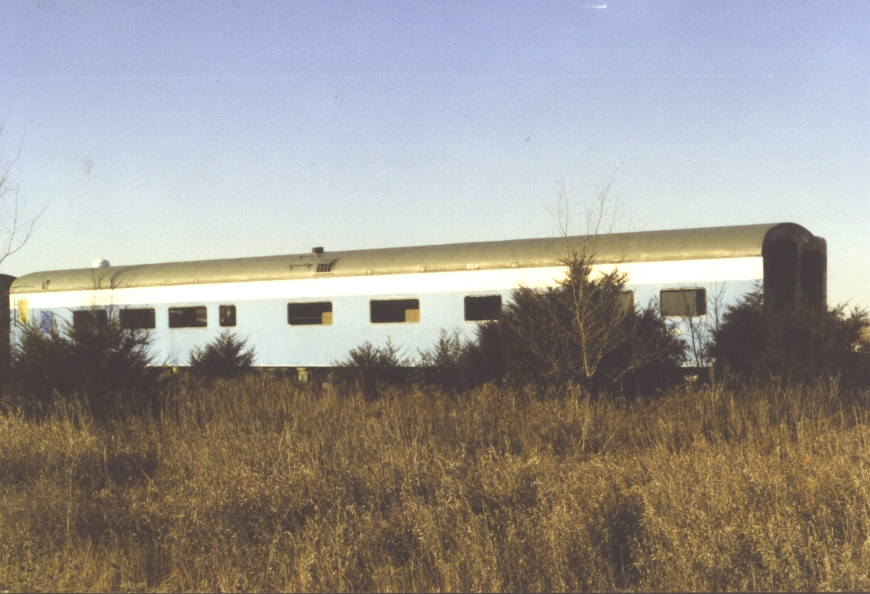
It was such a nice day, I took a break and went out into the field (where the CGW Randolph yard was) to take in the bigger picture. |
|
A little farther out. This yard was on the Twin Cities to Oelwein (and Chicago, Kansas City, and Omaha) main line of the Chicago Great Western. Successor Chicago and North Western pulled it up in about 1984, after they'd secured the parallel ex-Rock Island route. Randolph was where the Mankato to Winona branch crossed the main. All that remains is a portion from the ex-Rock Island main in Northfield to the now-closed mill in Cannon Falls. As these pictures were taken, CNW successor UP was selling it off to a local short line. |
|
Still working at drilling holes to re-secure the channel the window sash screws into. I'm trying to put as much force behind the drill as possible. (Not tossing my cookies out the window as it appears!) |
|
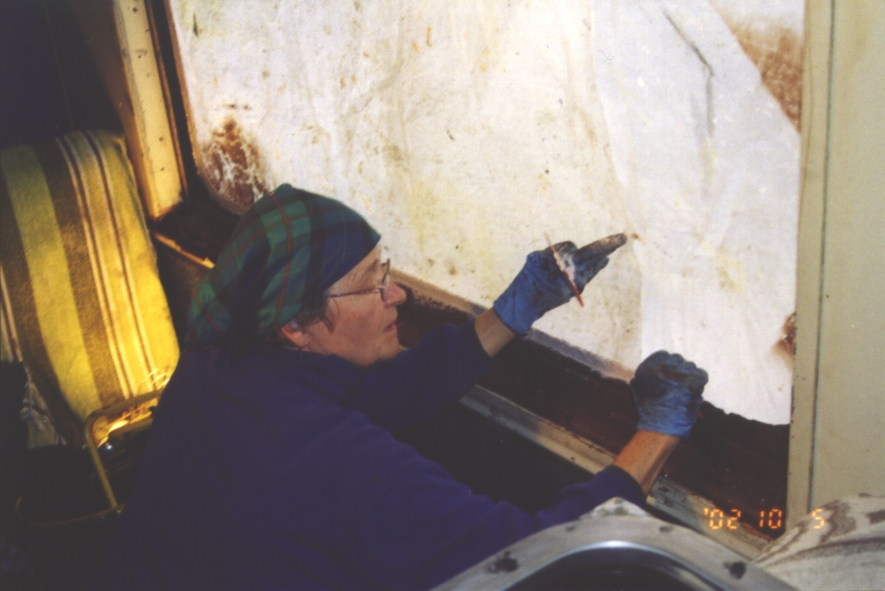
This particular window has particularly bad pitting in the exterior skin, where the gasket seals. We've removed the rust and painted the steel. Now Mom is using bondo to create a smooth surface. (I learned later that bondo comes in water-absorbent and water-proof varieties. Probably used the absorbant kind here. Oops.) |
|
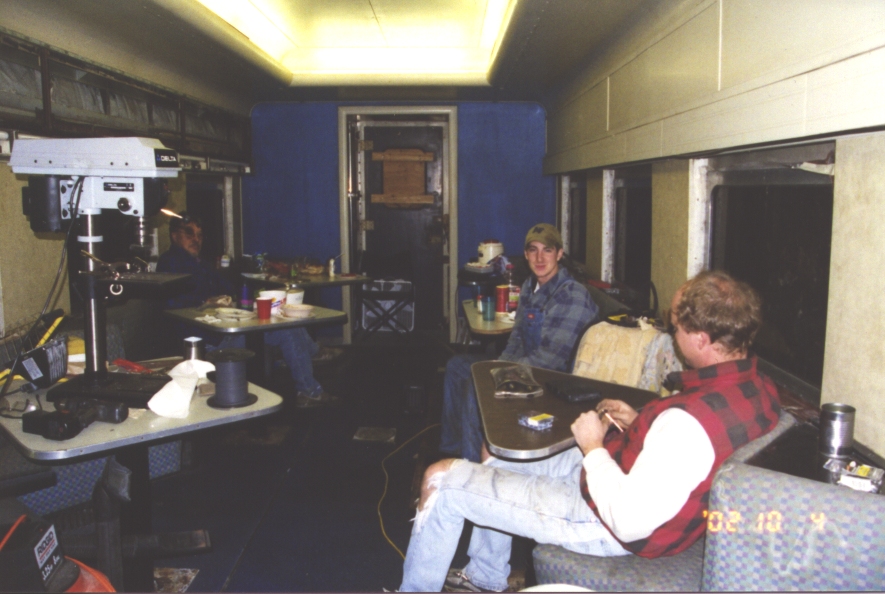
At day's end, discussing one day's accomplishments and the next day's plans. The window directly behind me appears to only be in place temporarily for the night. We put a sheet of plastic between at the top, and let it hang out at the bottom to keep rain out. A few screws held the window sash in place. We've also finished taking the cover off the valence light fixture on the left, to rewire it. We had to disassemble the wall trim above to expose the screws - which is OK, because that wall trim is just steel sheet Amtrak installed to replace the original edge-lit, silkscreened artwork. I aim to back-date it. |
|
Wiring the light fixtures in the vestibule, so thet we could have light on the steps at night for safety and convenience. A main conduit ran from the electrical cabinet to a junction box above the restrooms. The vestibule lights were just two of many "octopus arms" off that junction box. |
|
I've just removed the old combined dirt collector and brake system cutout cock. It bolts onto the back of the D-22 control valve pipe bracket, and leads to the main air brake train line. Its purpose is to capture airborn foreign particles, and to allow the train crew to disable the brakes on this car if required. It's an old lapped conical cock, and frozen solid. Not worth repairing. |
|
The reason for not saving the old dirt collector/cutout cock is that a brand-new ball-style is $45 from Wabtec. They're manufactured in high volumes for freight cars, so they're cheap and have short lead times. A D-22 passenger car uses the same dirt collector/cutout cock as a freight car. That's the D-22 control valve above my head. The emergency portion is closest to the camera, and the service portion is on the far side of the pipe bracket. There is a blanking plate on the front of the pipe bracket, where a double-check valve for the electric braking overlay was mounted, which has a rarely-changed mounting gasket. |
|
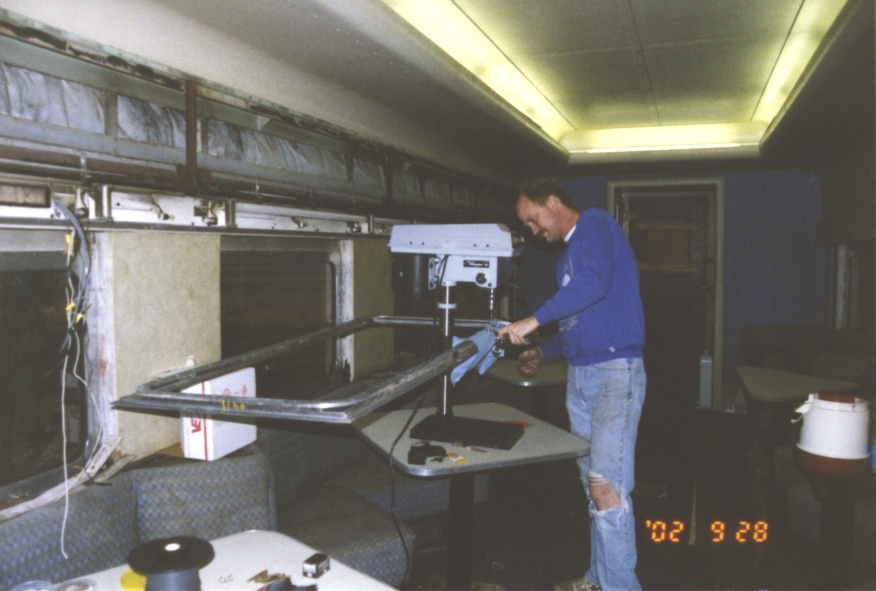
Dad is beginning to disassemble a window sash. Notice all the metal tools and screws sitting on the plexiglass. We learned the hard way not to do this when putting the new glass it. Those metal tools can scratch glass. |
|
I'm painting the steel window opening to keep it from rusting. |
|
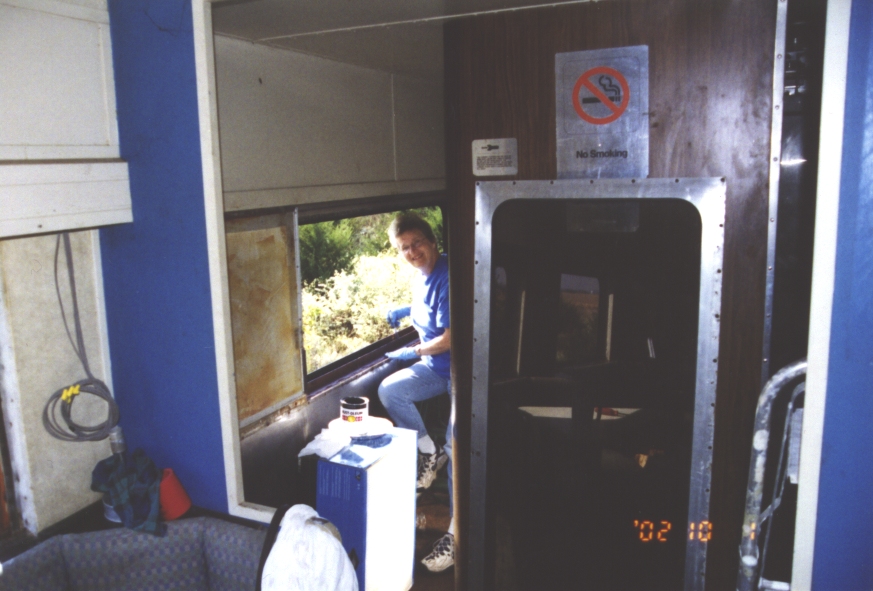
Dad is figuring out how the window shades go together. I can't help much - I haven't ever done it myself. |
|
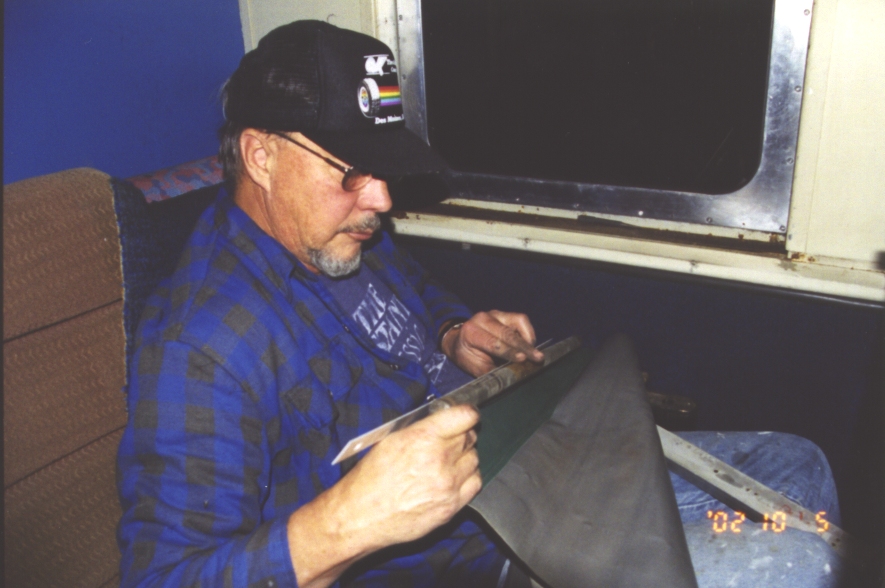
The original restroom and kitchen windows were a pressed glass design, using horizontal bands of grooves alternating with bands of cross-hatched horizontal grooves, a peephole at the top, and an opening for the car line number box at the bottom. I decided to mimic the banded appearance using an art-store glass etching solution. First I laid vinyl contact paper on the glass and trimmed the edges. Then I marked out the horizontal bands. Cutting lightly with an x-acto knife, I removed every other band. These would be etched most deeply. |
|
Working on the two restroom windows, side-by-side. The pen marks are visible on the contact paper. It was fairly cold out by this time, and I discovered the etching solution did not work well cold. I ended up taking the windows home to finish later. |
|
1146 has primarily Hyatt oil-bath roller bearings. The rules require they be checked every 90 days when in service. I bought some Texaco Journaltex oil from the museum (which they buy by the barrel) to top off the bearings. These Hyatts have two oil plugs. The upper for filling and the lower for draining. To keep them from working their way out, the plugs are drilled for safety wires. Rebar wire from a concrete supplies house works well. |
|
There were a couple windows where the exterior steel skin was in really bad shape. The jagged edge to the right of Mom's hands shows how bad this one was. |
|
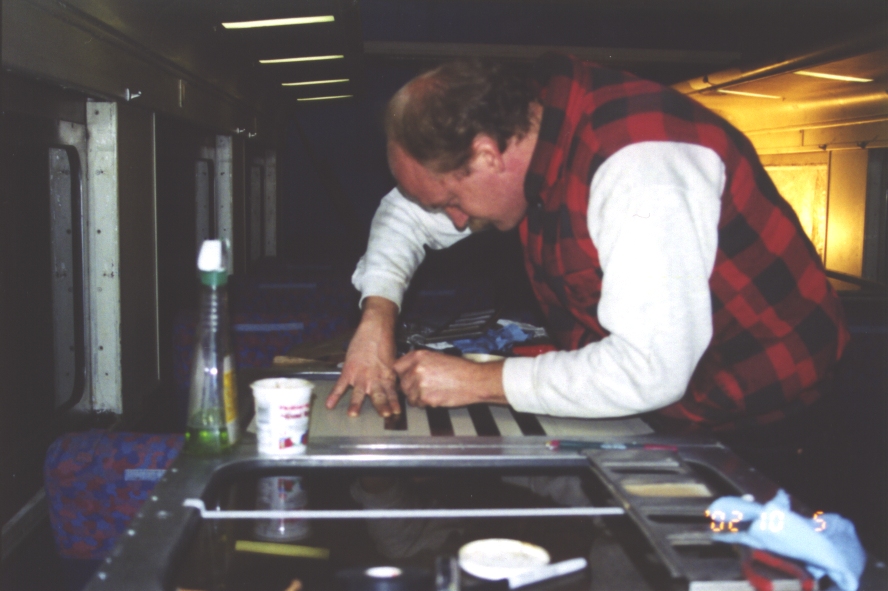
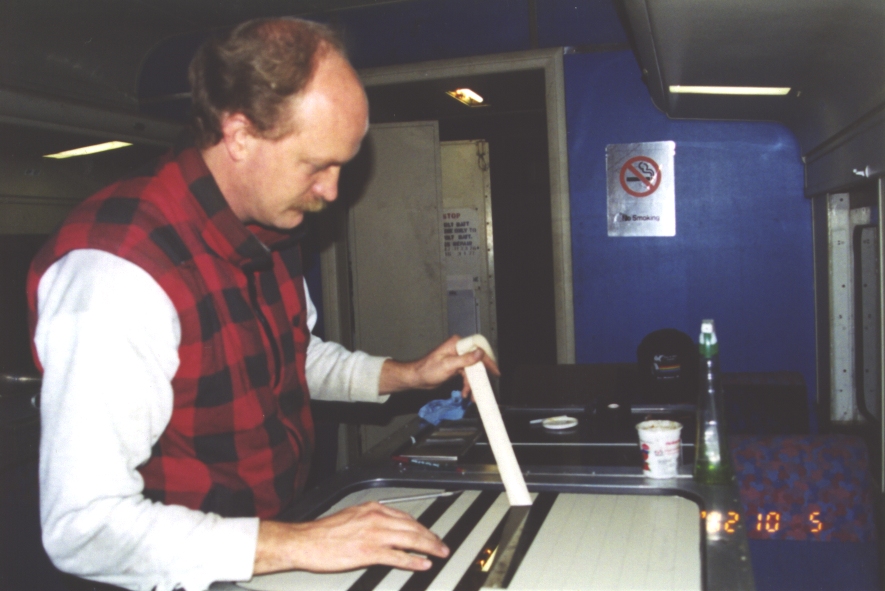
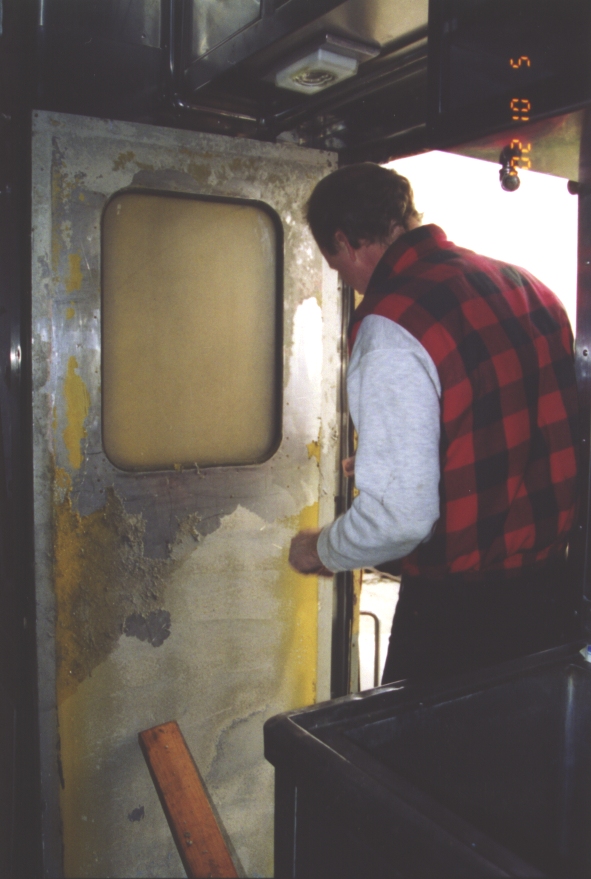
It got crowded around the last couple windows, so I got some paint stripper and attacked the commissary door. It's not the original, which was mild steel with a louver arrangement below the window. It's a stainless Amtrak replacement. What's really fascinating is the pencil marks left of the window in the door, which were put on by a painter who was laying out the Amtrak red and blue bands with white stripes through the window line. |
|
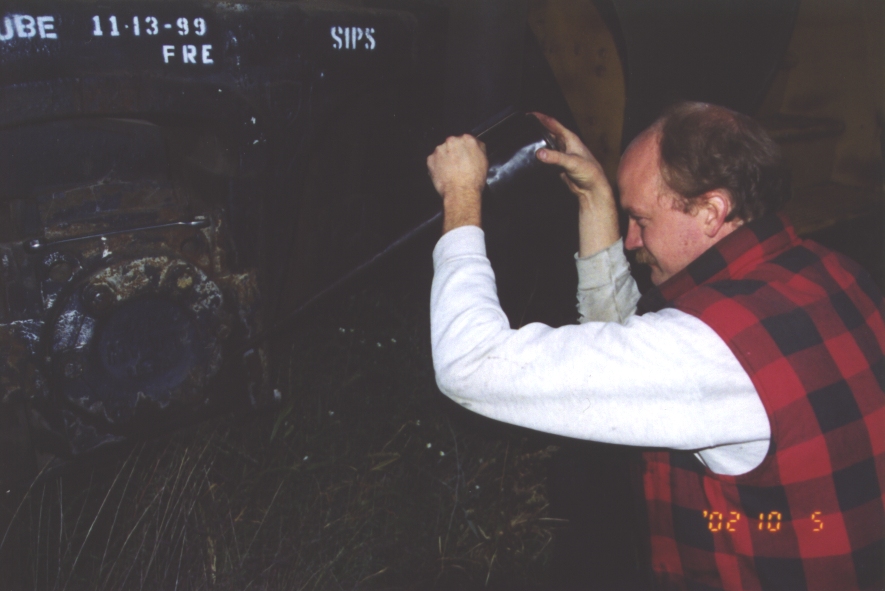
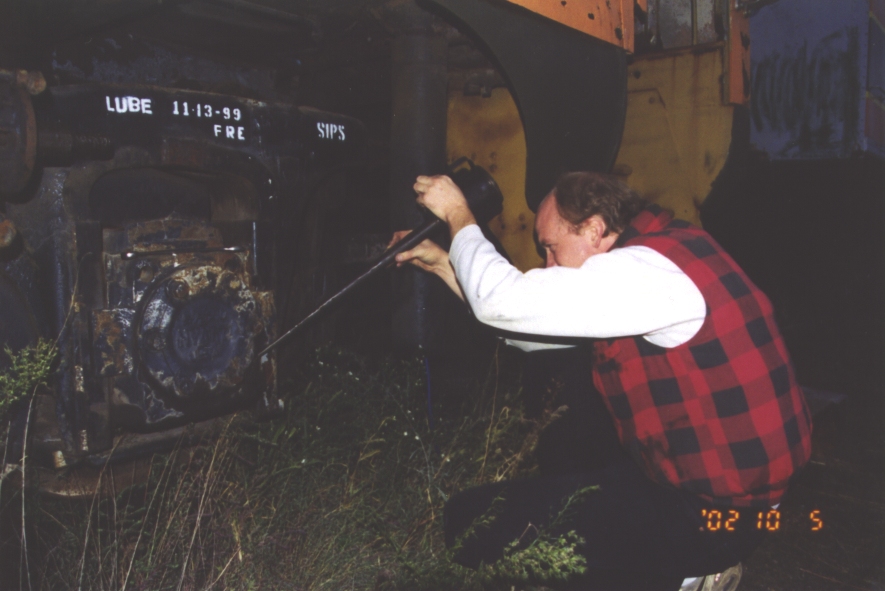
Shortly after this picture, I gave up on this oil can. It was made to hit small lube spots in hard to reach places on a steam locomotive, and the neck is just to small to deliver the volume of oil a bearing box can require. Notice the stencilled marks on the truck frame above the journal. They're from the last lube, and identify who (SIPS), what (LUBE), where (FRE), and when (11-13-99). These days the stencils on the cars are becoming irrelevant. What matters now is the data in the UMLER computers. |
|
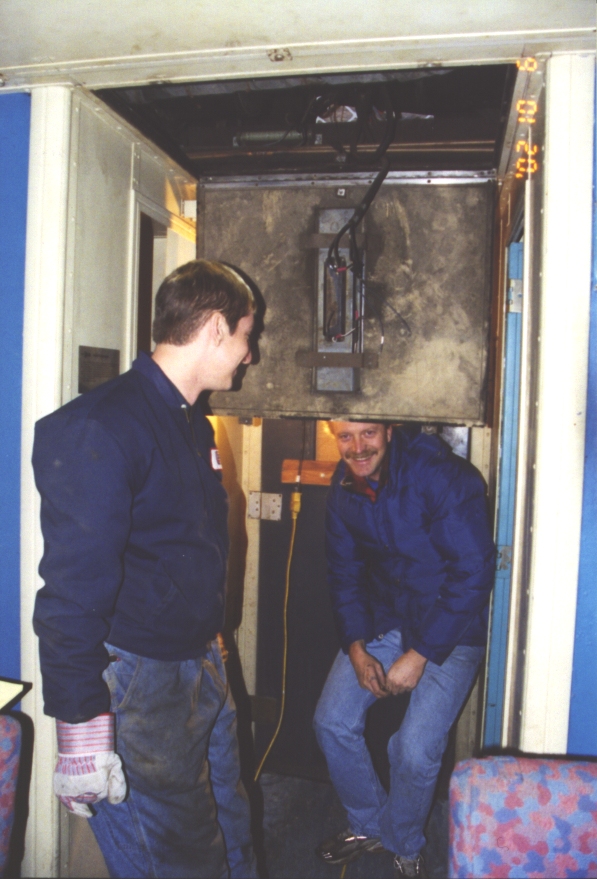
Eric Wagner and I wiring the hallway light between the restrooms. These are 18" fluorescent tubes, with a pair of mini-base 5w incandescent night lights. Viking electric has those bulbs in 120v, so my original plans was four wires to each fixture: white/common, green/ground, black/fluorescent hot, and blue/night light hot. Later on I learned that Amtrak requires some battery backup for lighting, and that the night lights could/should be 12 volt dc. Pull another wire. This particular bit of ceiling is an access to the A/C blower motor - notice the big wire-wound resister for the low speed setting. |
Our work week was over all too soon, but we were able to finish the main carbody windows - excepting the restrooms, which I still had to etch, and the kitchen, which would have to wait until after some restorative steel work was done. We also got a good start on air brake servicing and journal lubrication for the upcomming move, and got more lights turned on. I went home tired, but happy.
It's getting close to time to move. The air brake servicing was complete, and it was time for their test. I rented a high-capacity diesel tow-behind air compressor, and the museum's single car tester, and went to work. While waiting for the system to charge, I took some pictures.
 |
BR corner. Did we do a good job? I was pretty pleased with how the restroom window cover blended in. |
 |
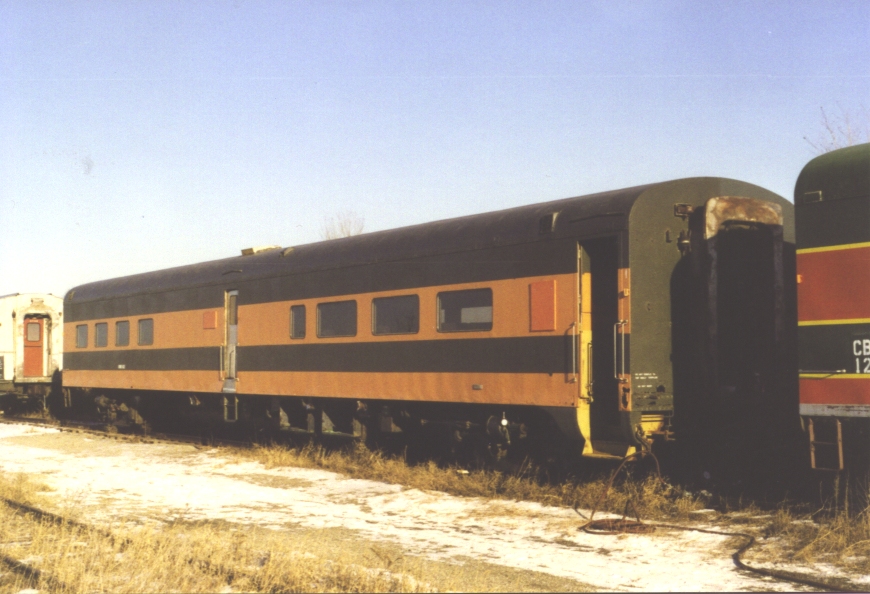
AR corner. |
 |
Left side. |
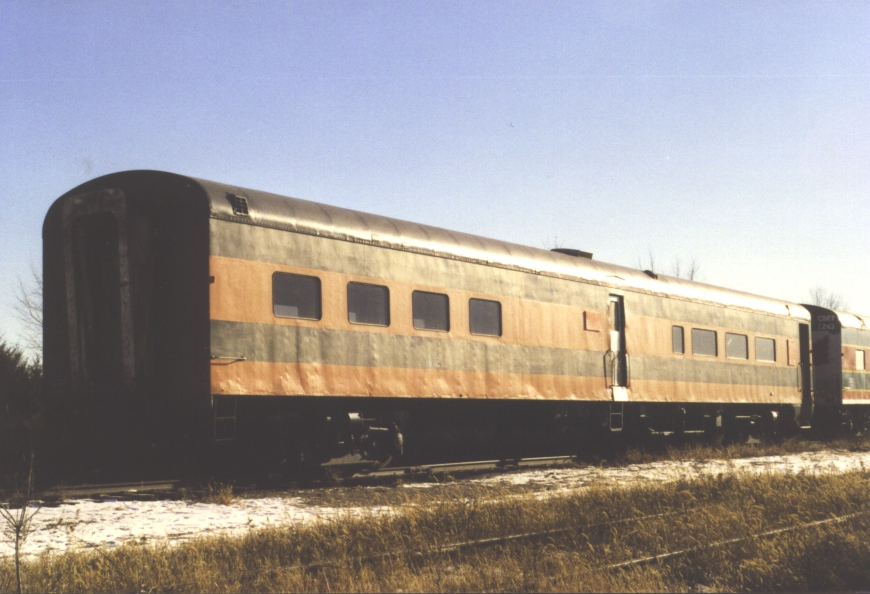 |
AL corner. The lighting angle really shows the invisible rust damage below the windows, where rust between the skin and the framing has pushed the skin out. Structurally the welds are still holding, except along the bottom. This just reminds me there is more work to do yet. |
 |
Here's the air test in progress. The single car tester is handing from the B-end cut lever, coupled to the car's air brake hose. Right now the system is charging. There is also a brake cylinder pressure test gauge applied to the nearest brake cylinder. (I'll tell later how this turned out to be a bad place for the test fitting.) |