I was working on another Great Northern car, doing some truck work. I had questions about reusing the springs. Well, they say if you need to find parts for the old stuff, talk to the oldest guy there.
I found myself on the phone with:
Jim Schlegel - Customer Support Engineer
Barber Spring
Mobile: (708) 288-7603
jim_schlegel@ymail.com
From my notes, in conversational order:
We are allowed 1" of shim per spring. Measure the pocket diameter and call www.fabreeka.com. He thinks the S47 pad is what we need. Should be on their website under transportation - railroad. Fabreeka is a rubber-belting like product which absorbs vibration. (The car in question has a lousy ride at speed.) He would put one pad at the top and one at the bottom. More shims, if needed, can be steel and placed underneath the bottom fabreeka pad. We can use Locktite compound 2 to glue the steel shims together. (Note: It may take several lifts of the car to get the right number of shims everywhere.)
Interpreting the spring markings: These looked like GN/BN/ATSF spring numbers. The "8-" signifies GN springs. Numbers like "725" identify the spring class. The 'U' is for Union and the 'CS' is for Crucible - both now part of Barber Spring. ASF is American Steel Foundaries. The manufacturers no longer have the drawings, but Amtrak should for their Heritage Fleet. Talk to Gary Grabber at the Beech Grove shops. (Jim assembled a "Spring Portfolio" of drawings for Gary's predecessor.) Or, call Amtrak inspector Mike Kelly - he might be able to get things Jim cannot.
Qualifying used springs: Condemn if broken. Surface rust, mild pitting, rubbed-flat spots and free height are not important. (Free height of the bolster springs should be 17.5 to 19 inches.) Under load, one should be able to stick a pencil between the spring coils. That means there is sufficient travel. The suspension will not bottom out and cause the car to uncouple or ... Surface rust and old paint can be removed with non-sharp blast media. (Corn cobs, glass bead, etc. which will not nick the steel. I.e. - shot peen the springs.) Then powder coat or paint prior to installation.
He asked if the car's weight has changed. (Yes. New generator. New electrical system. Holding tanks for toilets.) That may be the reason for the lean. He would not recommend making new springs to the existing spring's specs. If the weight changes are the problem then new springs would not solve. He said put the tallest springs in the low spots. If shims don't fix, add an inner coil.
The next step, if shims don't solve, is to weigh the car. Mark Bucol (bucolms@charter.net 314-646-9940) of St Louis has the equipment and expertise to weigh each corner of the car. Then *change* the springs to match the new weight distribution. If all-new springs were needed, Jim would make the outer coils identical (to save cost) and adjust for loading by varying the inner coils. Cost of an all-new set is in the $8k to $10k range.
He noted that the people who *really* knew what they were doing have passed away, so these days we end up guessing.
About spring steels:
When private car owners replace their springs, Jim makes a Spring Portfolio for them as well and tells them to store it in the car for reference.
After talking to Jim at Barber Spring, I called Fabreeka customer service. The following are from my notes:
I talked to "Mike" in Fabreeka customer service today.
There are two products that might interest us: Fabreeka, made of layers of fabric; and SA-47, a random-oriented fibers product made from recycled tires. Fabreeka is the older and what I've seen used under springs. Specified service life is 50 years.
Costs for 1/2" thickness:
At the prices quoted, an 11/32" ("half inch thick") Fabreeka pad for an 8" dia. spring costs $45.06, and one for a 10" dia. spring costs $68.76.
He suggested I talk to Sean Watson (swatson@fabreeka.com) because he is the railroad applications expert.
Ben Ringnalda has done something interesting in restoring his St Nicholas Mountain:
3D printing has come to railcar restoration :-)
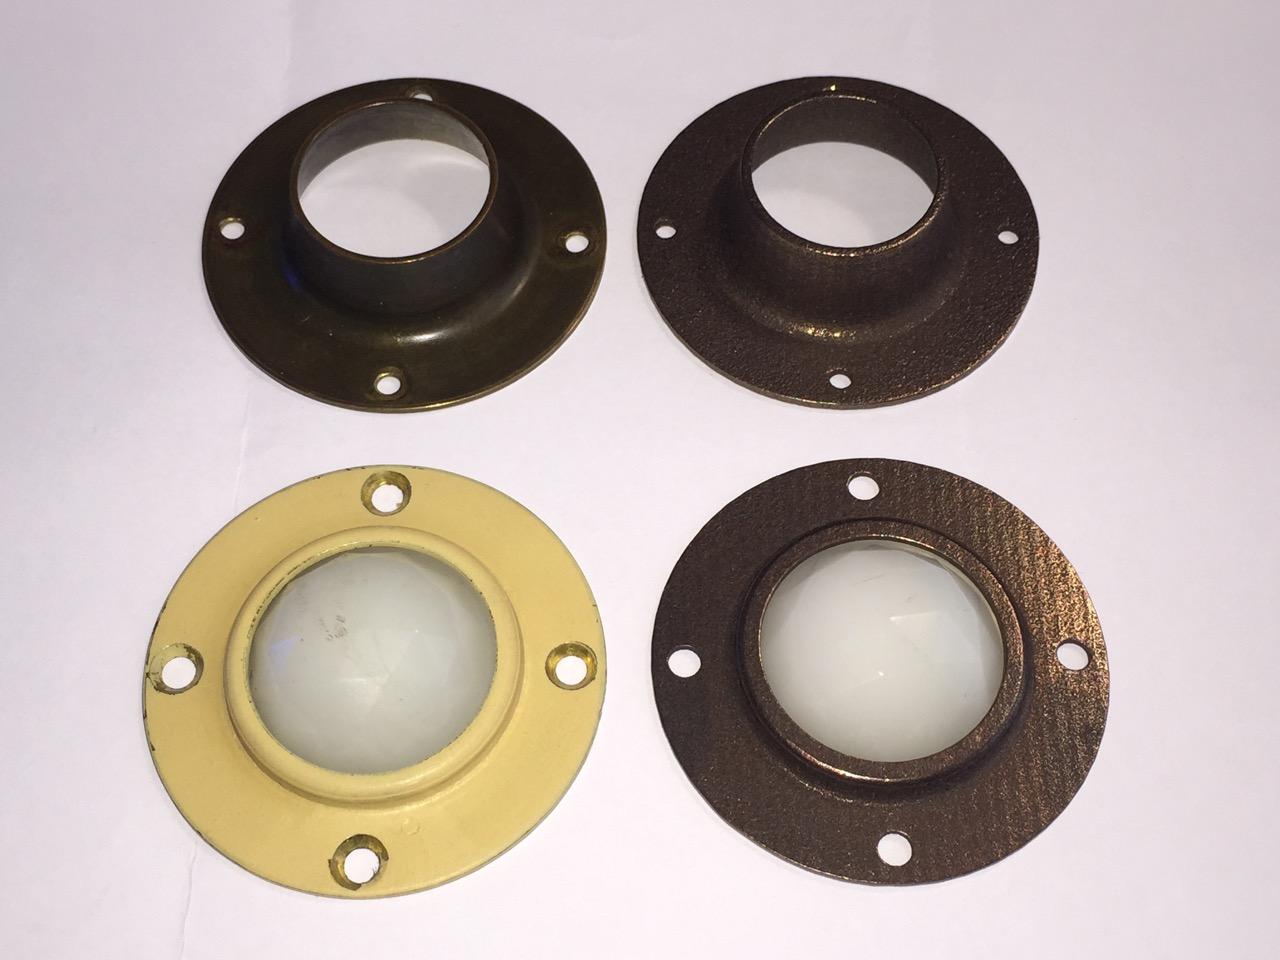
Below are photos of the two flanges that make up the bulls-eye on the marker light doors, including a comparison between original and 3D print. Printed by Shapeways in their bronze steel, which is their less costly metal option. Even though I ordered them polished they still have a slightly rough surface showing the printing lines. I’ll try further sanding and polishing to get them smooth enough for paint. I tried having the countersunk holes printed but that turned out to be impossible as it would create an edge thinner than the minimum thickness required (at the bottom of the hole). I will machine those. See how that goes. They do feel strong and have quite some weight to them. I didn’t get them exactly the same but they’re very close. I’m sure I’ll get better at this with experience. :-)
All in all I think it’s a good option for recreating hard to find parts, if they’re not too big. These were with a discount about $35 each. They measure 2 1/2 inches across.
I’ve also included some photos on how they’re used.
| Original and 3D-printed bulls-eye flanges for marker light doors. |
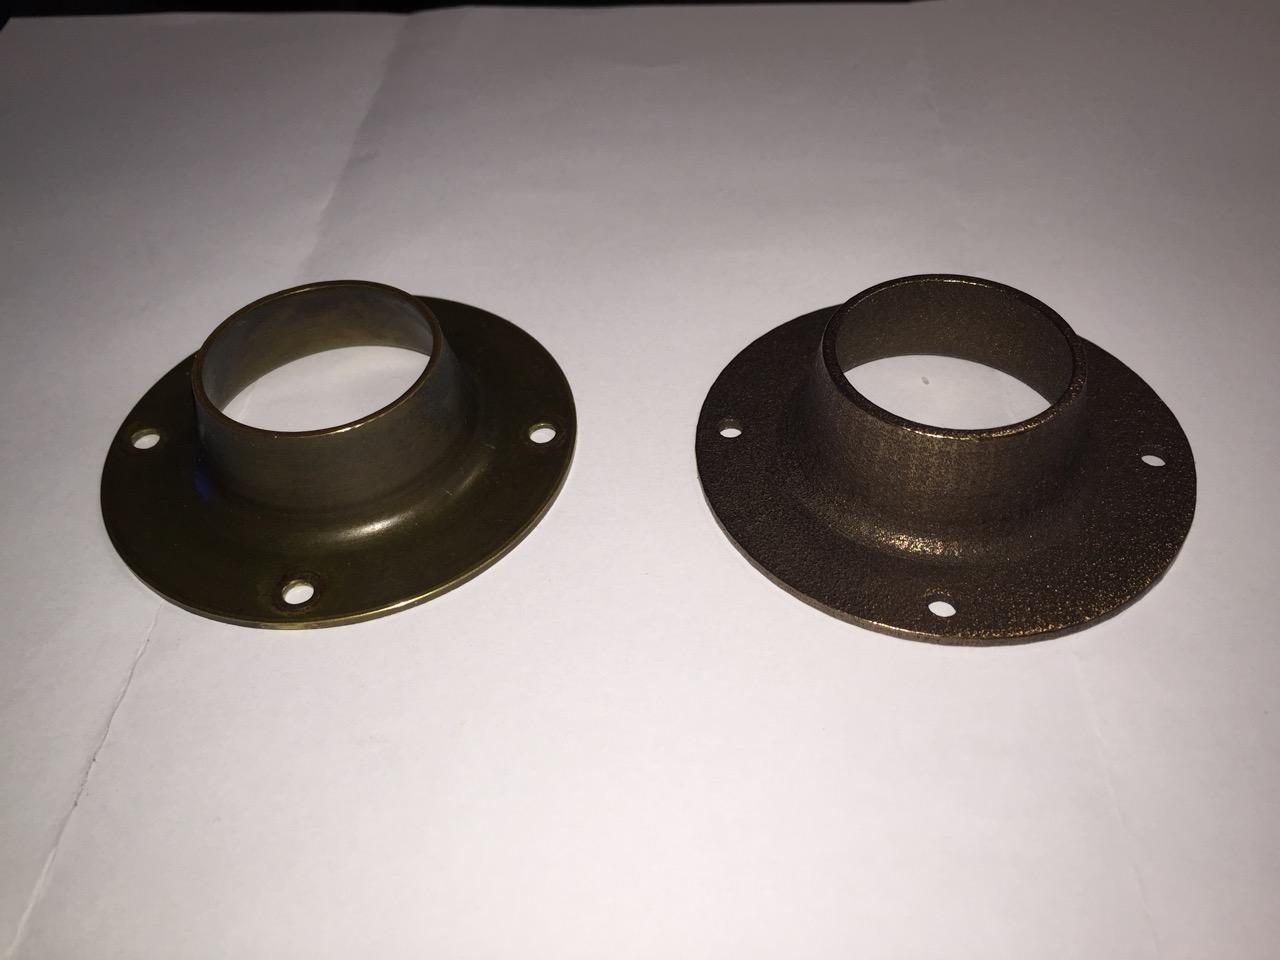
| Close-up of back pieces (original and 3D-printed). |
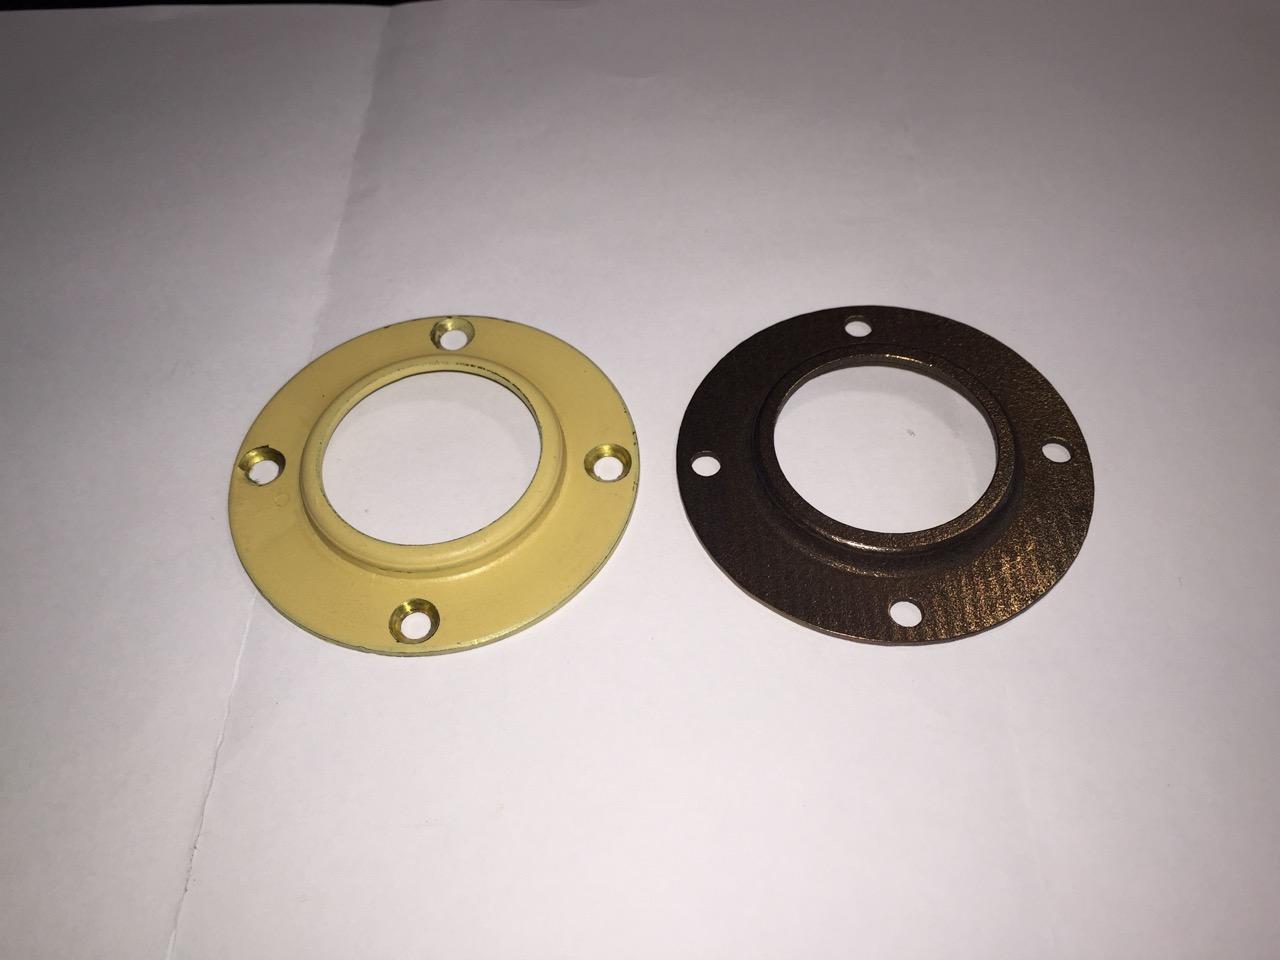
| Close-up of front pieces (original and 3D-printed). |
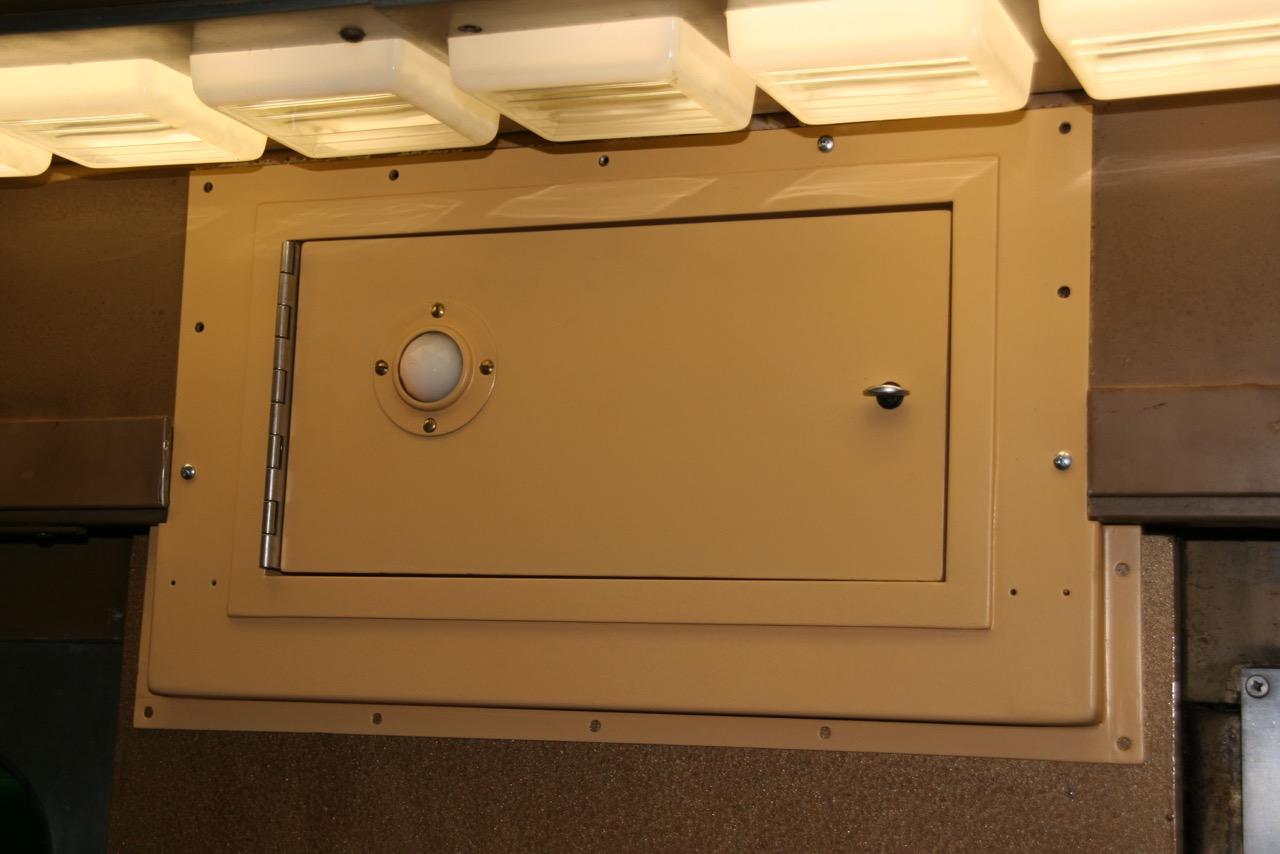
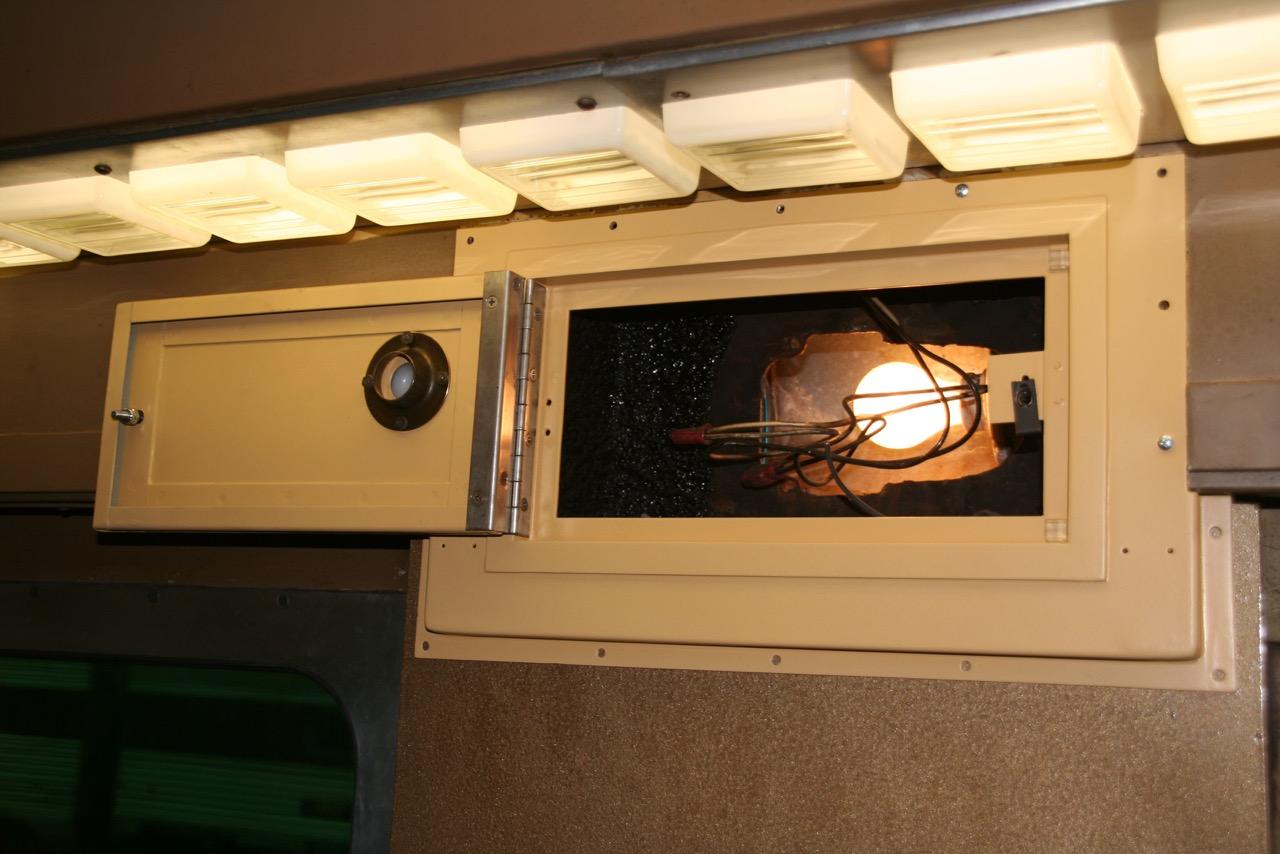
| Front side of marker light door. |
| Back side of marker light door. |
PS: if anyone wants to print these let me (Ben) know. They can also be printed in plastic starting at about $6 each.
I spent some time modifying the coach end door to accept a BEST 7-pin tumbler, of the same system which the museum uses. This is in keeping with my plan for 1146 to be used by the museum when restored.
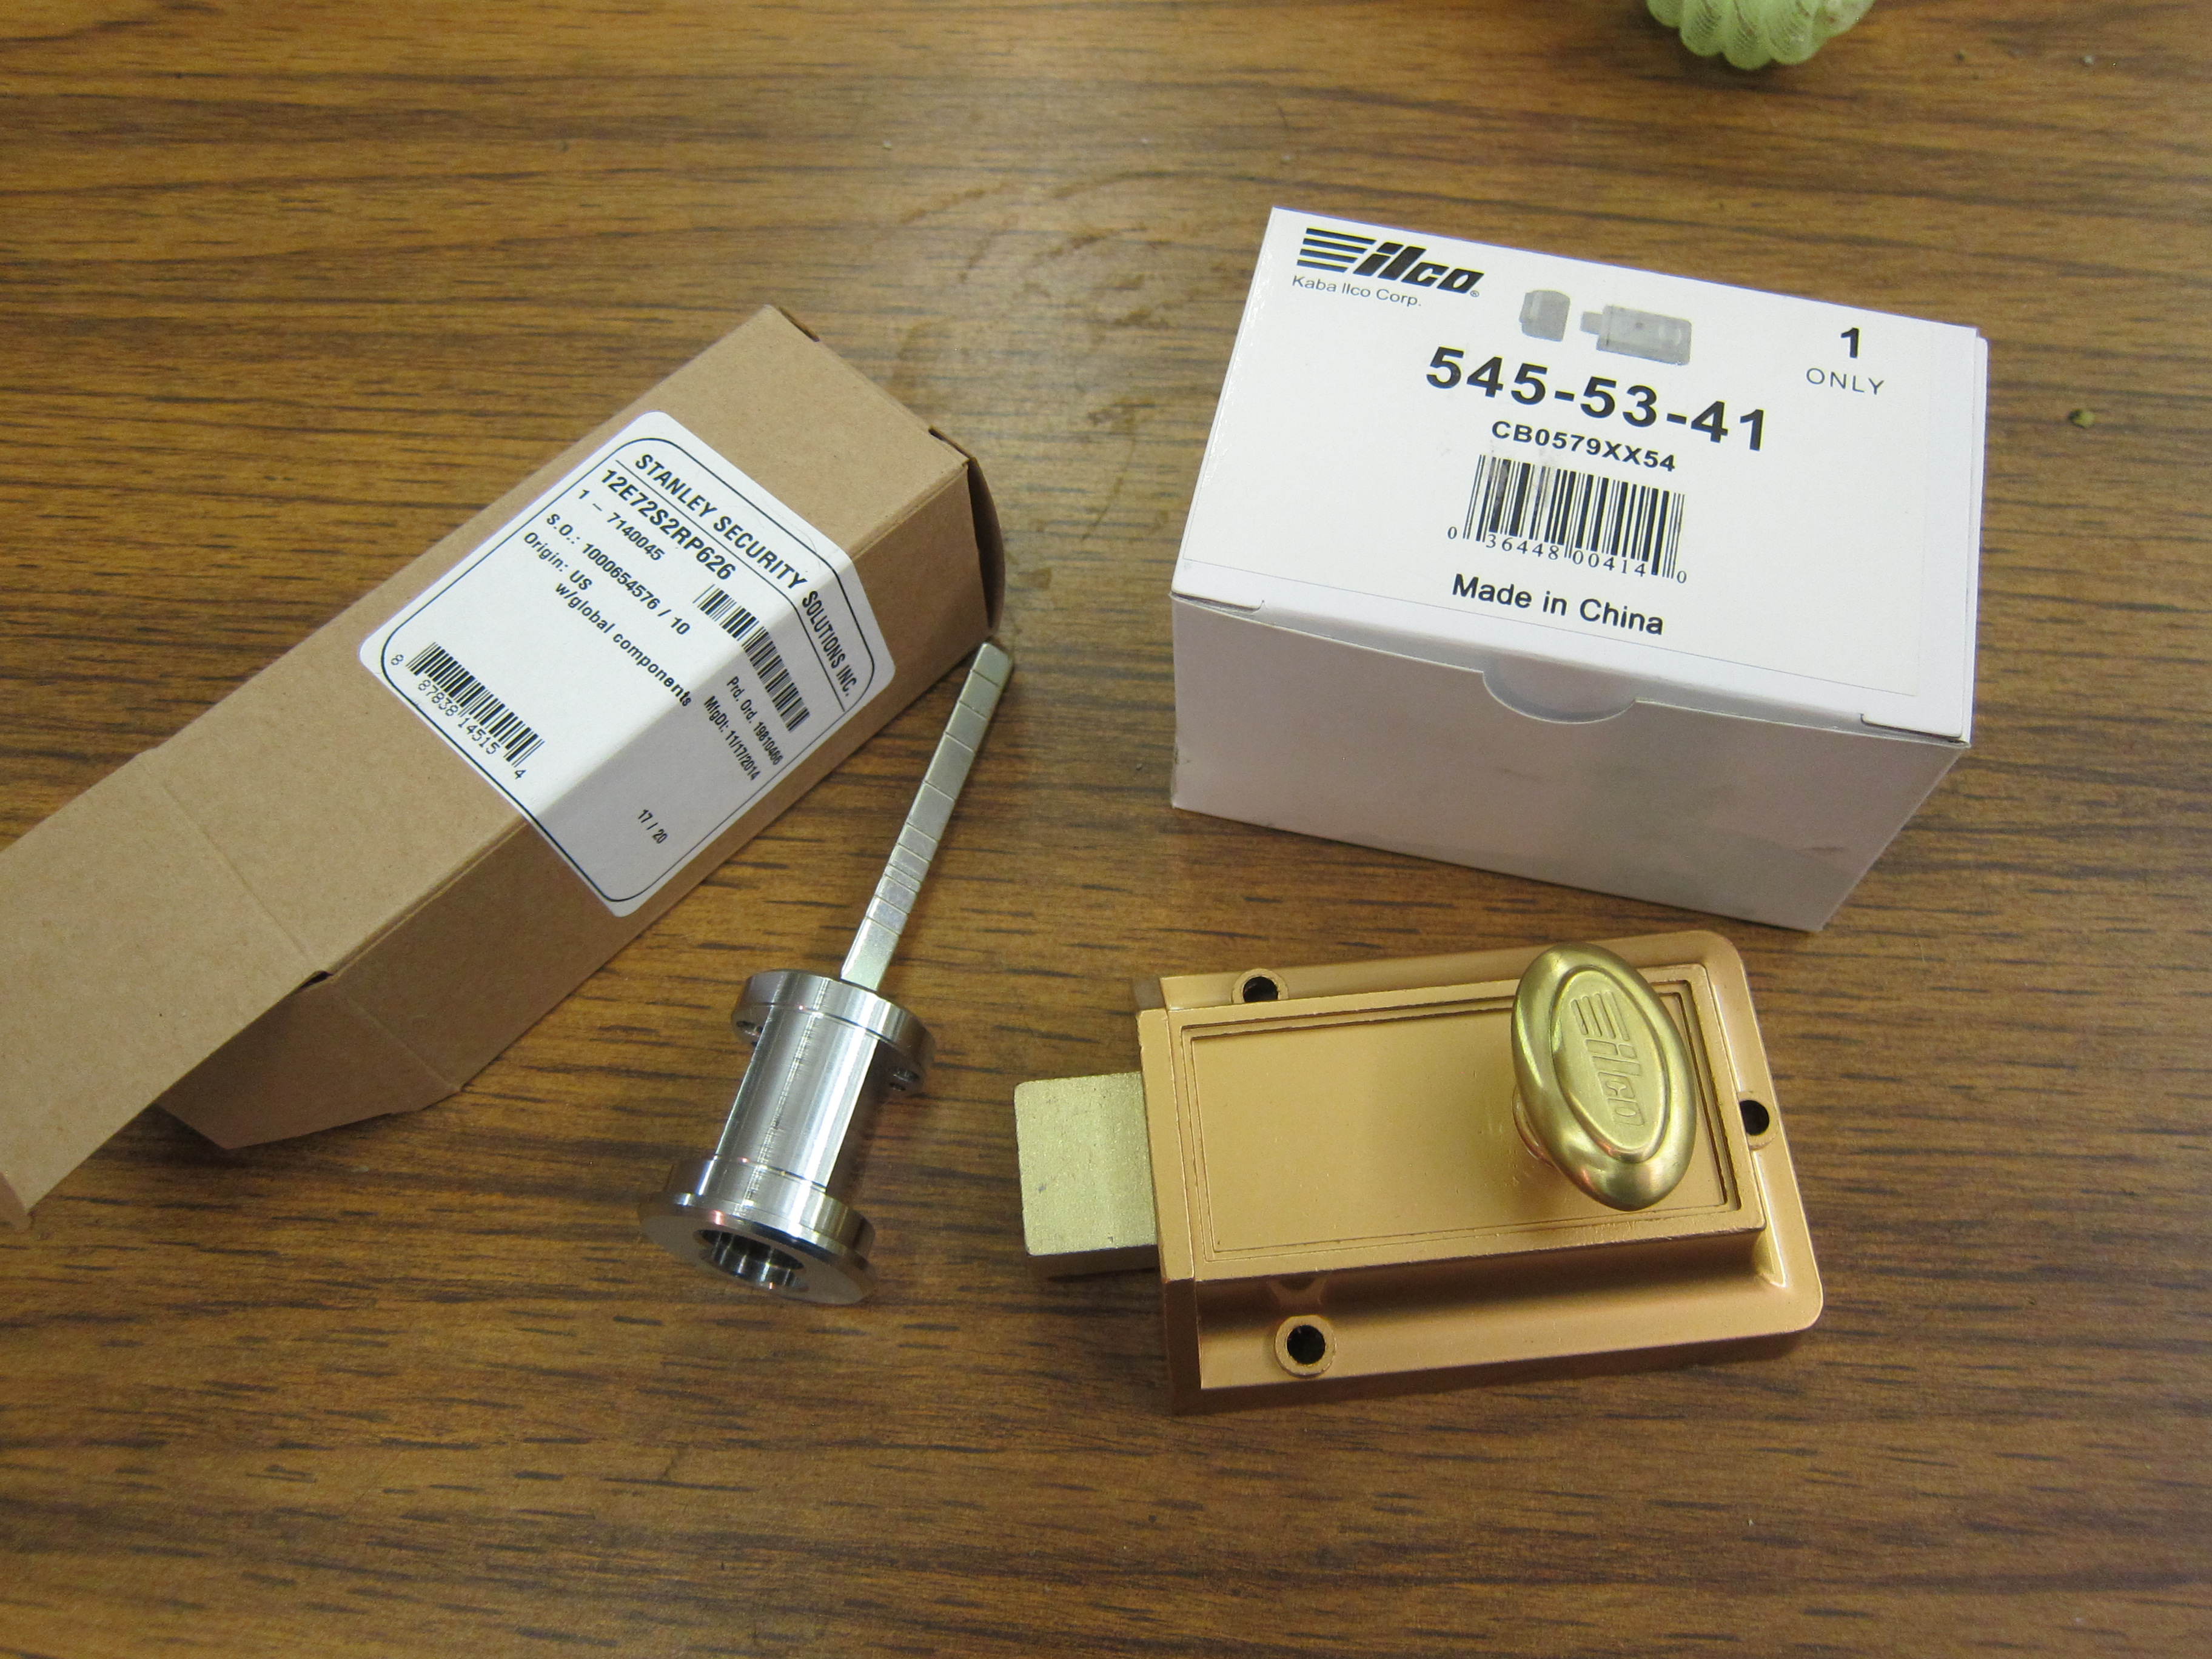 | Twin City Hardware supplied me with the door lock set and a reasonable-looking deadbolt. |
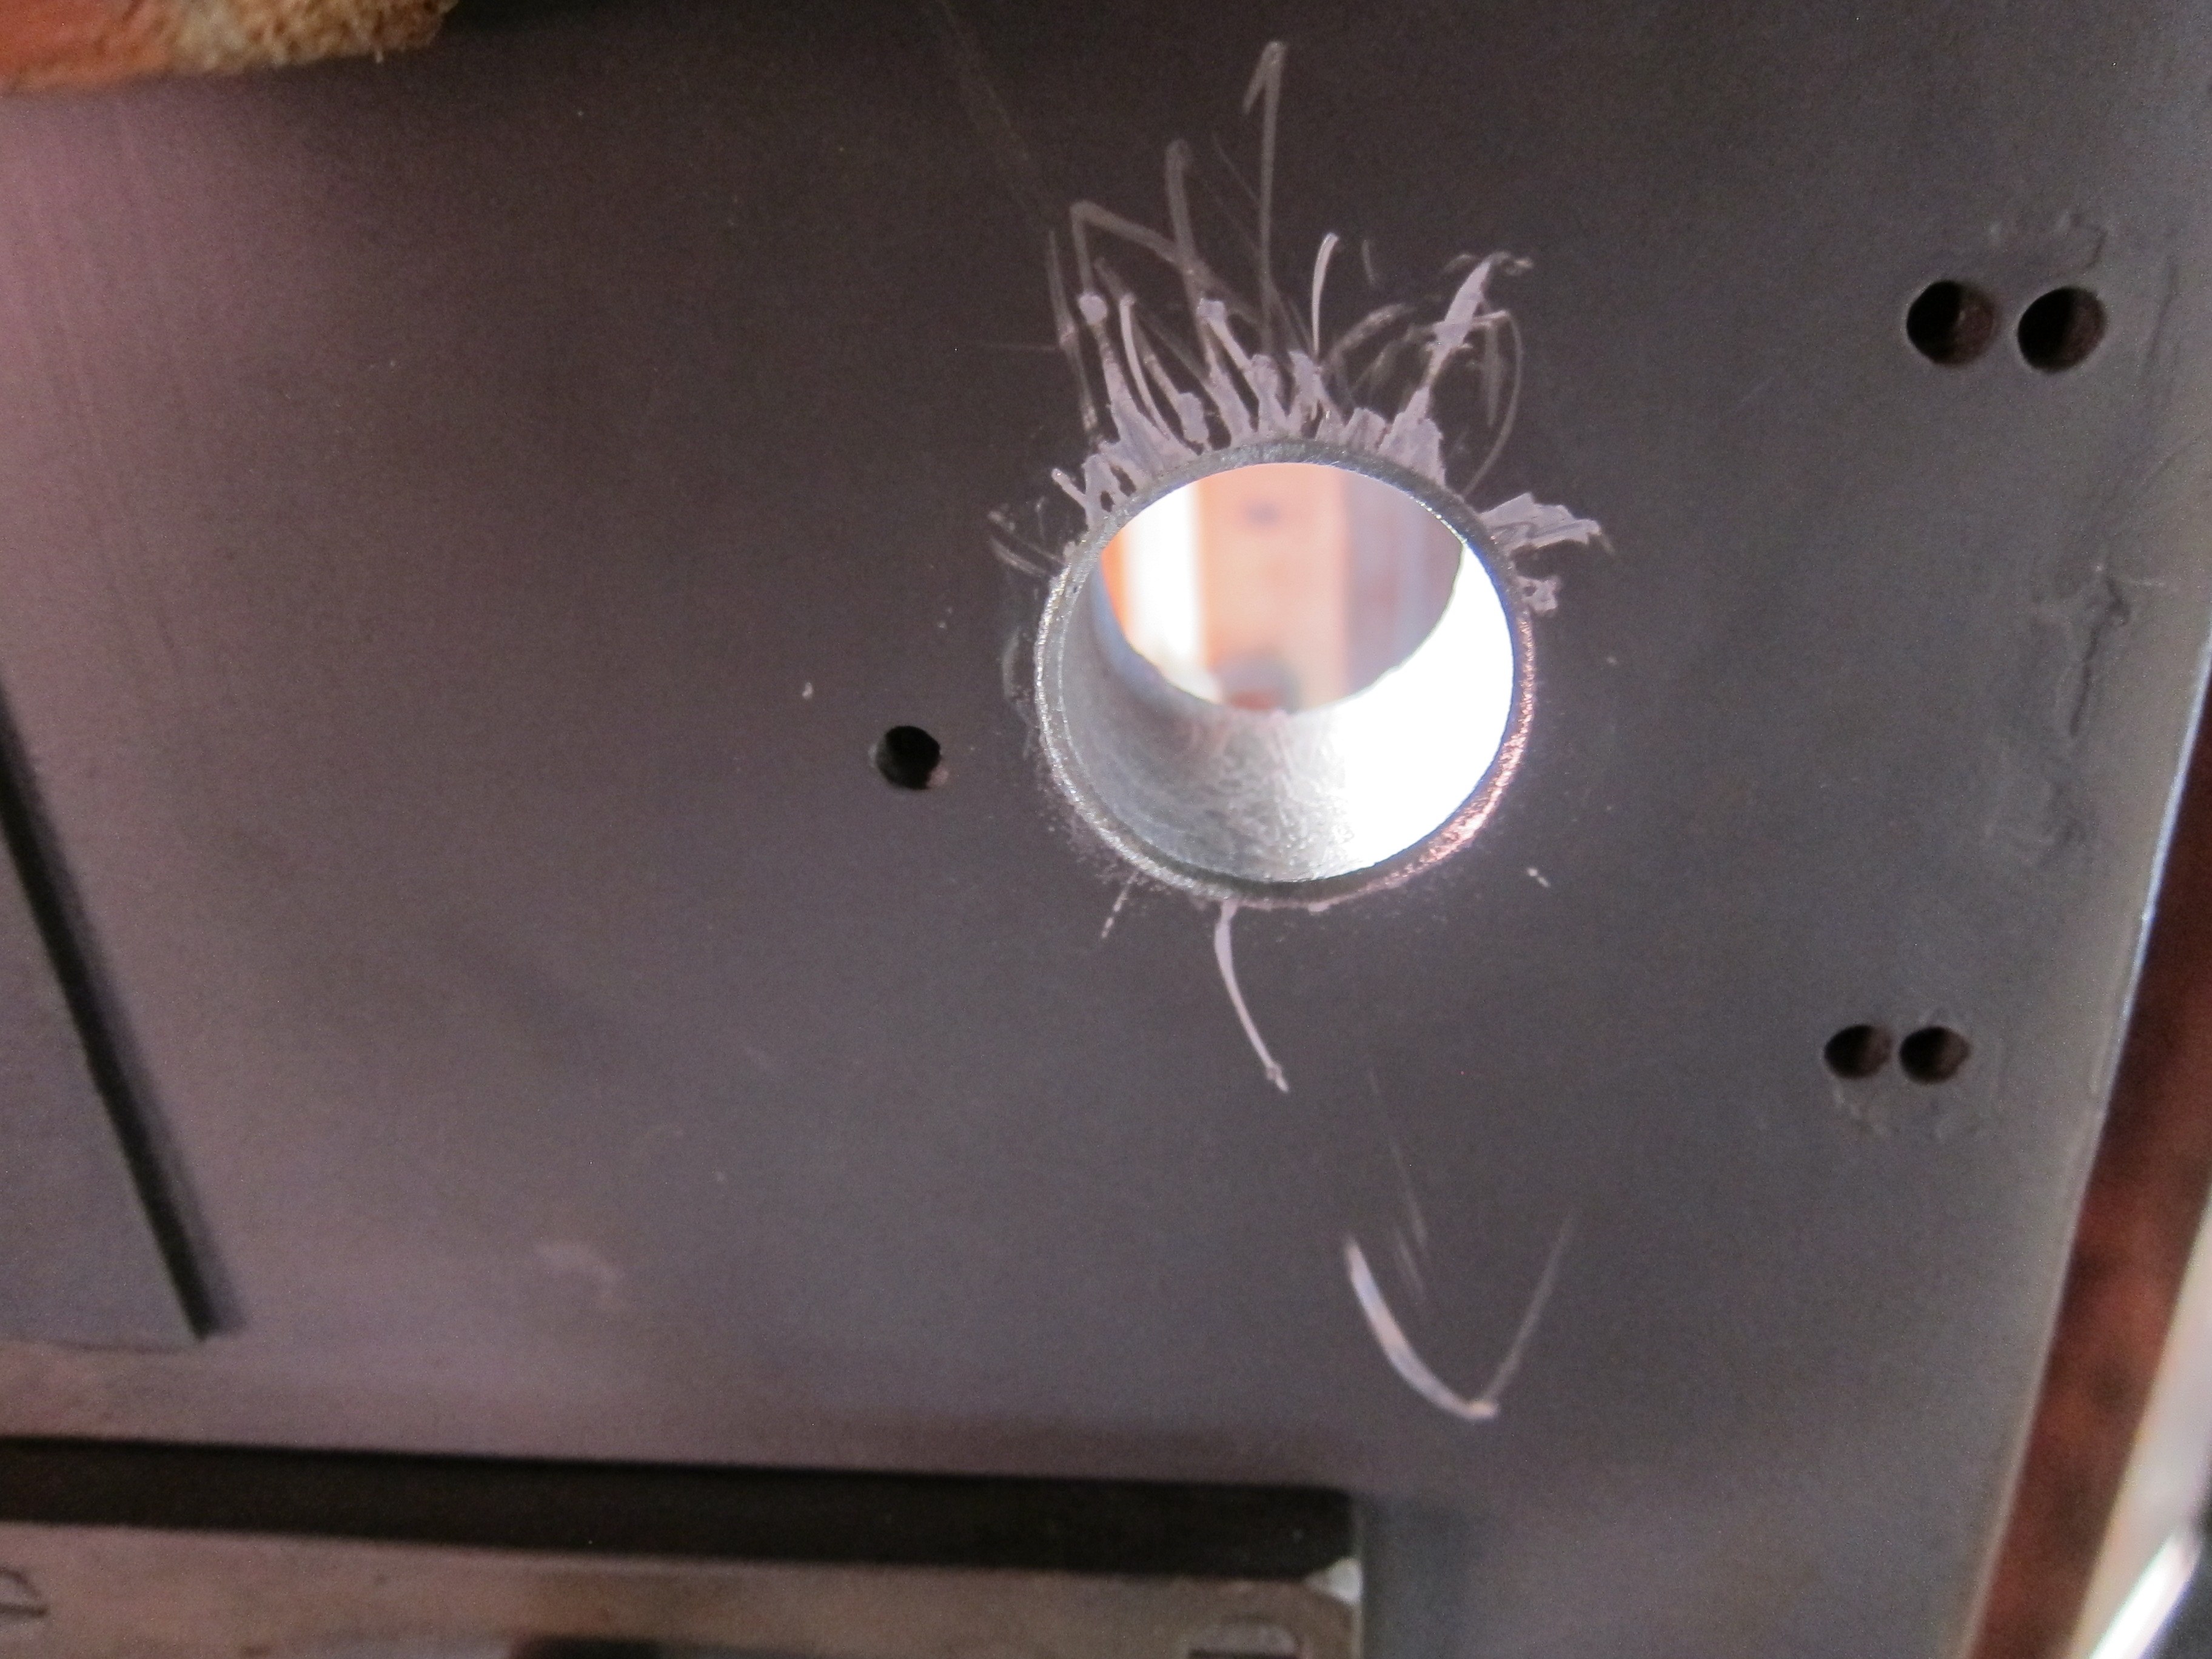 | The door had to be sleeved down to the correct diameter for the lock set. I did some body filler and touch-up paint after welding. This is the inside. |
 | The door had to be sleeved down to the correct diameter for the lock set. I did some body filler and touch-up paint after welding. This is the outside - the groove is from the lock set's ring. |
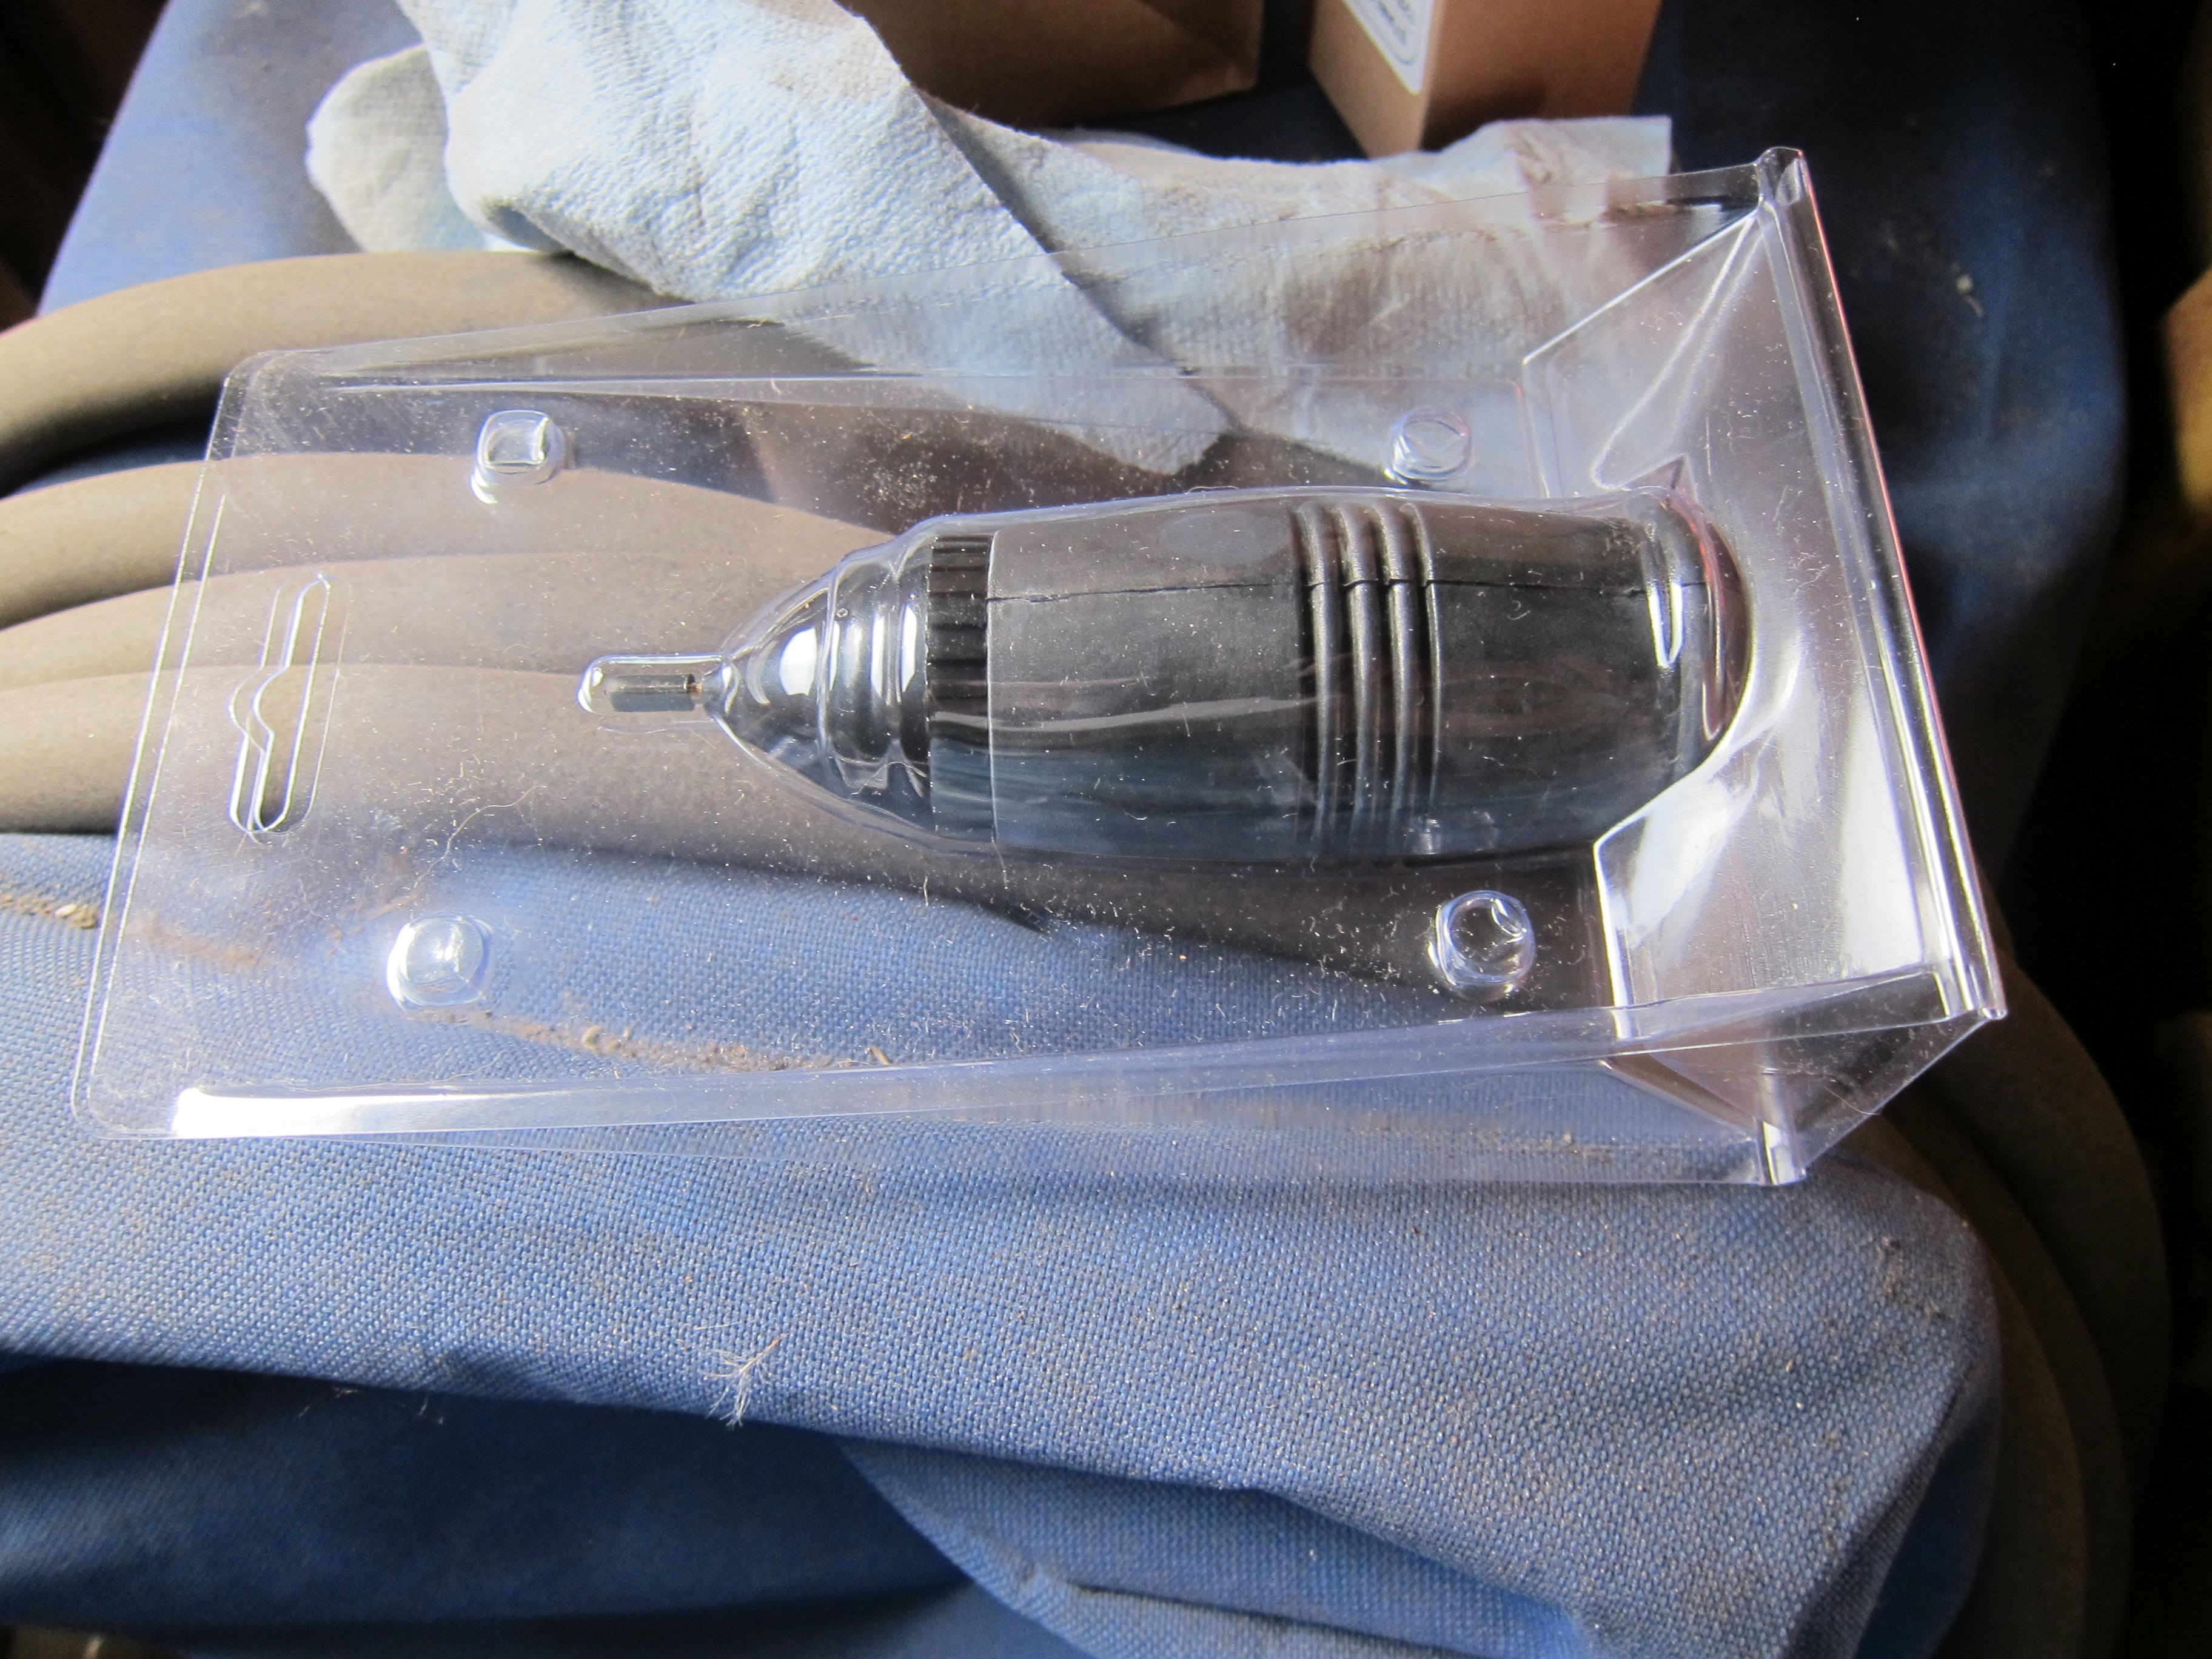 | Twin City Hardware also sold me a nice rubber squeeze-bulb graphite applicator, for lubricating locks. |
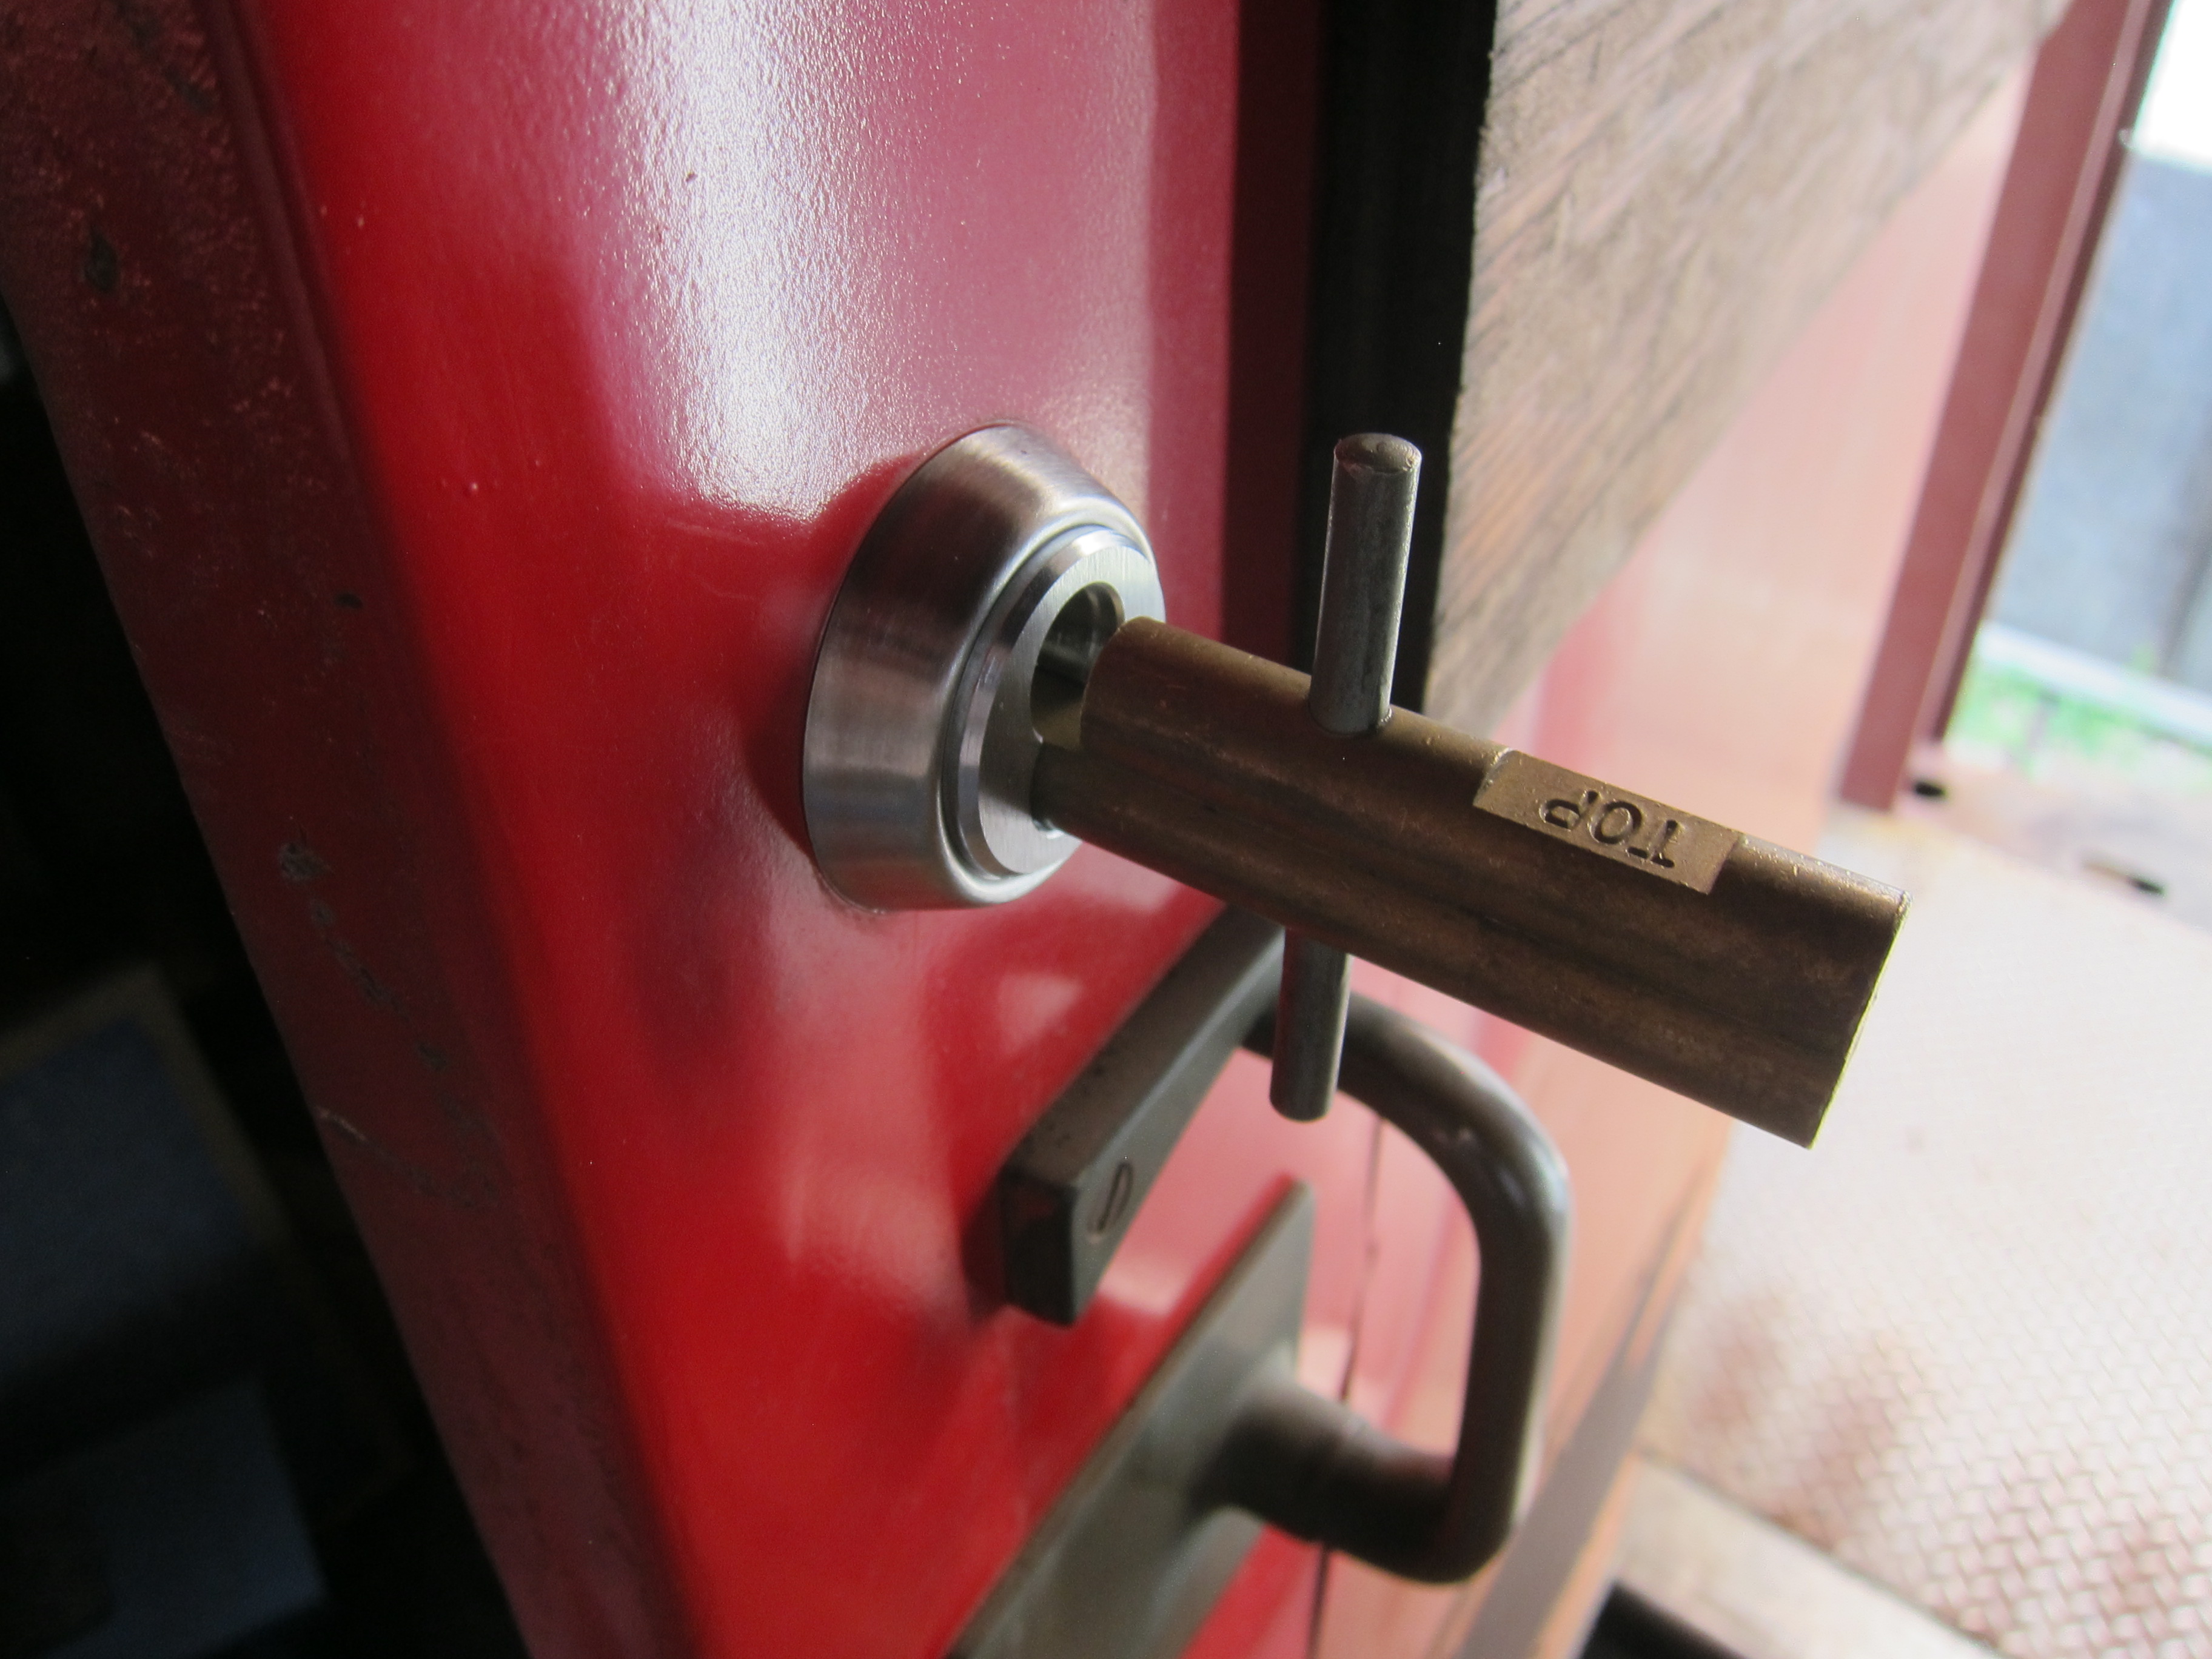
 | This end of the Locksmith's tool is for aligning the lock set. |
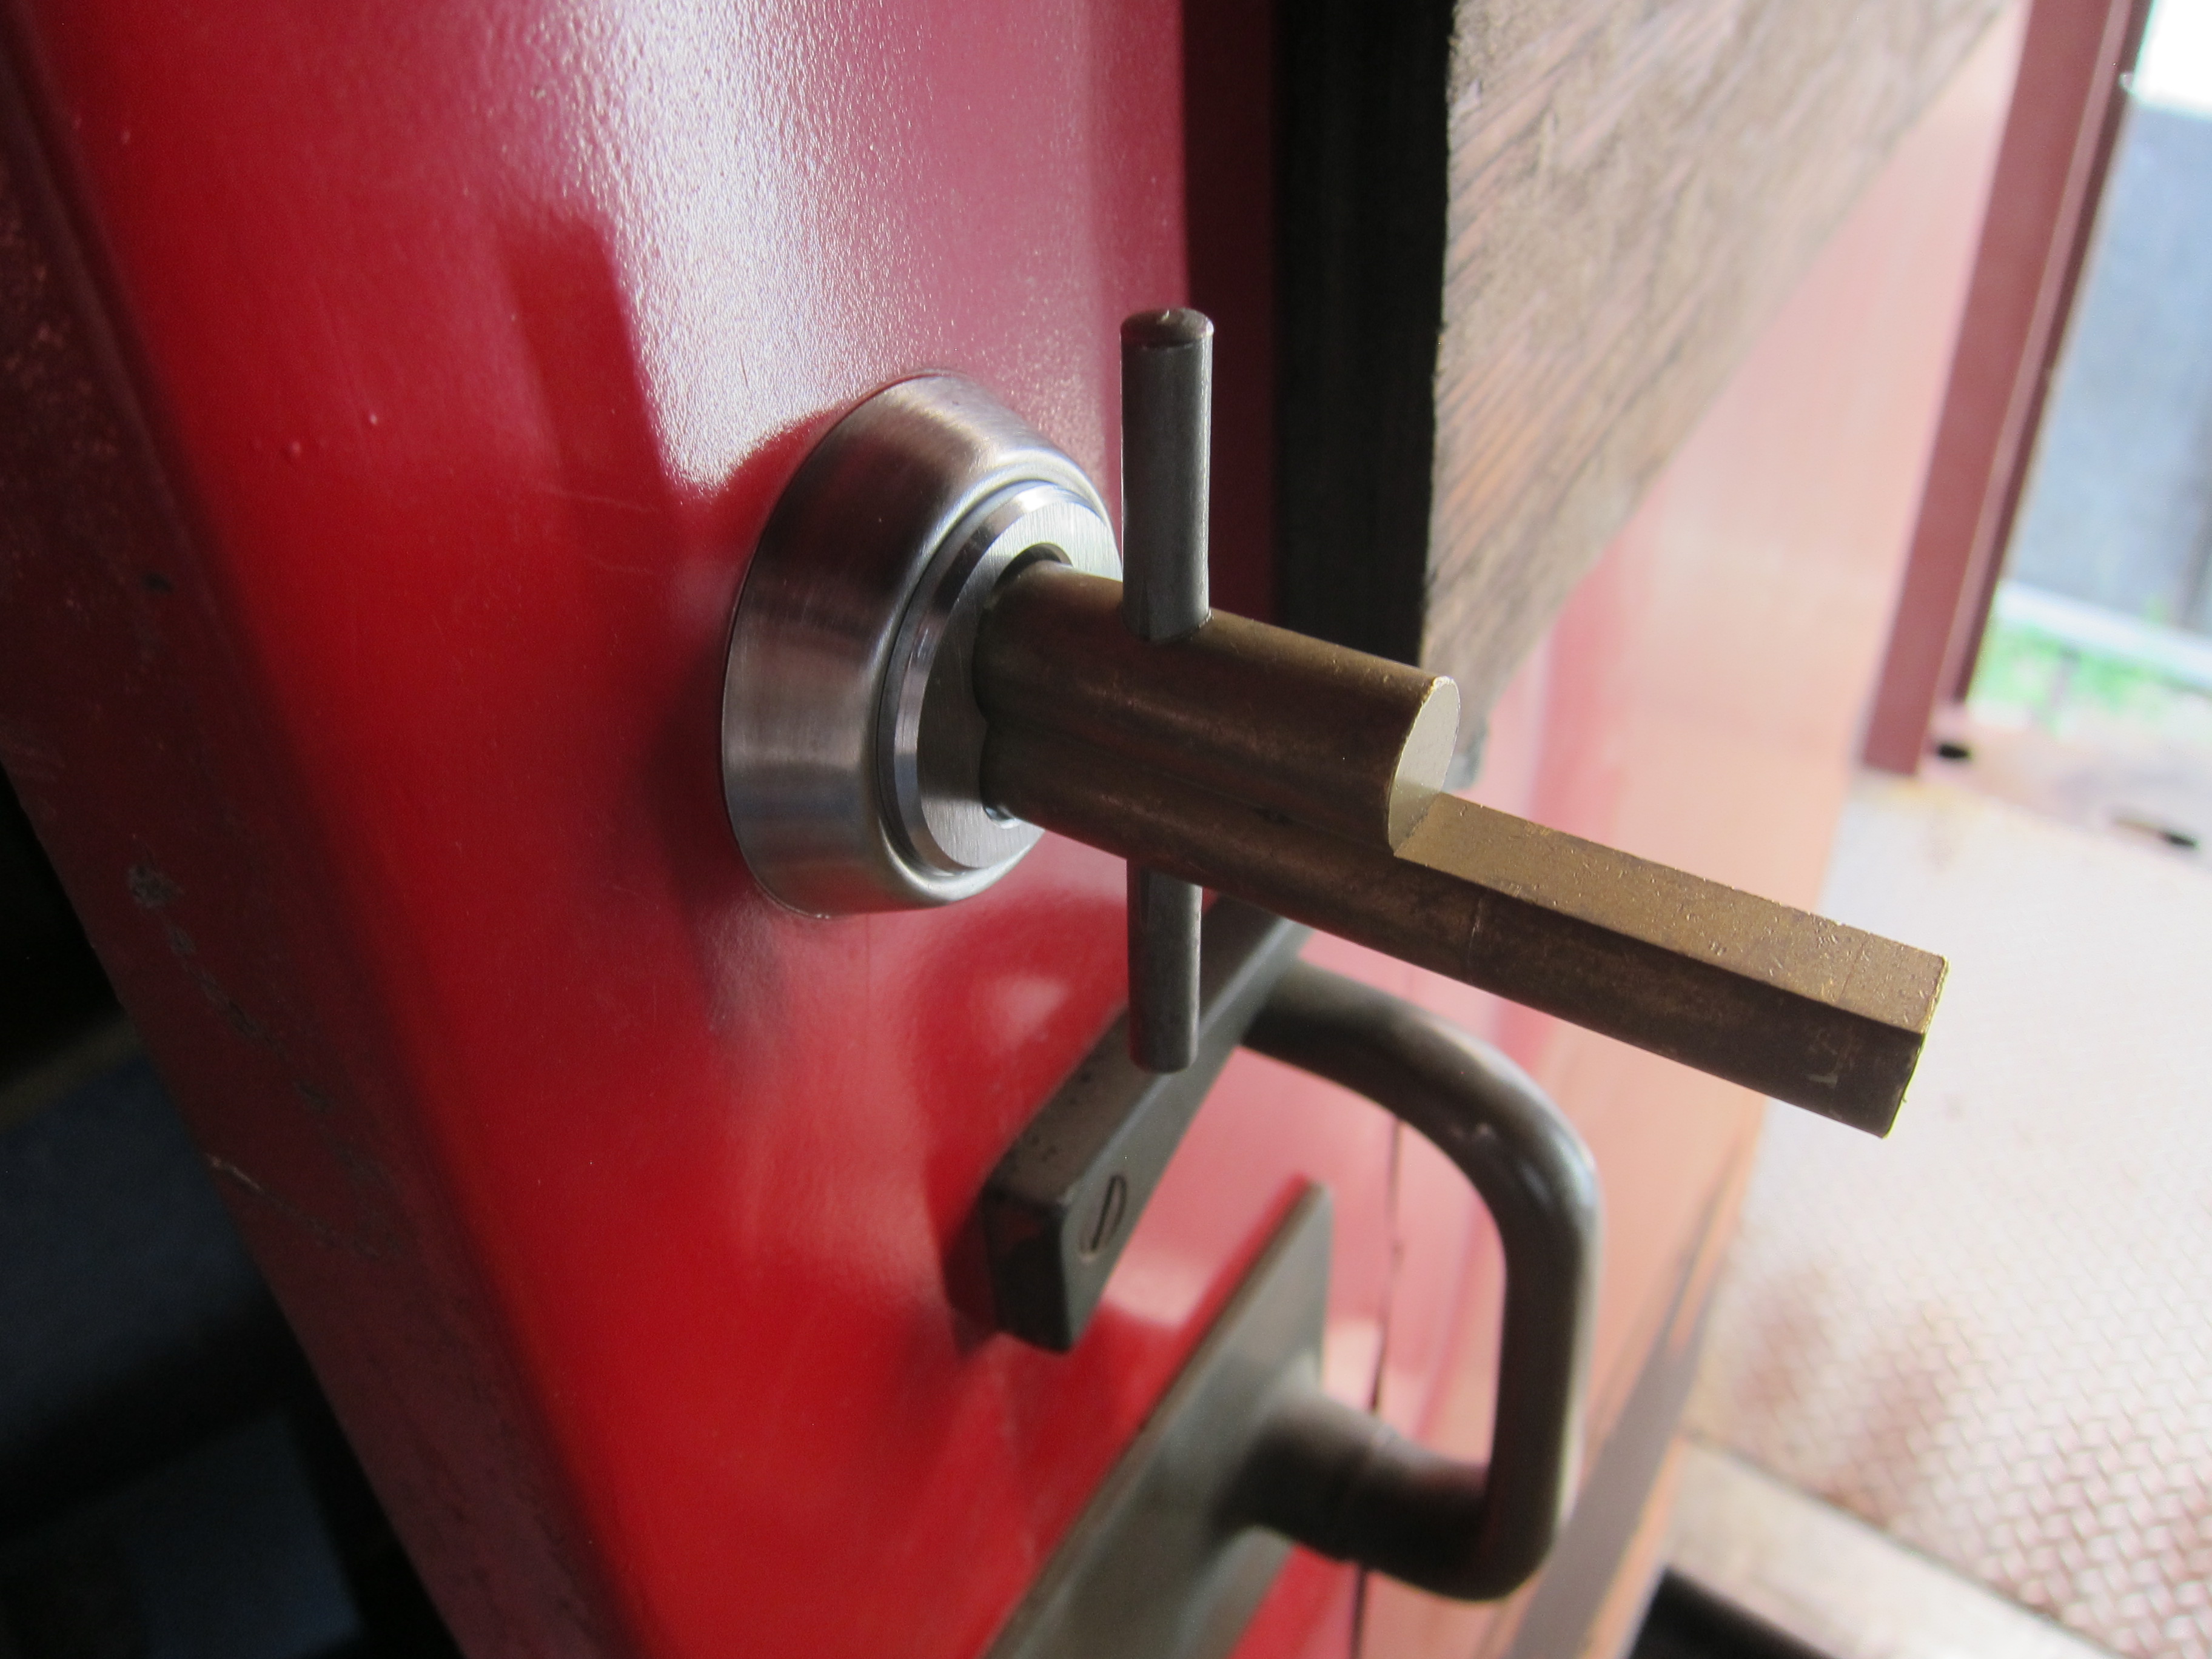
 | The other end of the Locksmith's tool is for operating the lock when the tumbler is out. |
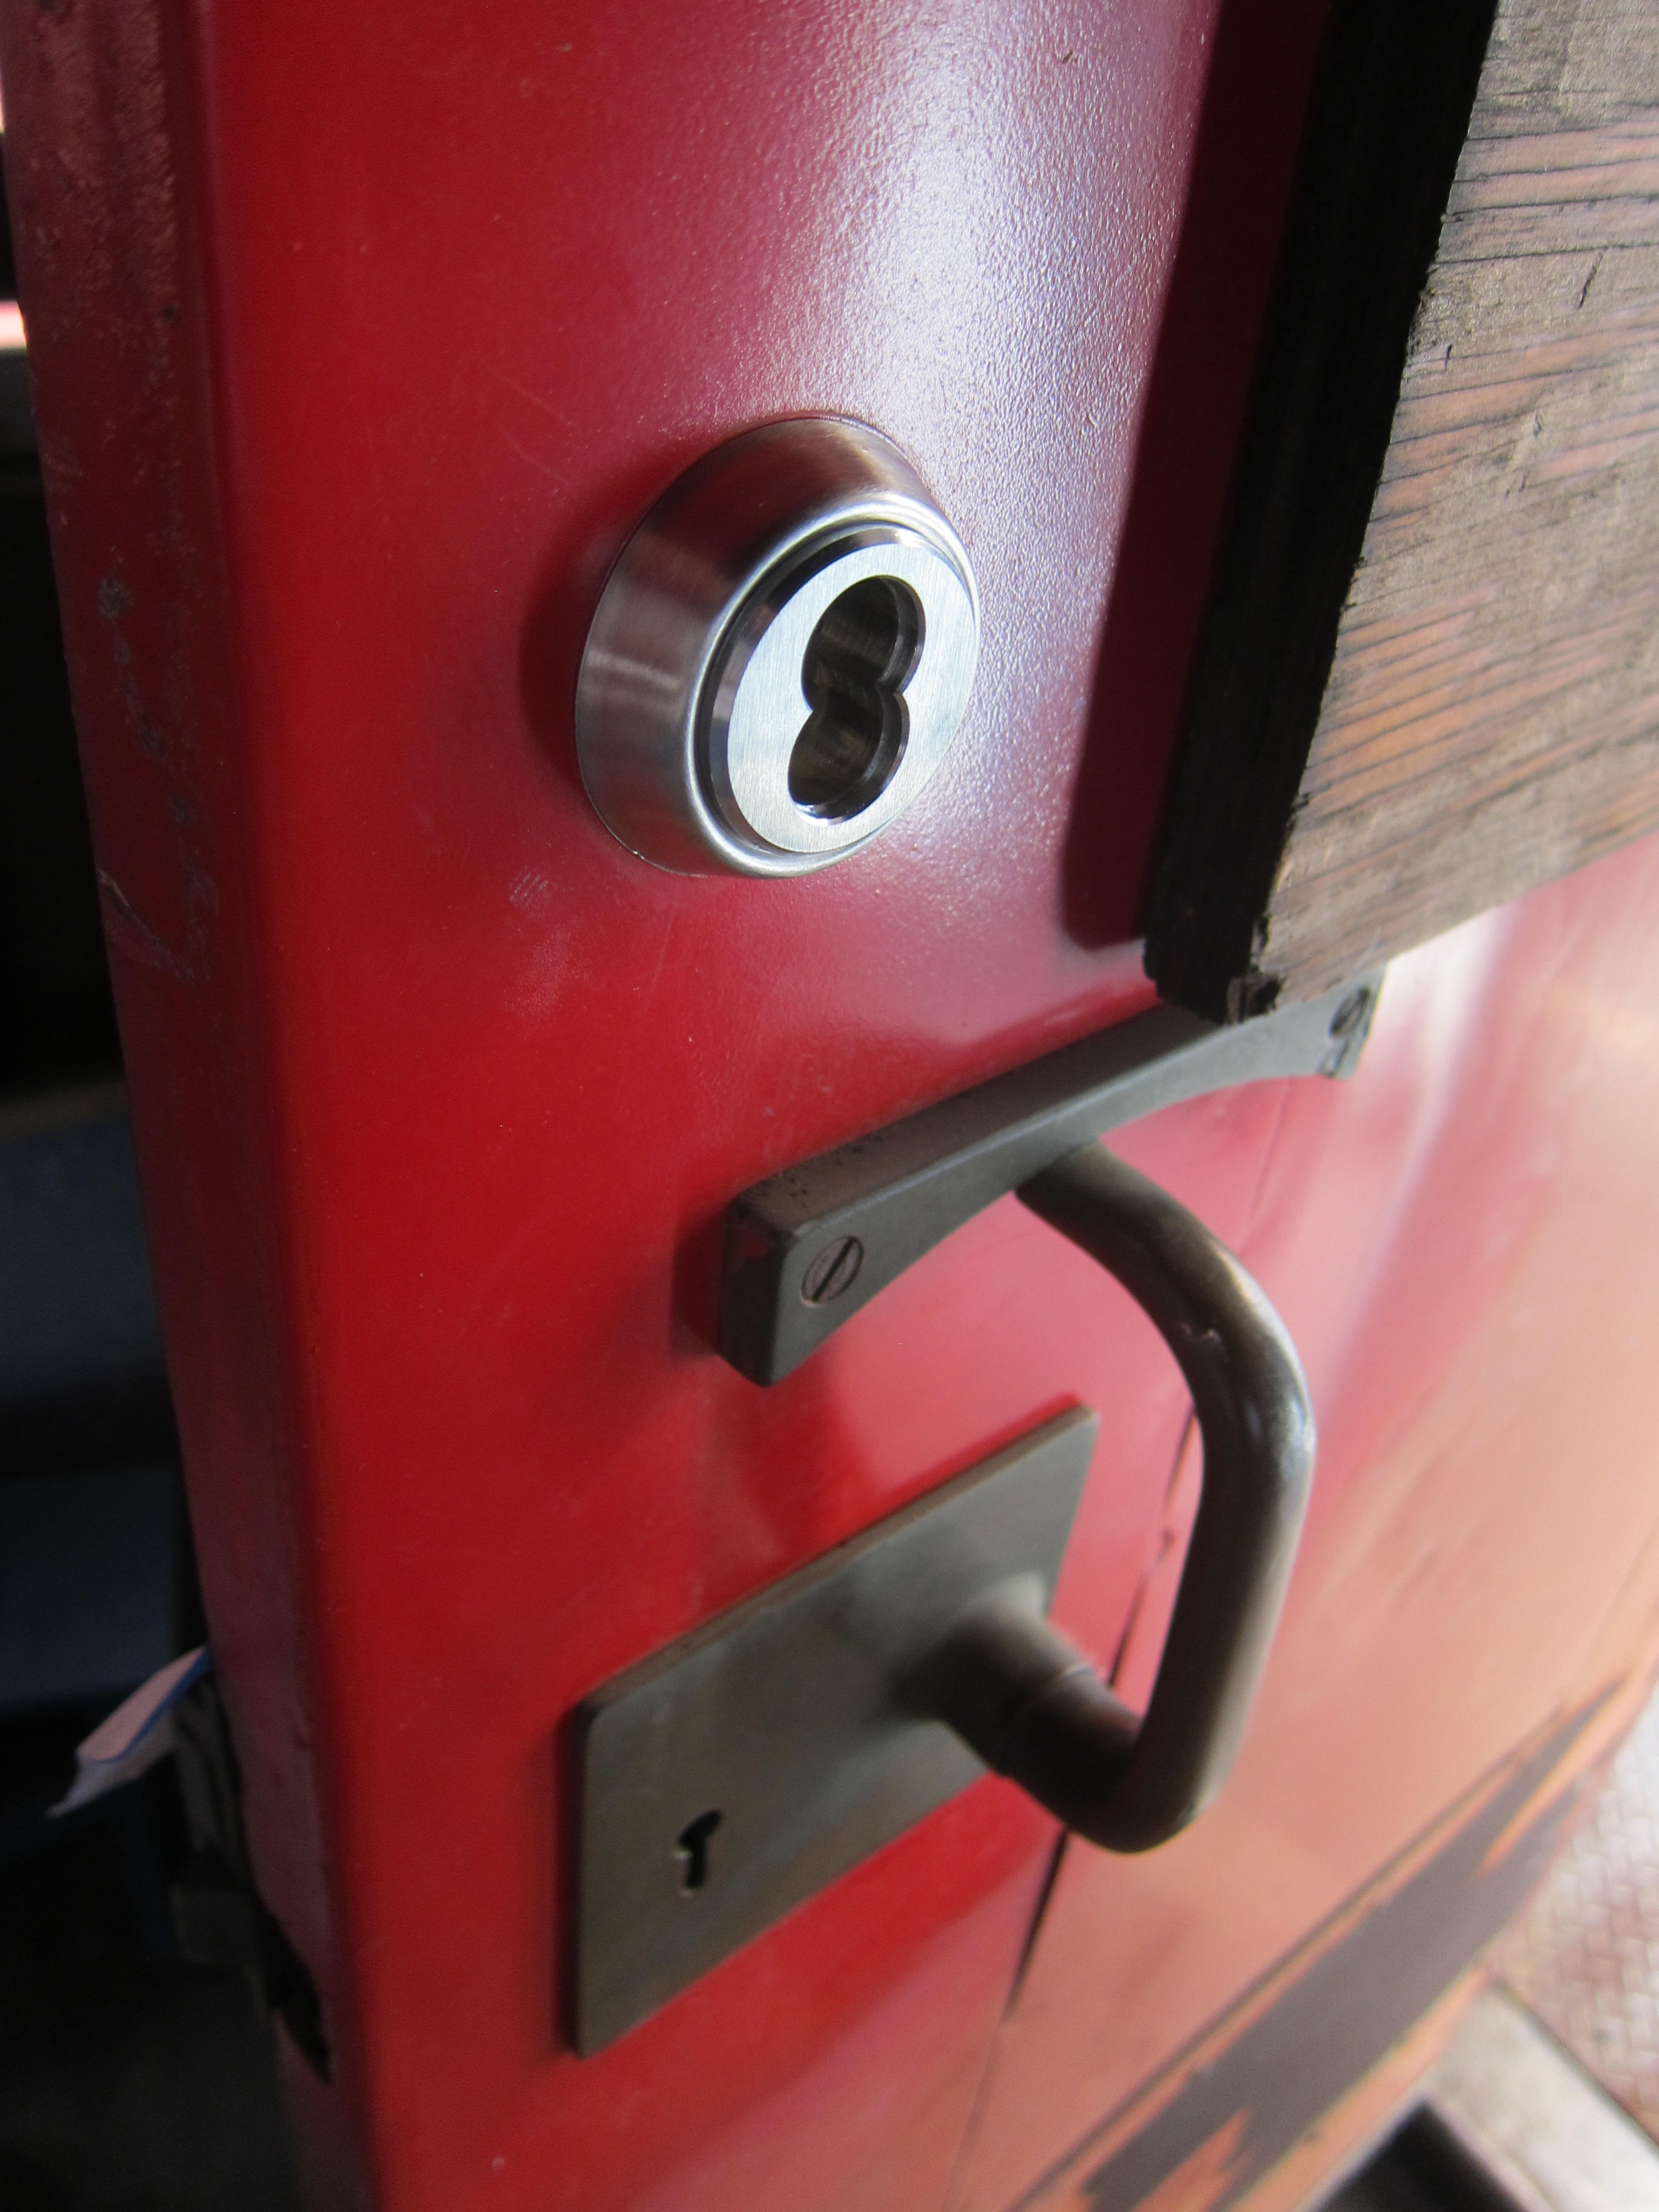 | The finished outside, awaiting installation of a museum-keyed tumber. |
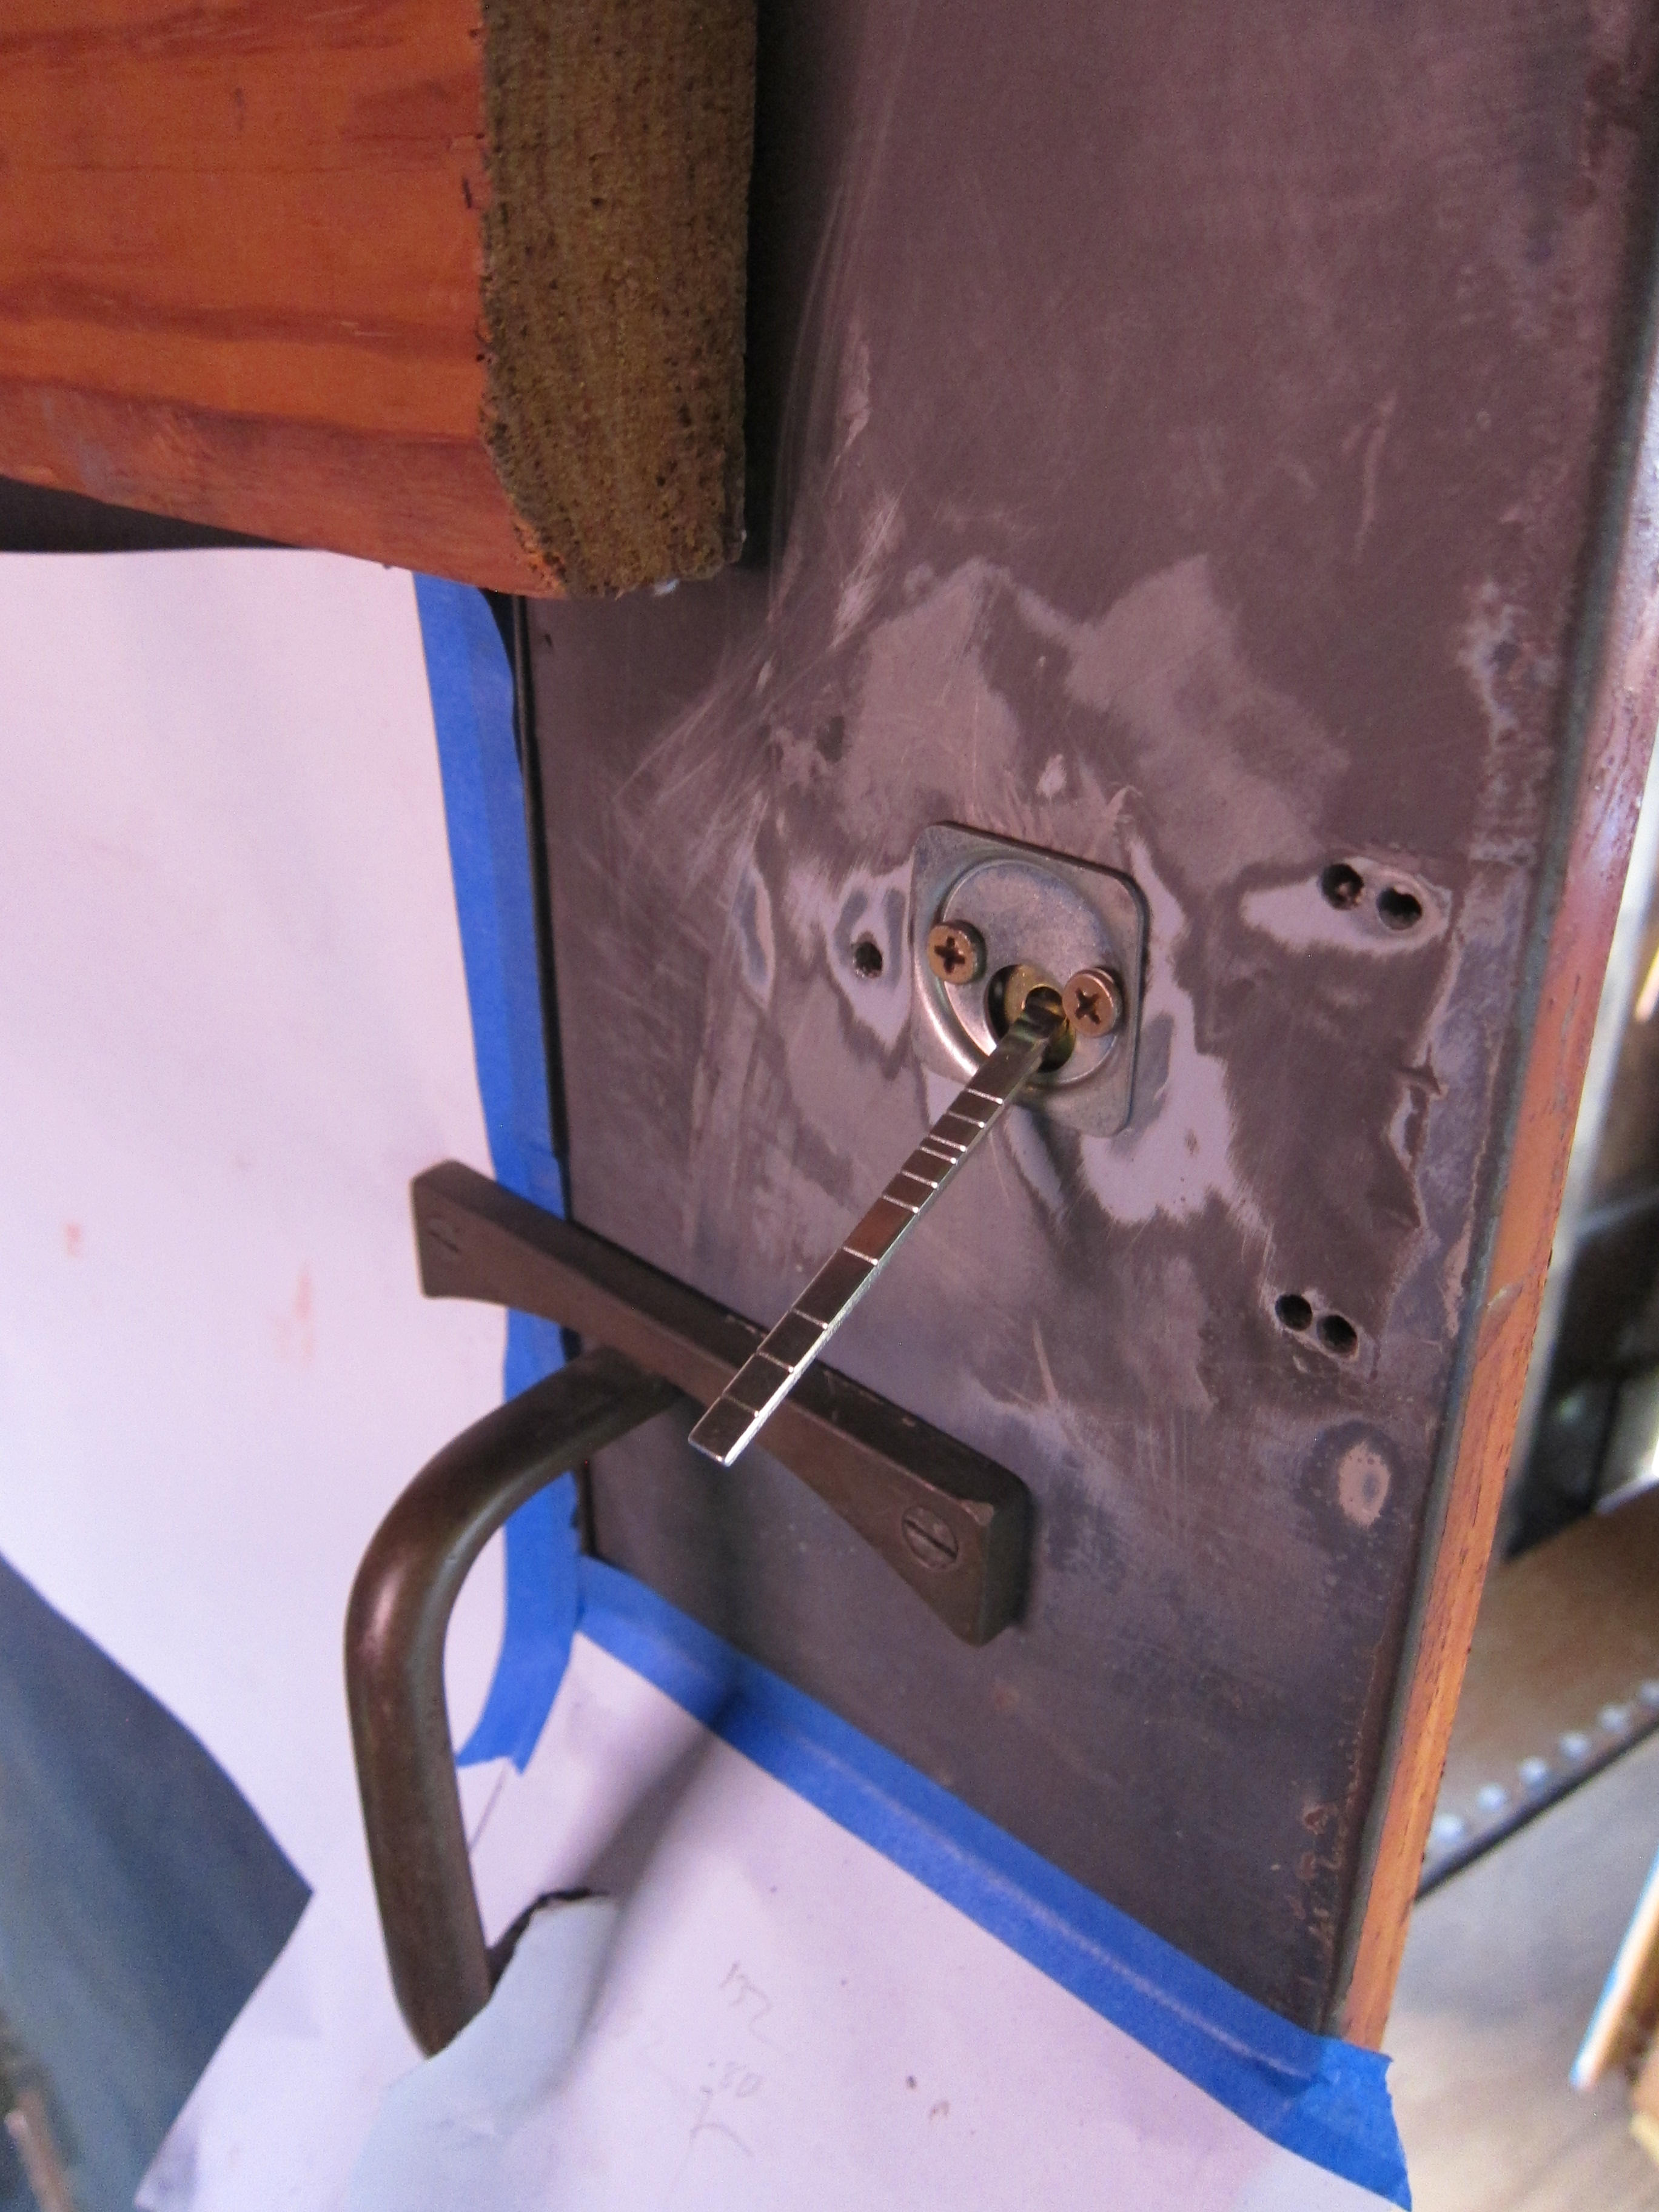 | The inside just before touch-up paint, awaiting installation of the deadbolt. |
UMLER has a growing capability to track individual components such as wheel sets, bolsters, truck side frames, couplers and (starting Sept 1st) slack adjusters - regardless of which railcar they are installed on. Here is the Umler Component Registry User's Guide. This may be related to a new Amtrak requirement for ultrasonic testing of axles, stemming from a November 2012 near-derailment of the City of New Orleans. An 'experienced' axle in a private railcar had an undetectable manufacturing flaw. Amtrak proposed inspecting and barcoding *every* axle, so that records could be kept for its working life.
I discovered that Southern Pacific business car 100 "Airslie" is now at the Aberdeen, Carolina and Western. Sorry folks, I nabbed it's new electrical panel.