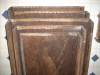
1146 Restoration Log - 2007
January's big accomplishment: I paid off 1/8th of the money I lost on 1146's mate. (Round-end obs 1195 in Pennsylvania.) That's more than I thought I'd get paid off, so resuming progress on 1146 is a little bit closer. Now, let's hope for a good tax return!
|
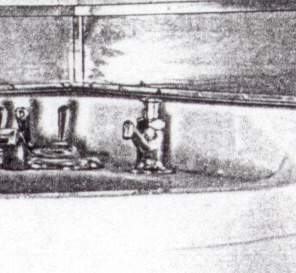
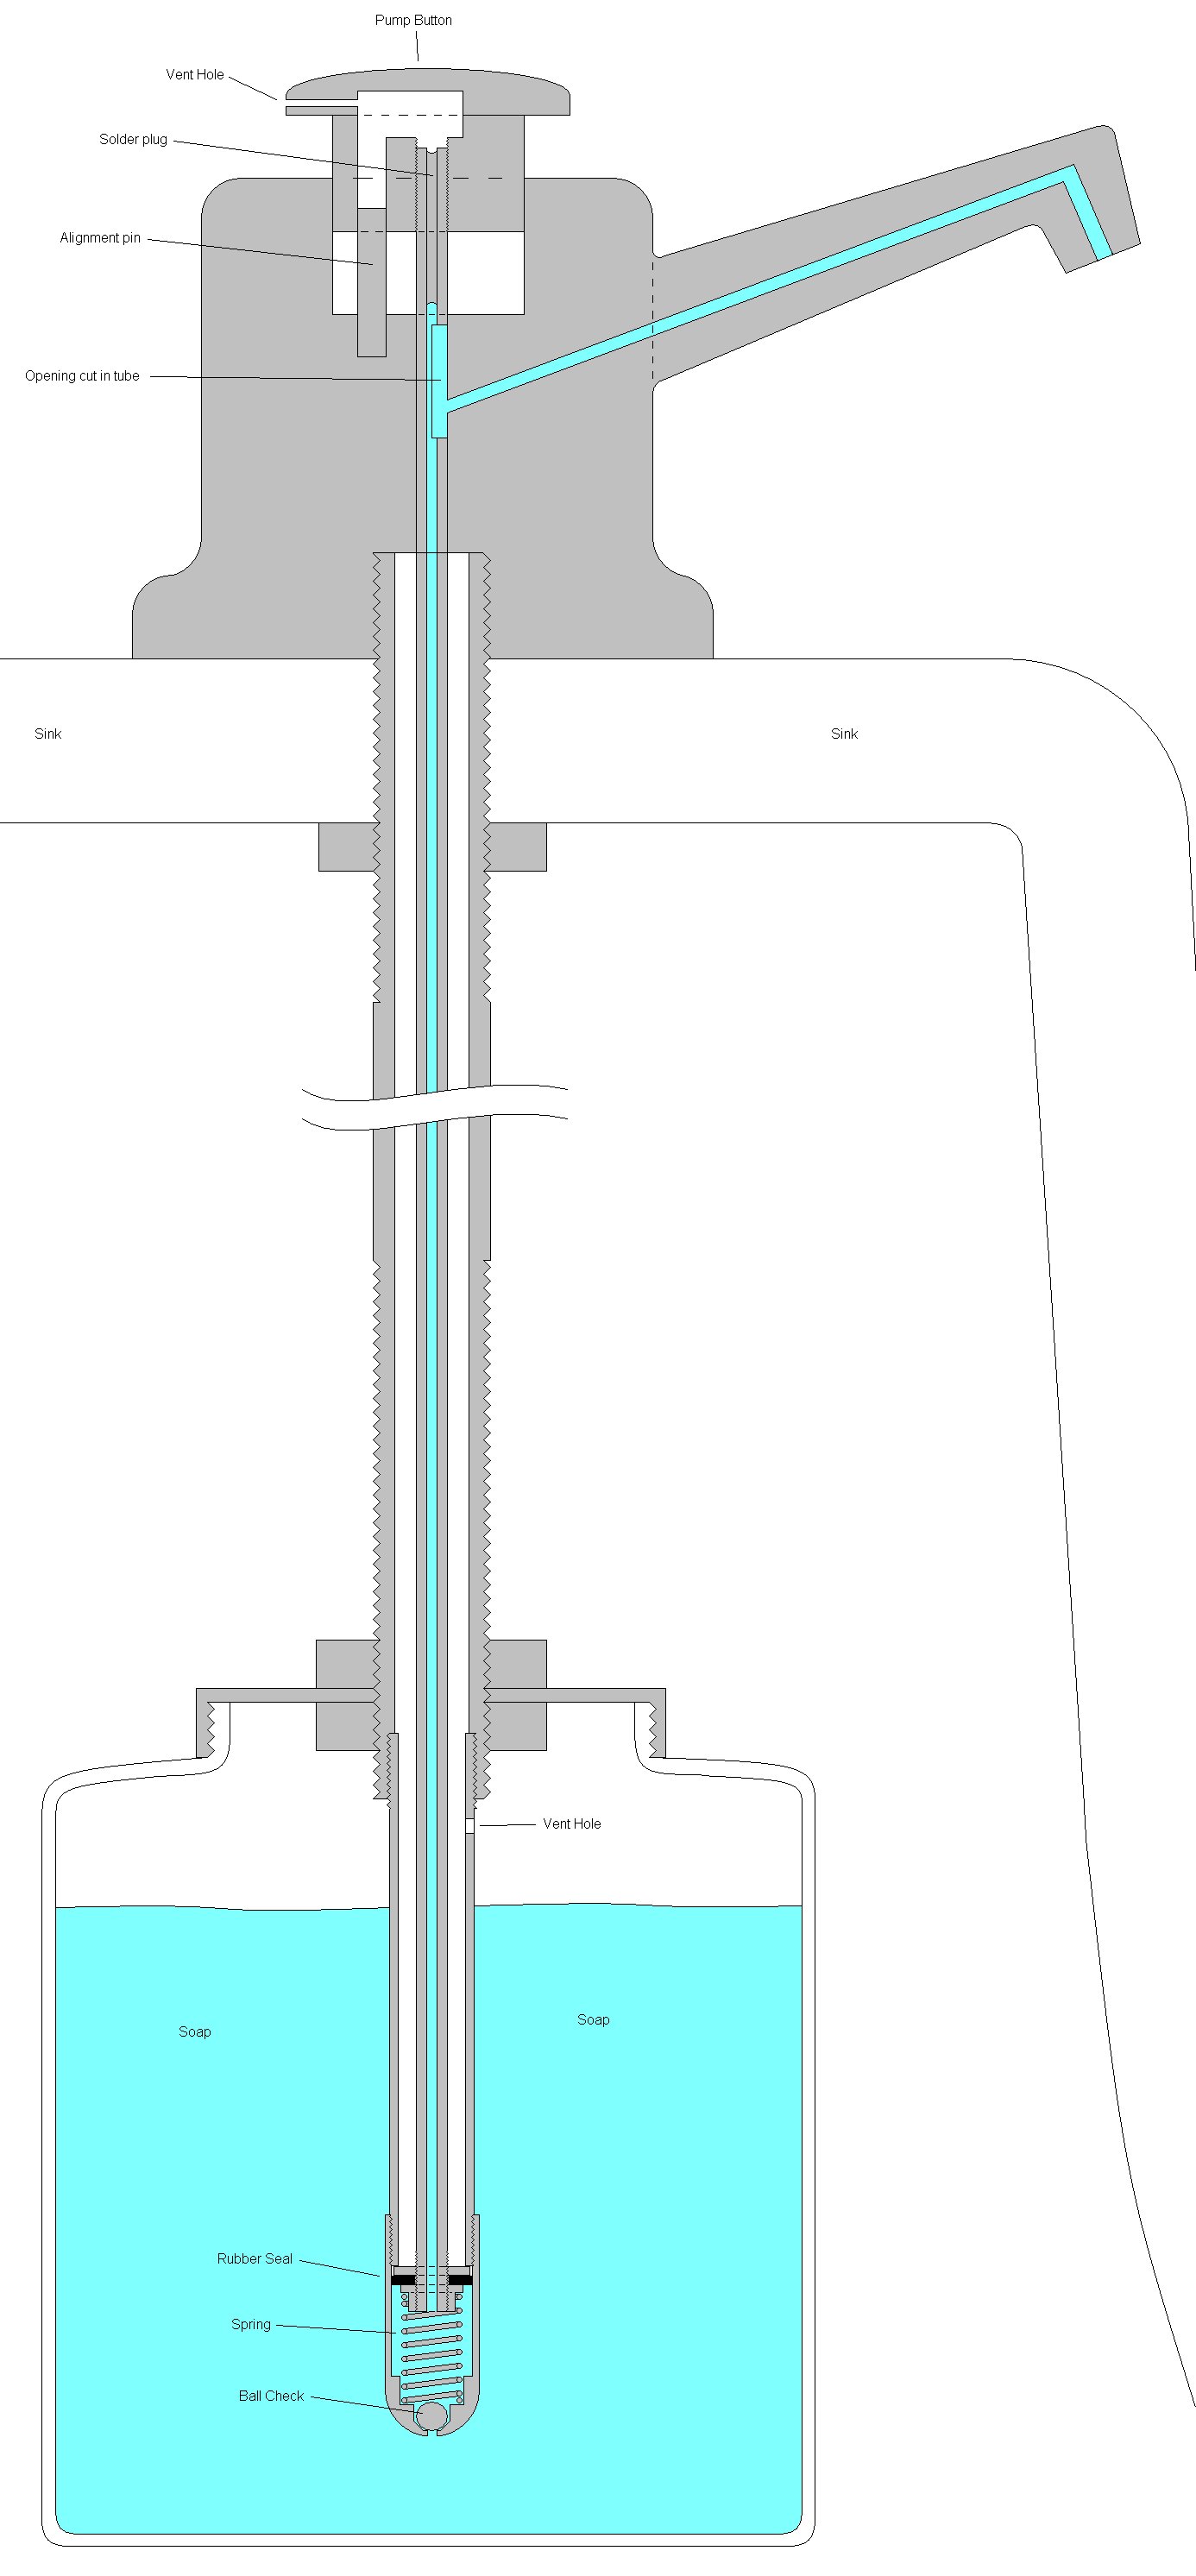
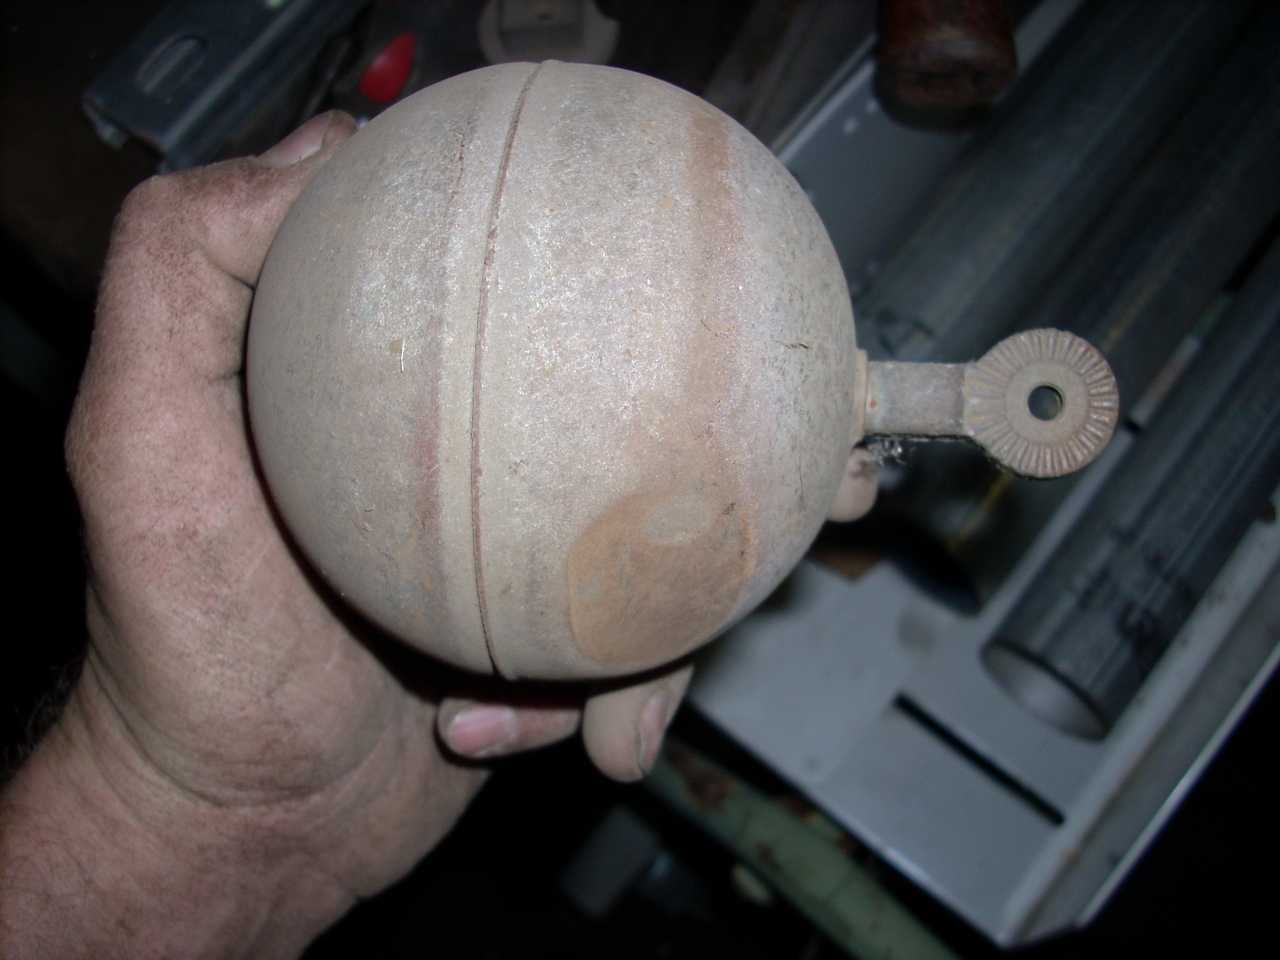
The original restroom soap dispensers disappeared long ago. Last year I bought five used, two of which were fairly close matches. One cold January day I tested them - none worked - and took them apart to find out why.
I had a couple learning experiences (oops) so I drew the diagram below to help the next soap dispenser repairman. (Simplified and not to scale.) Everything should unscrew easily - but didn't.
A quick check of bathroom hardware vendors shows modern replacements cost $50 to $120. Tempting - but it might be hard to find one that looks "1950s".
|

|
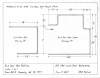
Click the thumbnail image to get the full-size drawing.
1146's originals had a push-button top, and a fixed spout. Others (not drawn) are simpler. Their spout is part of the push-button top.
The first problem I found was the liquid soap had dried out and solidified. A length of HO scale handrail wire, wound into a spring and then stretched, made a nice corkscrew for roto-rooting the inside of the tube.
The second problem was the spring. It had rusted away, leaving the pump portion packed with orange soap/rust powder. Happily that is the only part that can rust.
Problem three was the piston packing. It had been a flat rubber washer in some, and an O-ring in others.
Last, at the top the inside tube slides inside a tight passage. The tube is notched to transfer the soap into the spigot. That passage had worn, allowing the body to fill with soap. A machine shop could bush it back to proper inside diameter.
|
A couple minor parts cleaning items accomplished: The final men's room door hing is finished, and I started stripping paint off the aluminum strips that trim the wall and ceiling joints.
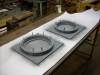
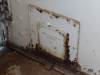
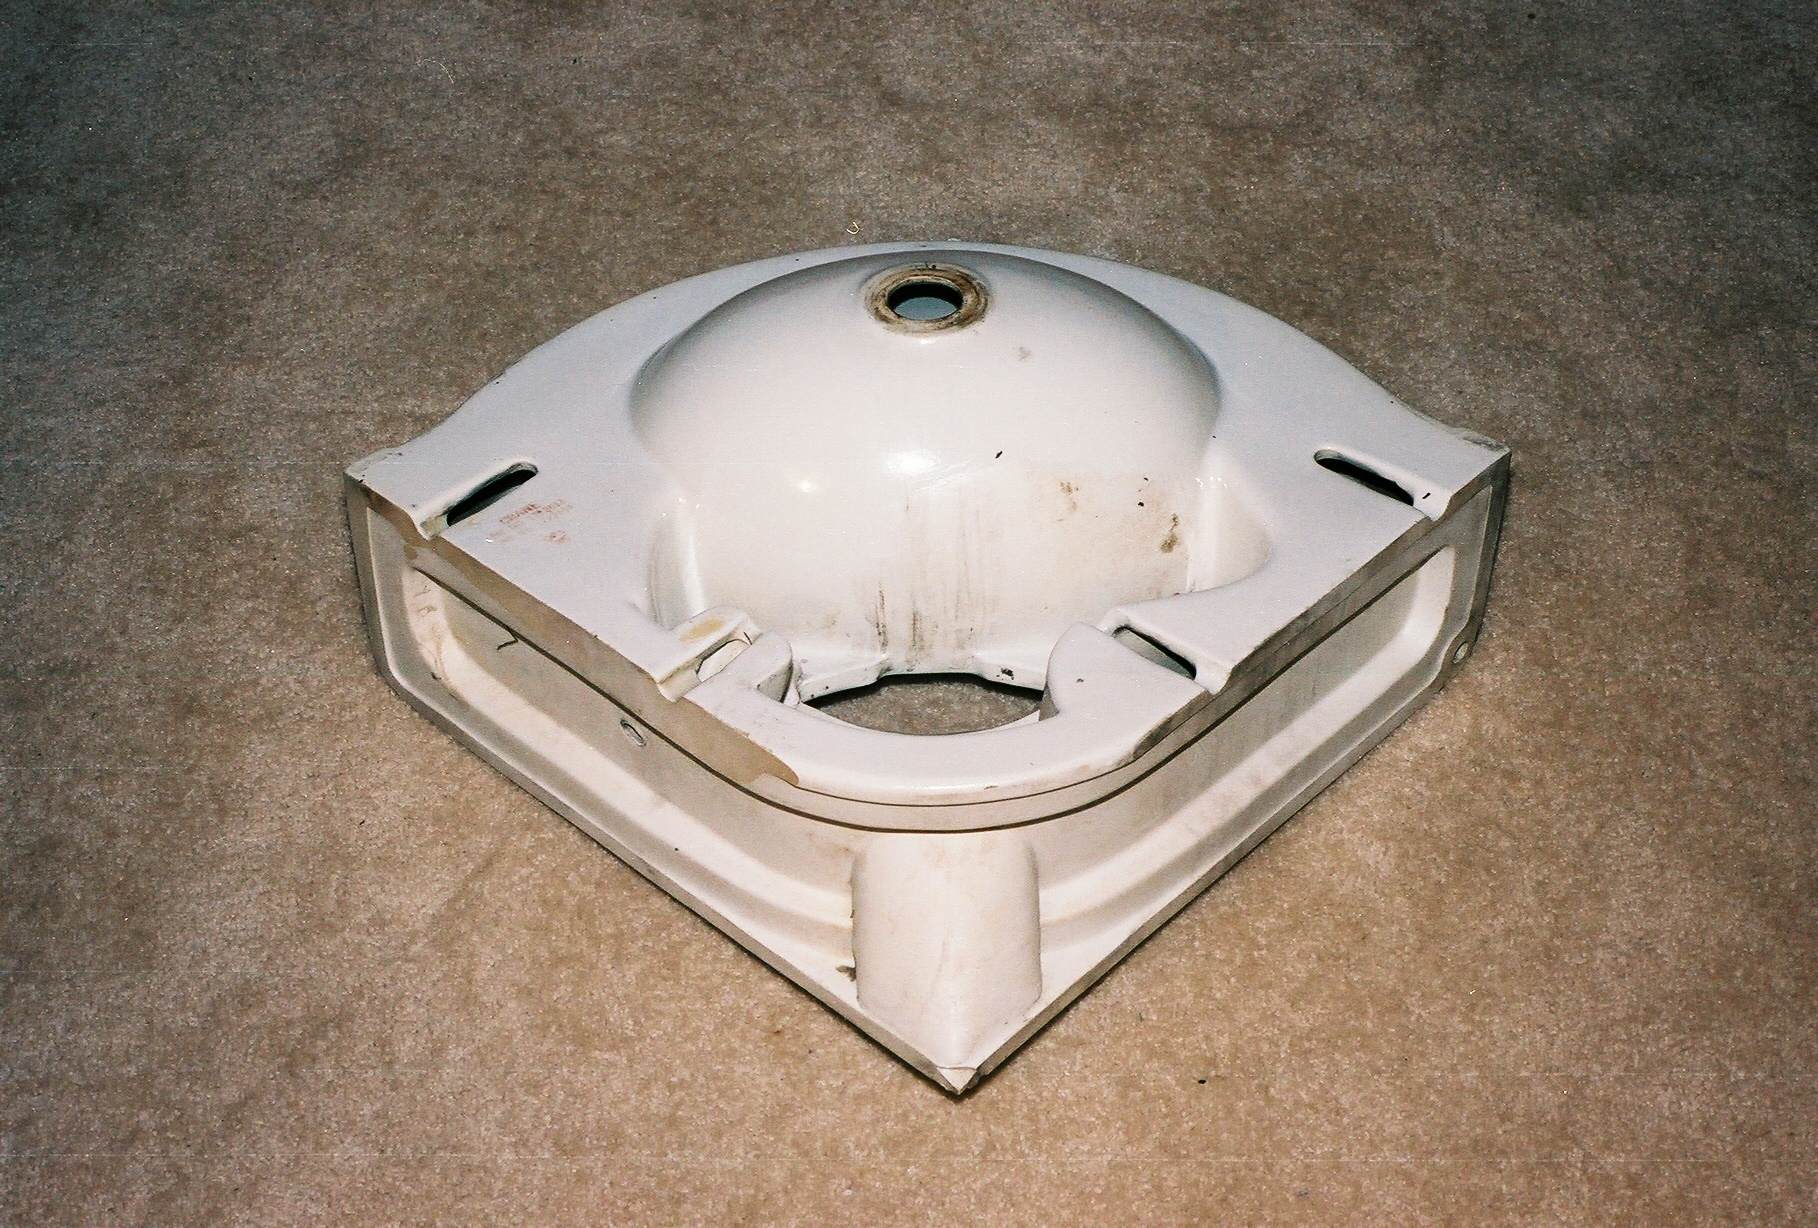
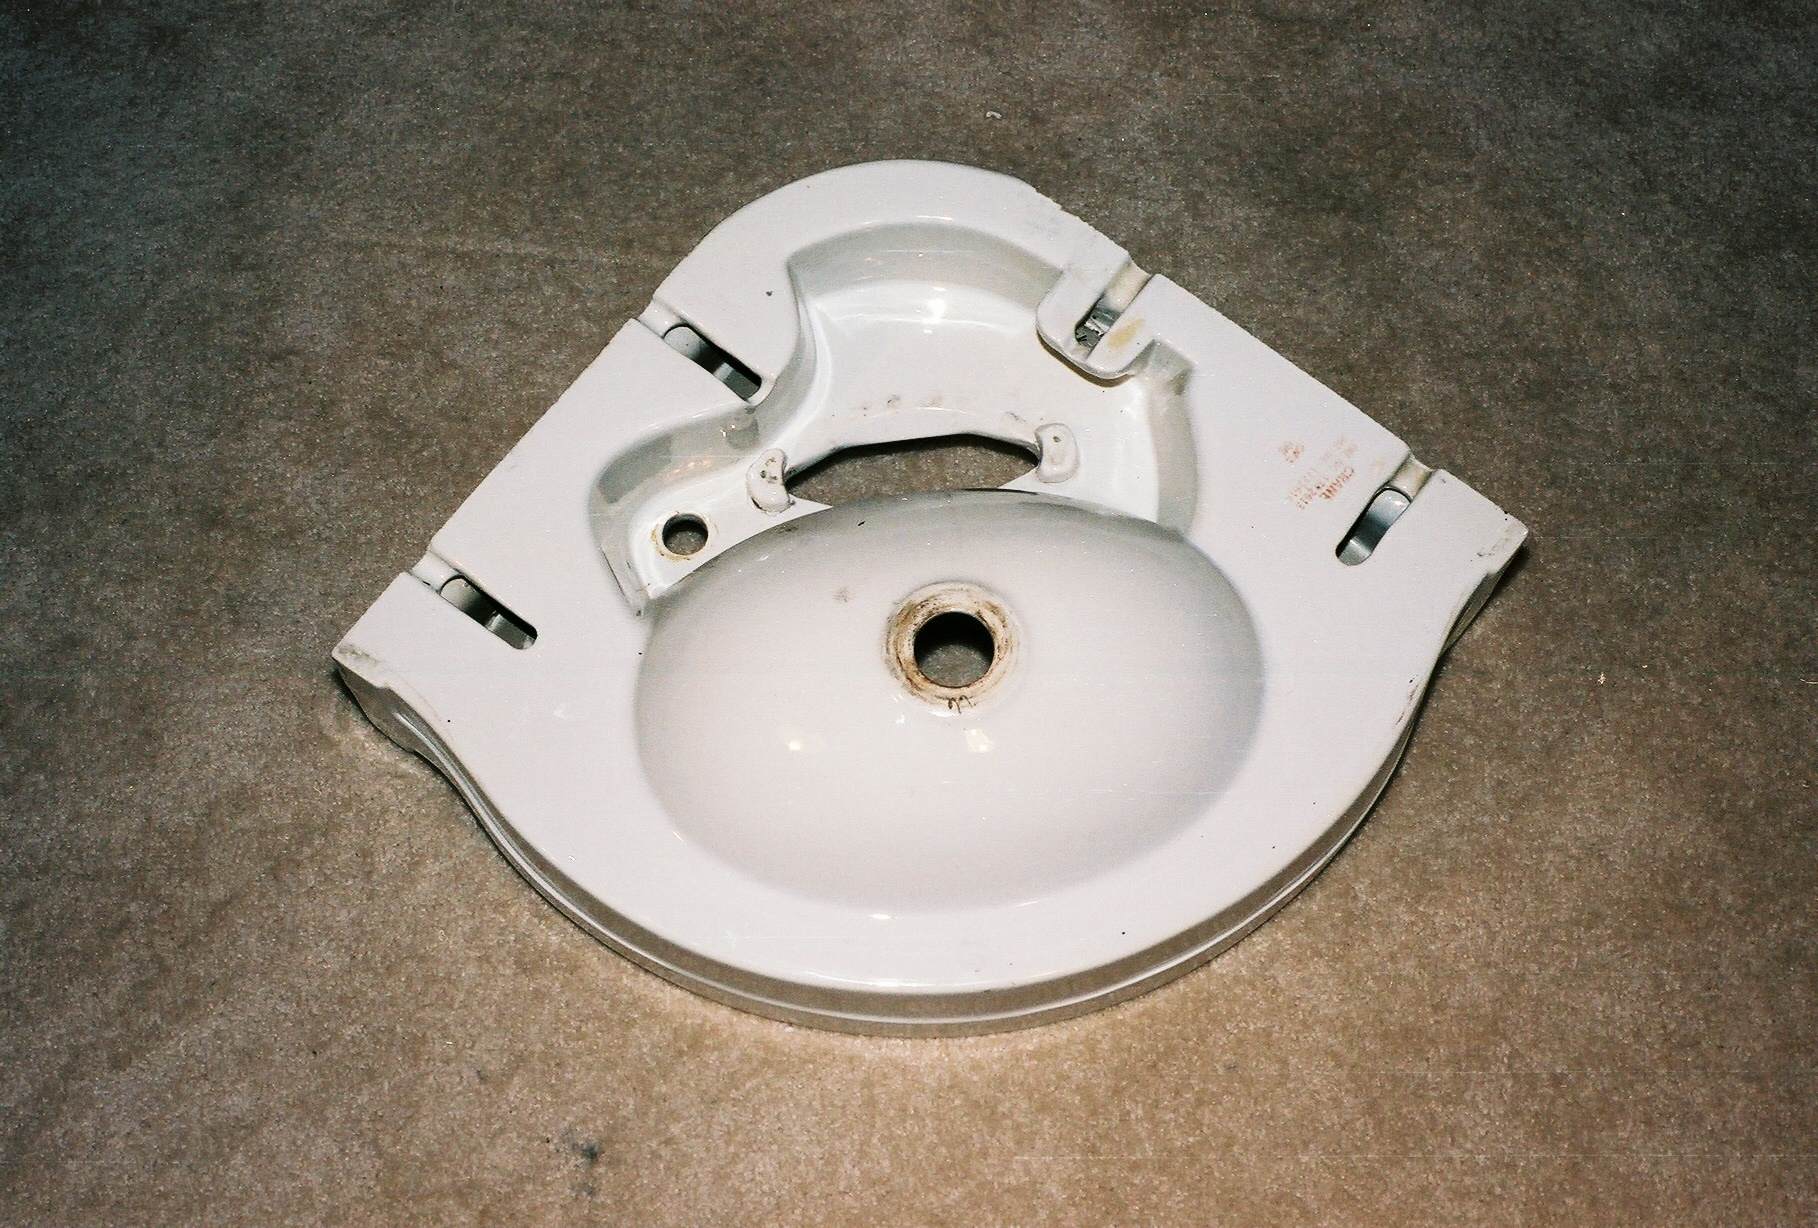
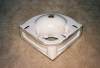 | The underside of the restroom sinks were black with something that looked like oil residue, soot, and rust. I put the women's in my tub and used lots of Comet gell to clean it up. |
 | Just in case anyone needs an anatomy of the underside of a corner sink... |
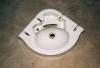
 | On that same sink, I want to change out the drain. The nickel plating is wearning off and it looks bad. It should have just unscrewed, but refused. I ended up pounding out the plumber's putty, rubber gasket, and rust, then cutting the drain out with a Dremel. (Being careful to save the lower portion.) I only have an identical spare for the top half. After several attempts, a bench vise, easy-out and lead mallet proved best for persuading things to unscrew.
|
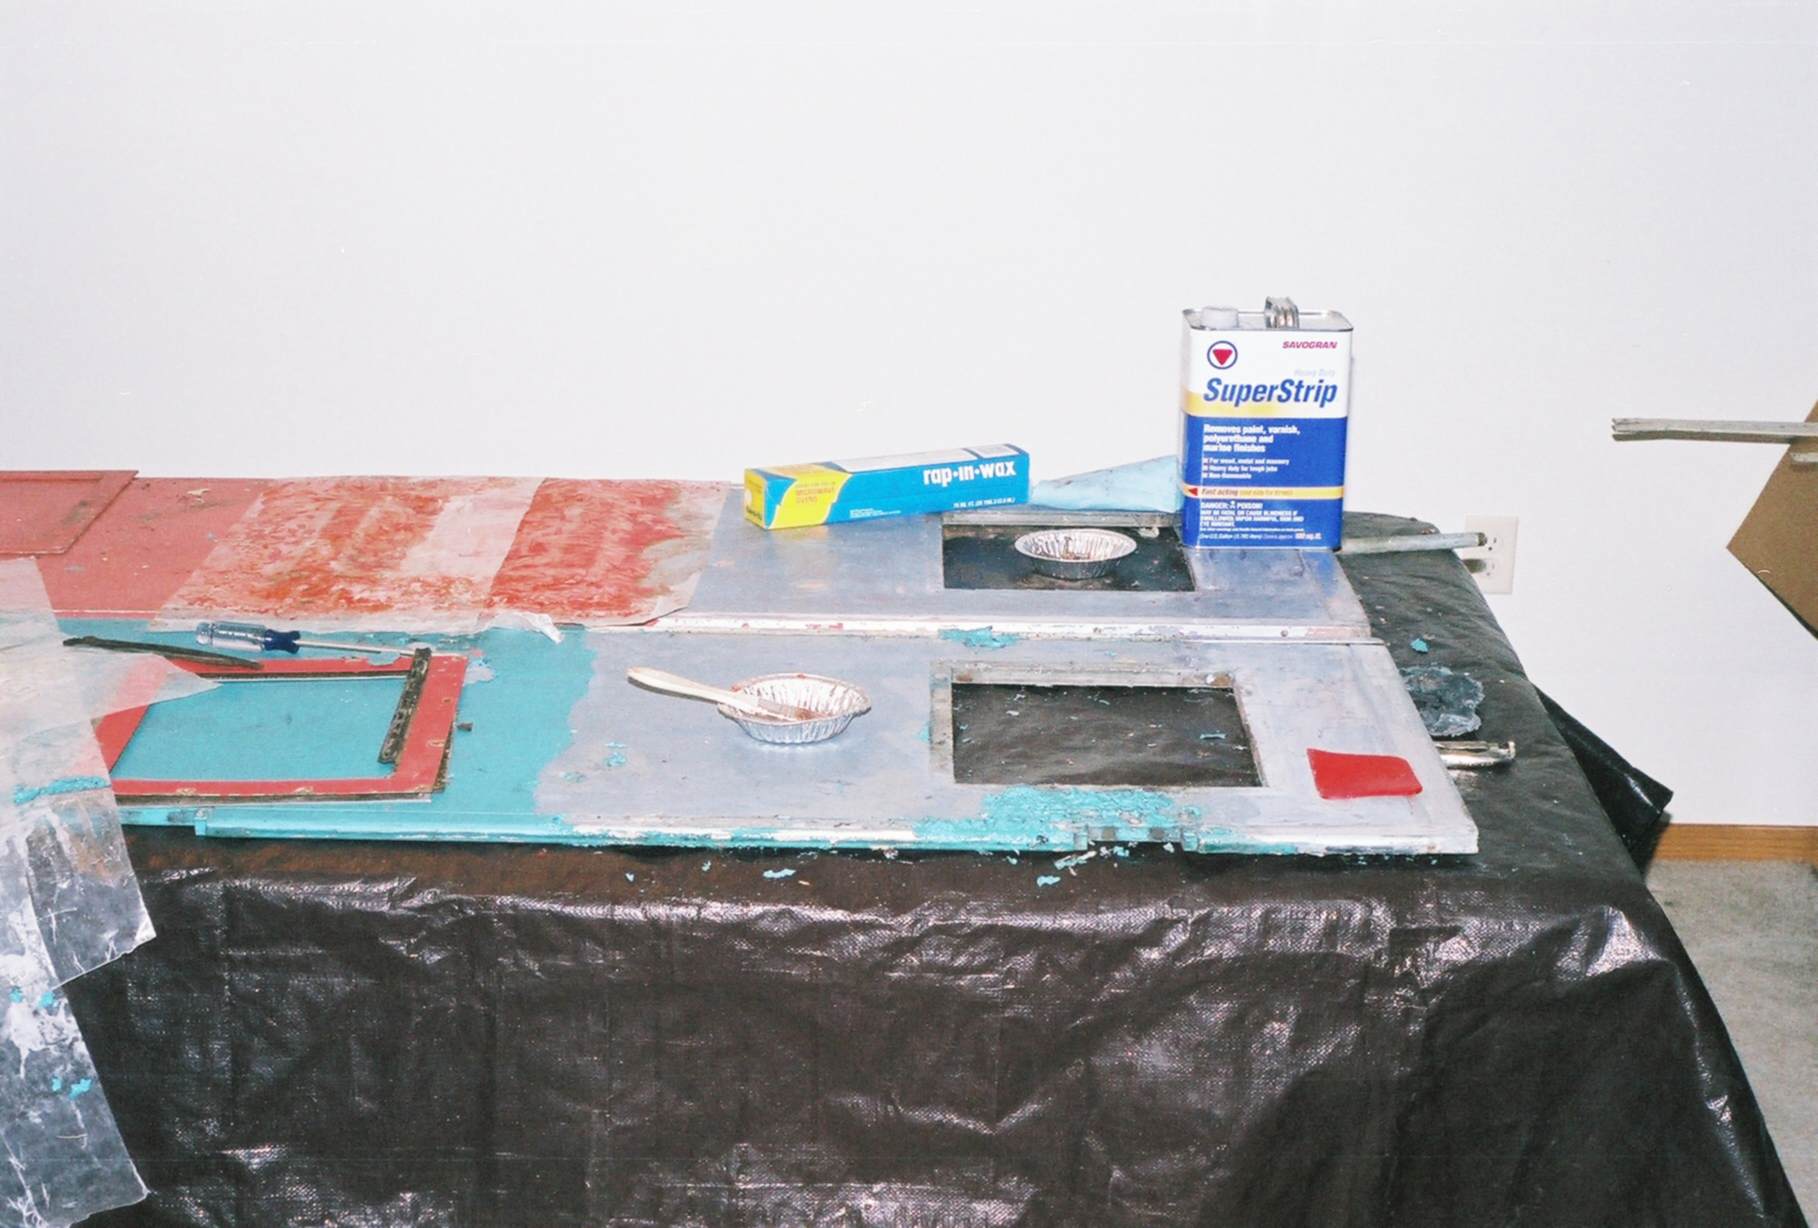
 | I also started redoing the restroom doors. After removing the hardware (louvered vent panel from men's) the paint stripper went on. The wax paper keeps the stripper from drying out too quickly. This stuff stinks - one patch an evening is the tolerable limit. The grey left after stripping is the original paint. I dicovered Amtrak used bondo to fill dents before painting. I'll have to do the same with some newer dents. The edging on the men's (blue) will need repair as well. It's been damaged by rubbing on the floor. |
The tax man smileth on me. He says the Government owes me a refund - enough to pay off 3/8's of what I lost on 1146's mate. That means I'll have funding again in June rather than August.
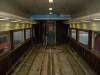
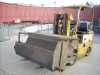
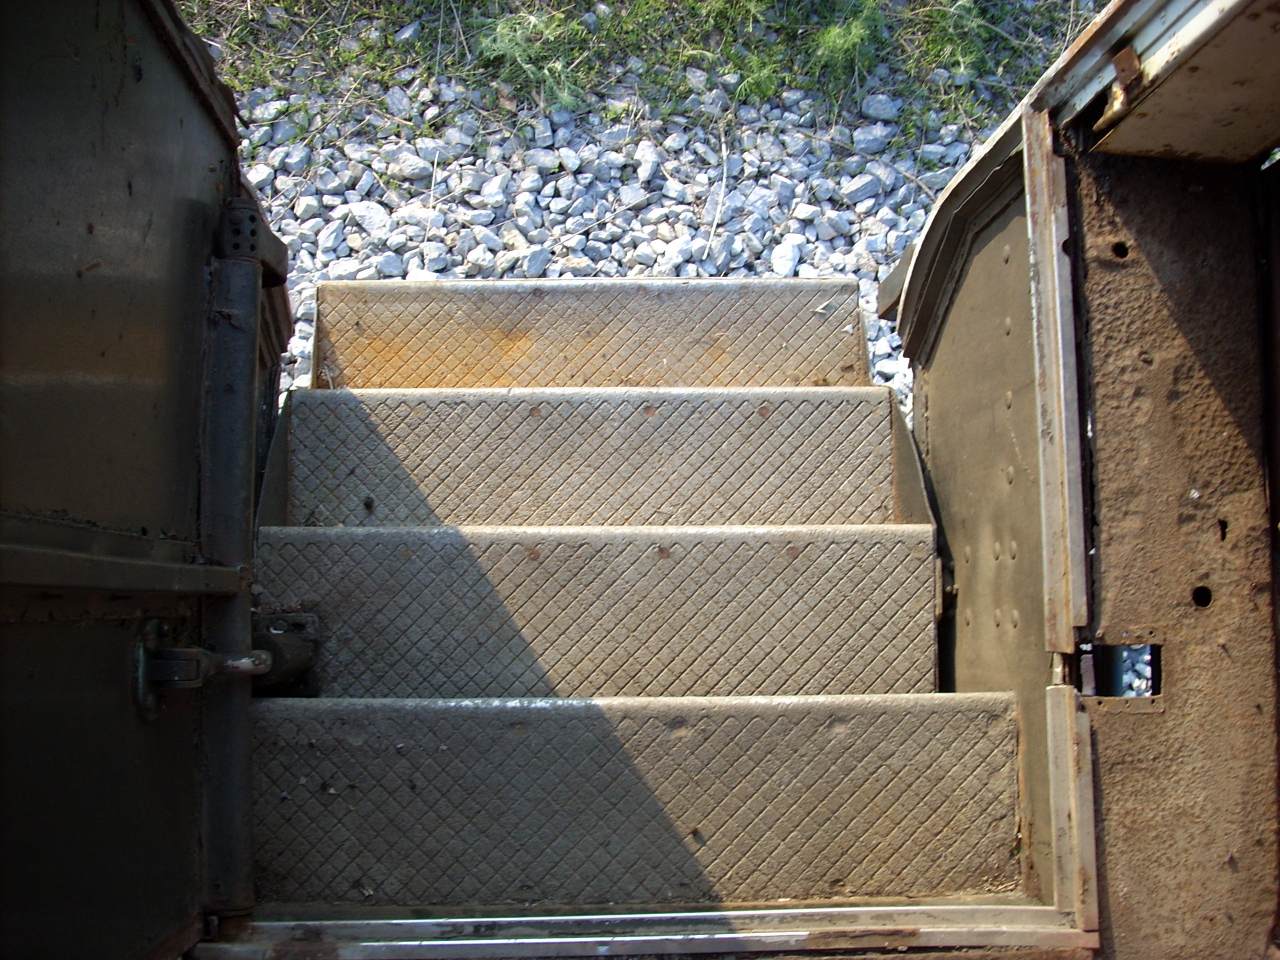
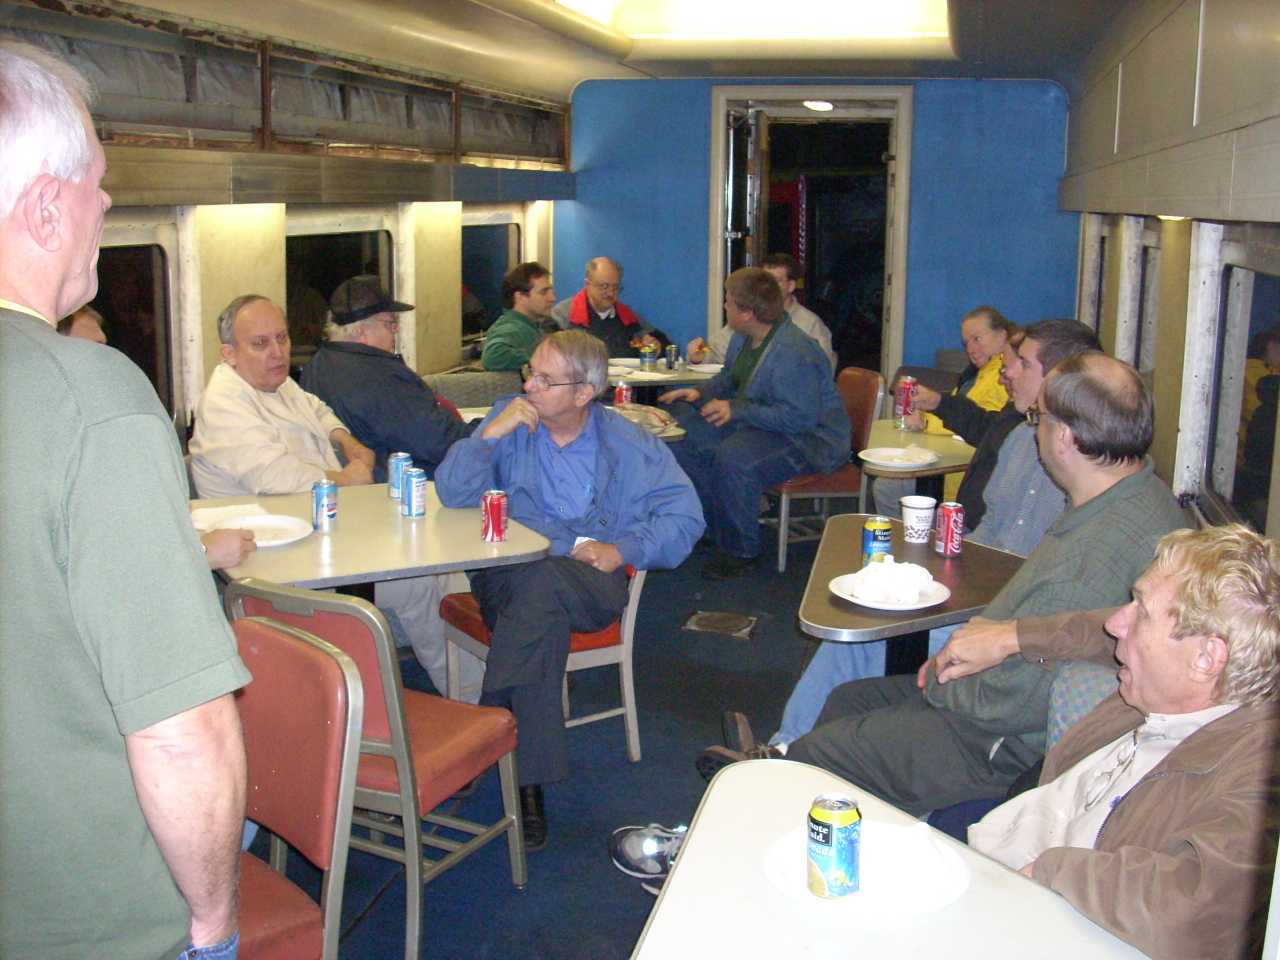
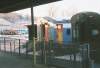 | February visitors to MTM are greeted by this sight if they venture out to ride the train. 1146 is keeping company with NP Russel plow 30 and GN "Twin Ports" 1084. This was during a two-week cold snap during which we never saw positive temperatures! |
Invention & Technology magazine's Winter 2007 issue (Volume 22 Issue 3) had a very interesting article on "shot peening". They started with the famous swords of Toledo, Spain, which could be bent double innumerable times without breaking. Their closely-guarded secret, it turns out, can be duplicated with glass-bead blasting. The round impact craters create compressed zones in the metal. Pack those craters closely enough, and the steel has a skin "too big" for it. Just like tempered glass, all the tiny cracks close up, rendering it impervious to stress fractures. Very cool.
(My inner geek wants to say: I once saw a physics professer demonstrate tempered glass. He said glass is extremely strong - but extremely brittle. It may appear to have a smooth surface, but under a microscope has thousands of minute surface cracks. Math says the stress caused in a material by a crack is proportional to its depth and to the inverse square of its root diameter. So, a shallow crack with a large-radius root causes very little stress. On the other hand, a deep crack with a teeny-tiny root diameter will travel rapidly through the material. Tempered glass has "big" skin bonded to a "small core", so the skin is under compression and the core is under tension. That closes up all the cracks, leaving the glass very strong and durable. The professor demonstrated this by putting a large, tempered window pane between two chairs and jumping up and down on it. Penetrate the skin, however, and the forces become unbalanced. He held the pane up with pliars and drilled through it. It suddenly shattered into a million tiny pieces. Ye gads physics is fascinating!)
 | That glass bead stuff got me thinking. Glass bead should be nearly as agressive as sand blasting for paint removal, without tearing up the surface of the metal. Hmmm. Those louvered panels from the restroom doors would probably clean up real nice with glass bead blasting. So, I found Mars Co., a Minneapolis- and Duluth-based on-line shop supply place, who had glass bead to sell. I bought 50 lbs (one bag) of Potters Industries Inc. "Ballotini Glass Bead Impact Media", US sieve 60-120 (150 to 250 microns, or .0059 to .0098 inches) for $33. The stuff looks like flour - or what one might find in reflective sheeting. |
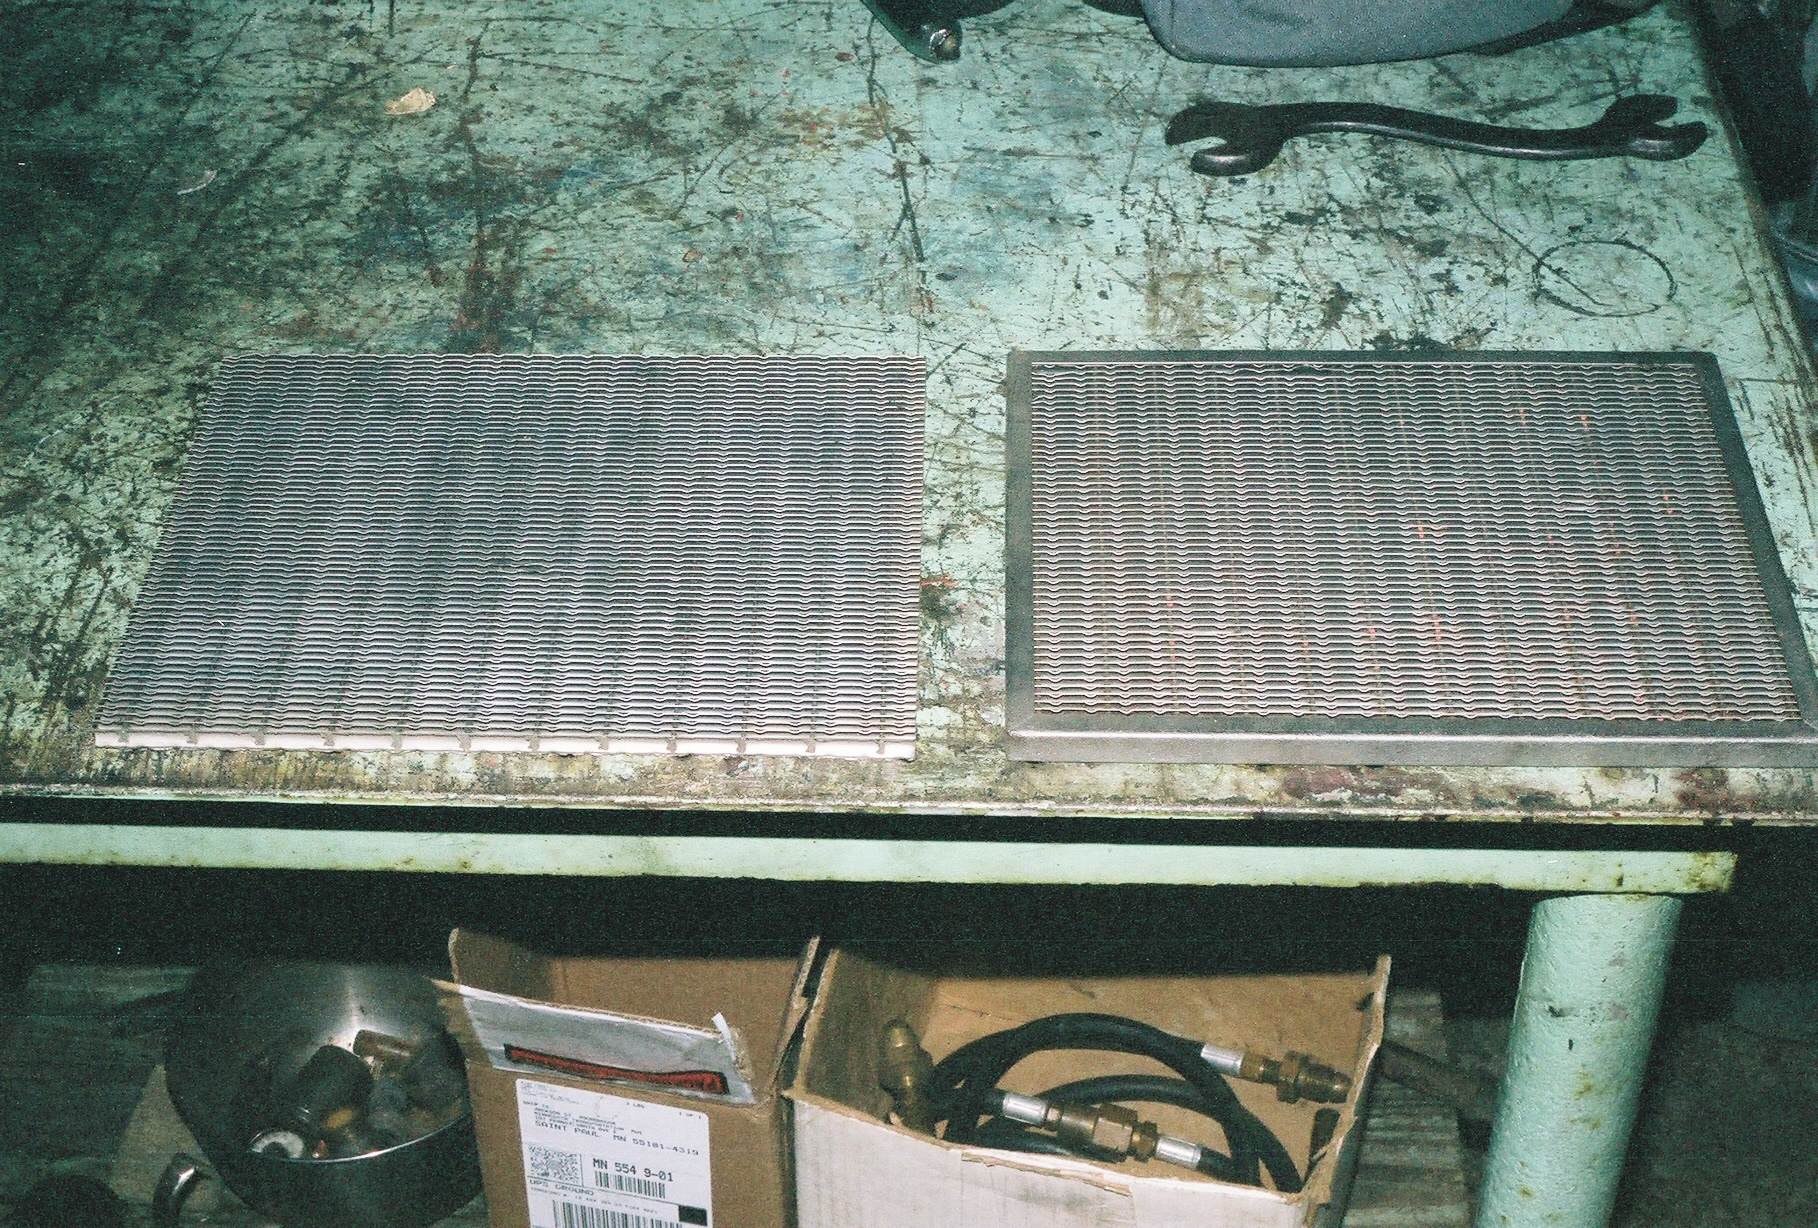
 | Let me tell you, it does a magnificent job cleaning up parts! Here are the restroom door louvered panels after cleaning. The left came from the men's, and is presumably original 1950 ACF. The right one I salvaged from a circa-1947 Pullan C&NW '400' coach. The core seems to be the same (made of Monel?) - only the border is different. They were both installed with felt gaskets to eliminate squeaks.
One caution: Glass bead blasting will change a high-gloss finish, such as nickle-plating, to a matte finish.
|
Several evenings have been spent on restroom sinks and doors - pluggin' away at em.
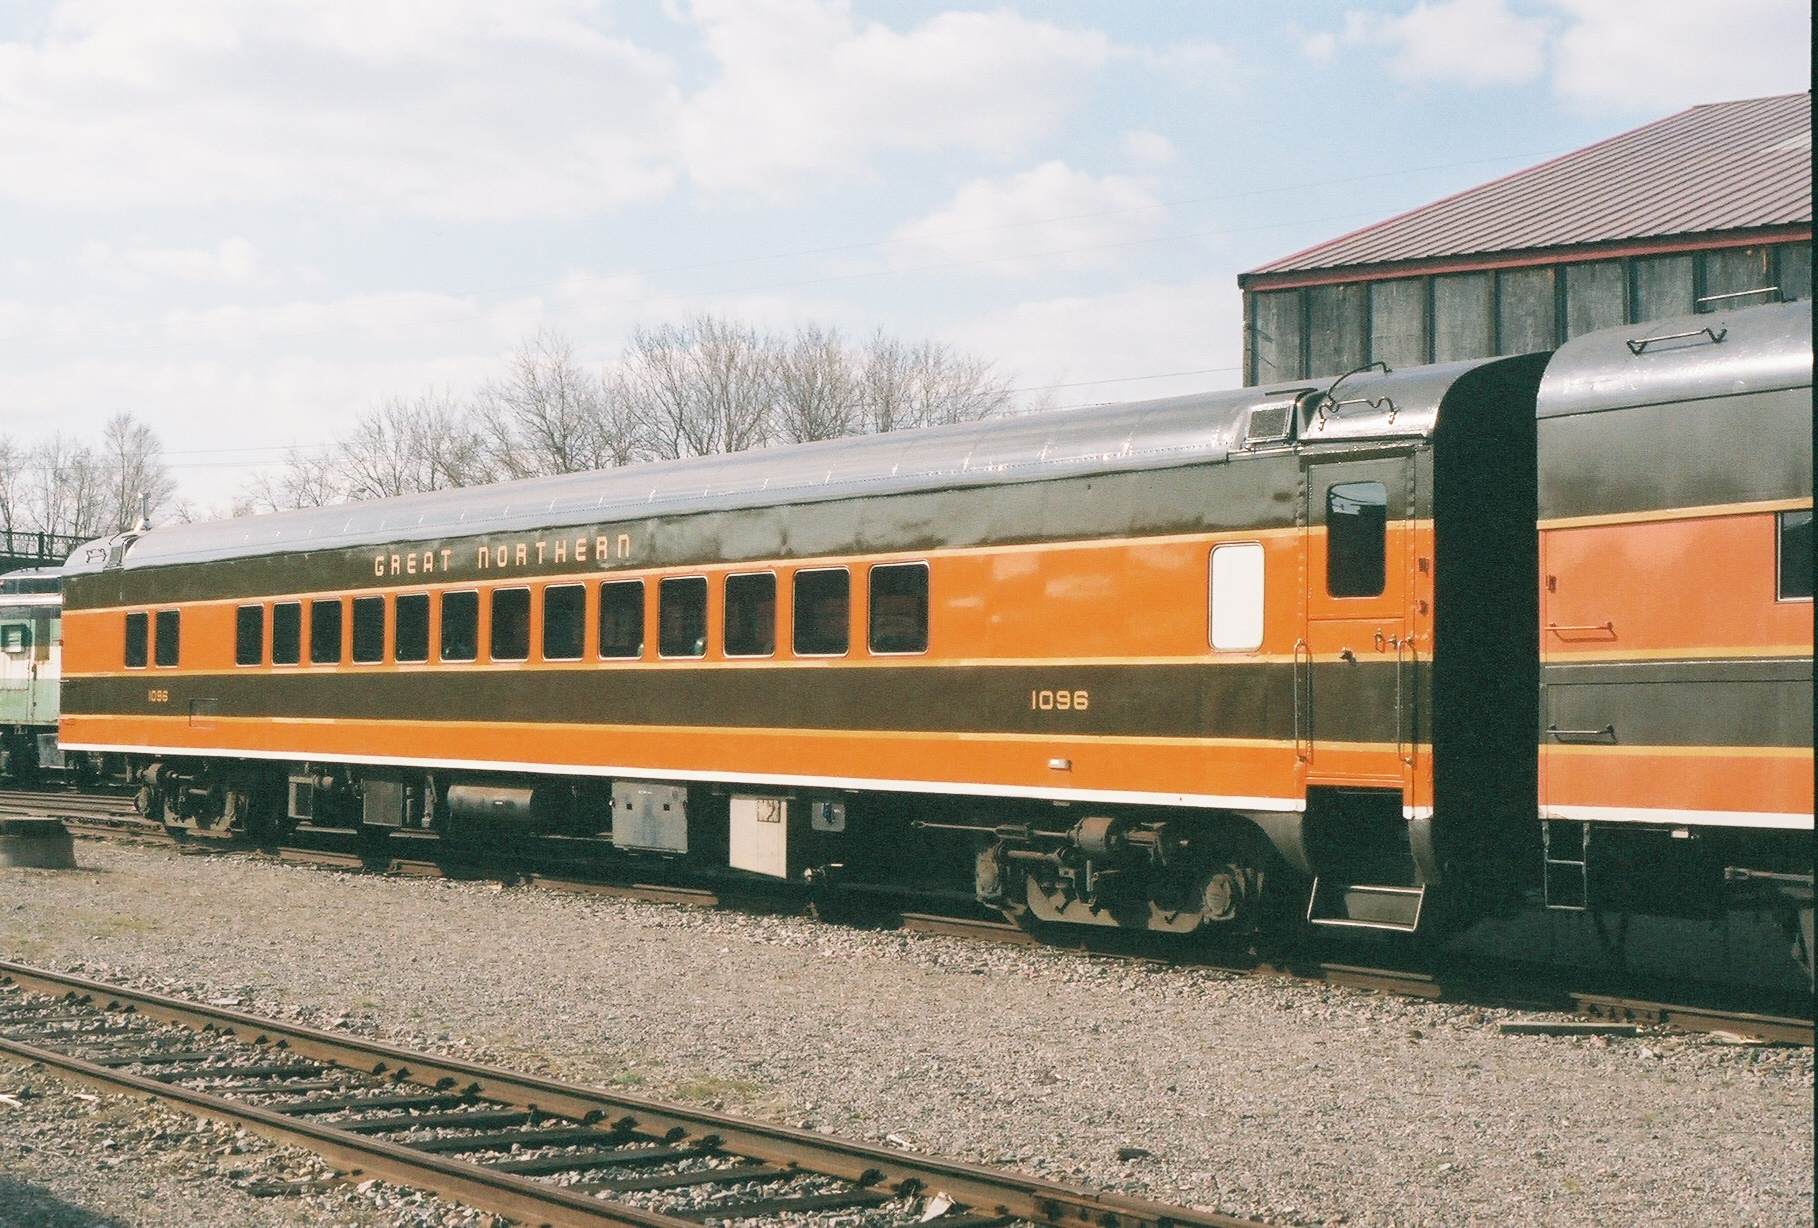
I've barely touched 1146 this month. I volunteered to back-date MTM's coach GN 1096, by removing the GN-applied axle driven generator and installing a Waukesha propane-driven Enginator. It's due in Osceola in Mid-April, so I've been working long hours to finish the project.
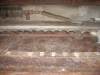
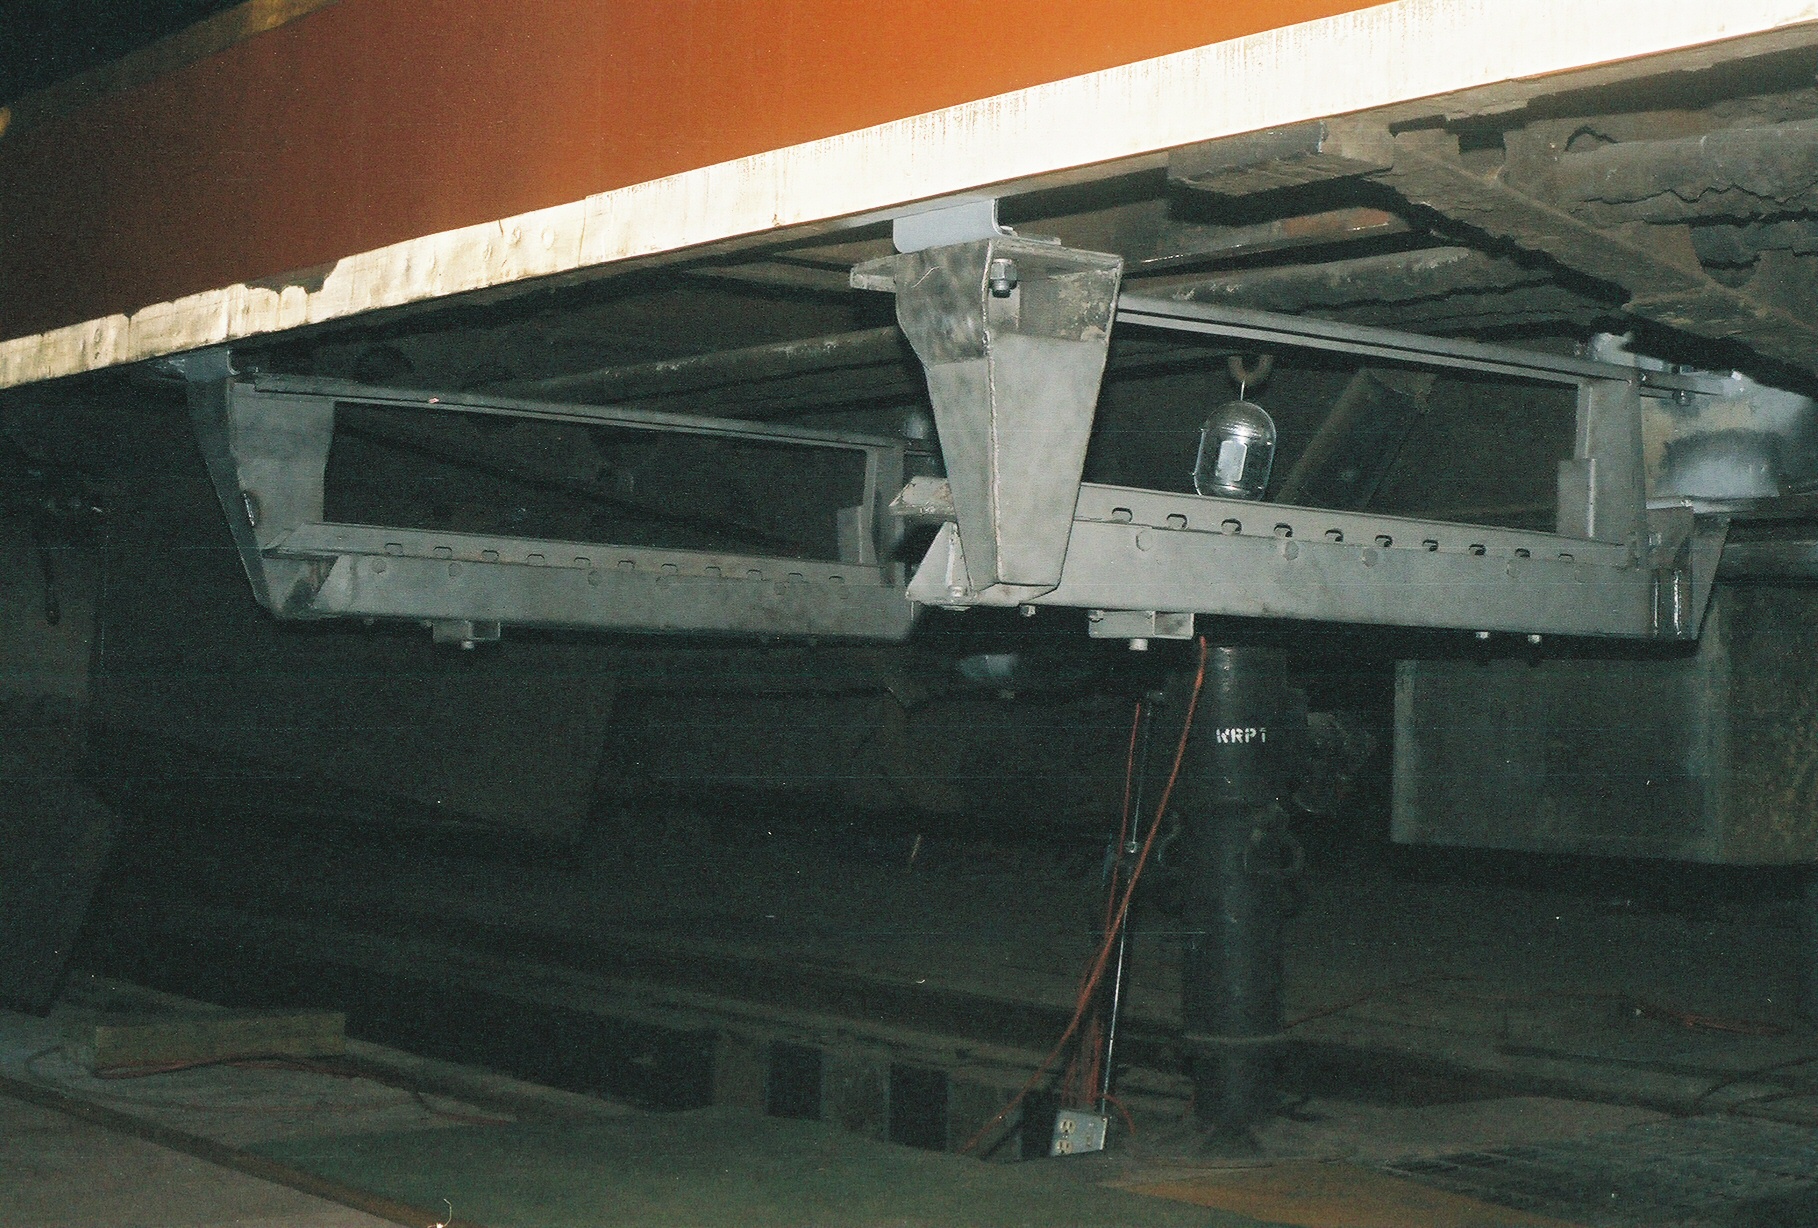
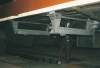 | Here's a work-in-progress shot. These roll-out rails came off some heavyweight. MTM probably got them from BN's Como Shops. We cleaned and straightened them before installation. This is original equipment for 1096, so installation was (almost) as simple as finding where the originals had been torched off. |
If you wondered why I was thinking so much about glass bead blasting to strengthen steel, 1096 is why. I used it to strengthen certain critical welds. Having the bead available to clean 1146 parts was a bonus.
Here's a neat trick 1096 taught me: To get something perfectly square to the center sill, like a roll-out rail, grab a tape measure. Clamp the piece in place. It's slightly more than 4 feet between center sill and side sill. Make a mark on the piece, exactly 4 feet from the center sill. Now mark the center sill exactly 3 feet from the piece. Now adjust the piece so that the two marks are exactly 5 feet apart. It is now at an exact 90-degree angle to the center sill. (Its high-school algrebra. In a right triangle, the sum of the squares of the sides equal the square of the hypotenuse. What's sad is how long it took me to remember that.)
I'm proud to announce that the "Pennsylvania Boondoggle" will be off my back in Mid-April. I'll then be able to resume charitable giving and my spending on 1146. What then? That's the debate I'm having with myself. I still have debt for things I bought. (A convertible...) If I keep paying down debt like I have been, I'll have more buying power because the bank will be demanding less interest. On the other hand, I really, really want to get certain expensive 1146 items out of the way.
Since my last entry I've been 100% scrambling to finish the generator install on MTM's GN 1096. It turned out pretty well.
 | The finished right-side rail and equipment, in grey primer. |
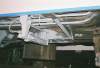
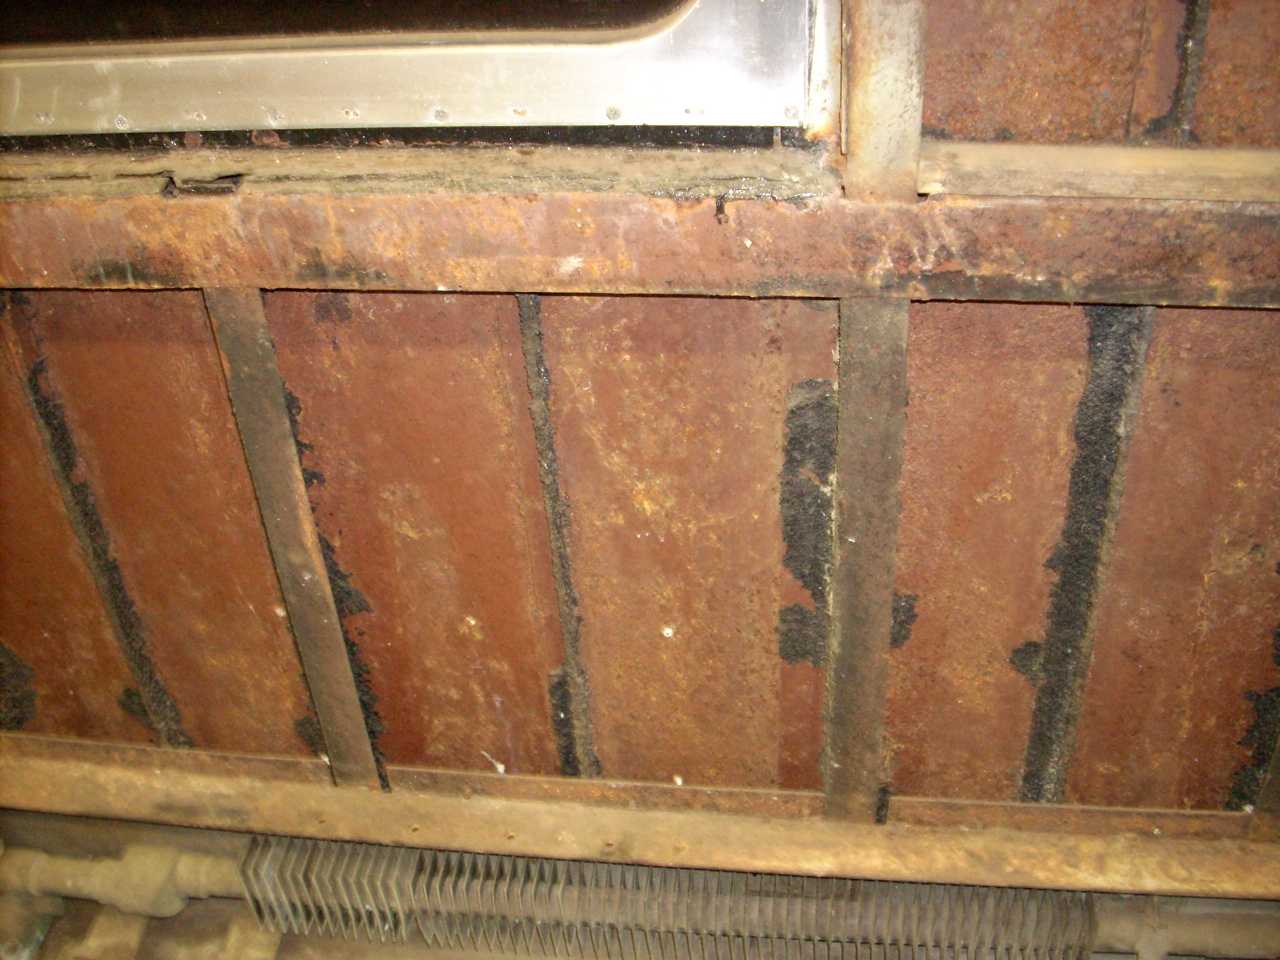
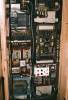 | The electrical cabinet. GN shops did a pretty good job removing everything Waukesha-related. We removed the 4kw axle generator regulator and reverse current relay, and substituted a 1980's-vintage Amtrak solid-state 7.5kw Waukesha version. (Mounted on new phenolic.) A railroad signalling designer/maintainer - and MTM member - designed a simplified Waukesha Enginator control panel. We re-used the starting contactor, starting fuse and mounting rails, but substituted solid-state time delay modules and off-the-shelf relay modules. That little motor-gen in the lower left makes 4 amps of 120vac. It's needed for a propane-fired heater another member installed, so 1096 is now electrically self-contained and has hot water baseboard heat. All wiring is Exane transit cable, except the simplified Waukesha control panel which is wired with tefzel ETFE-jacketed aircraft wire. |
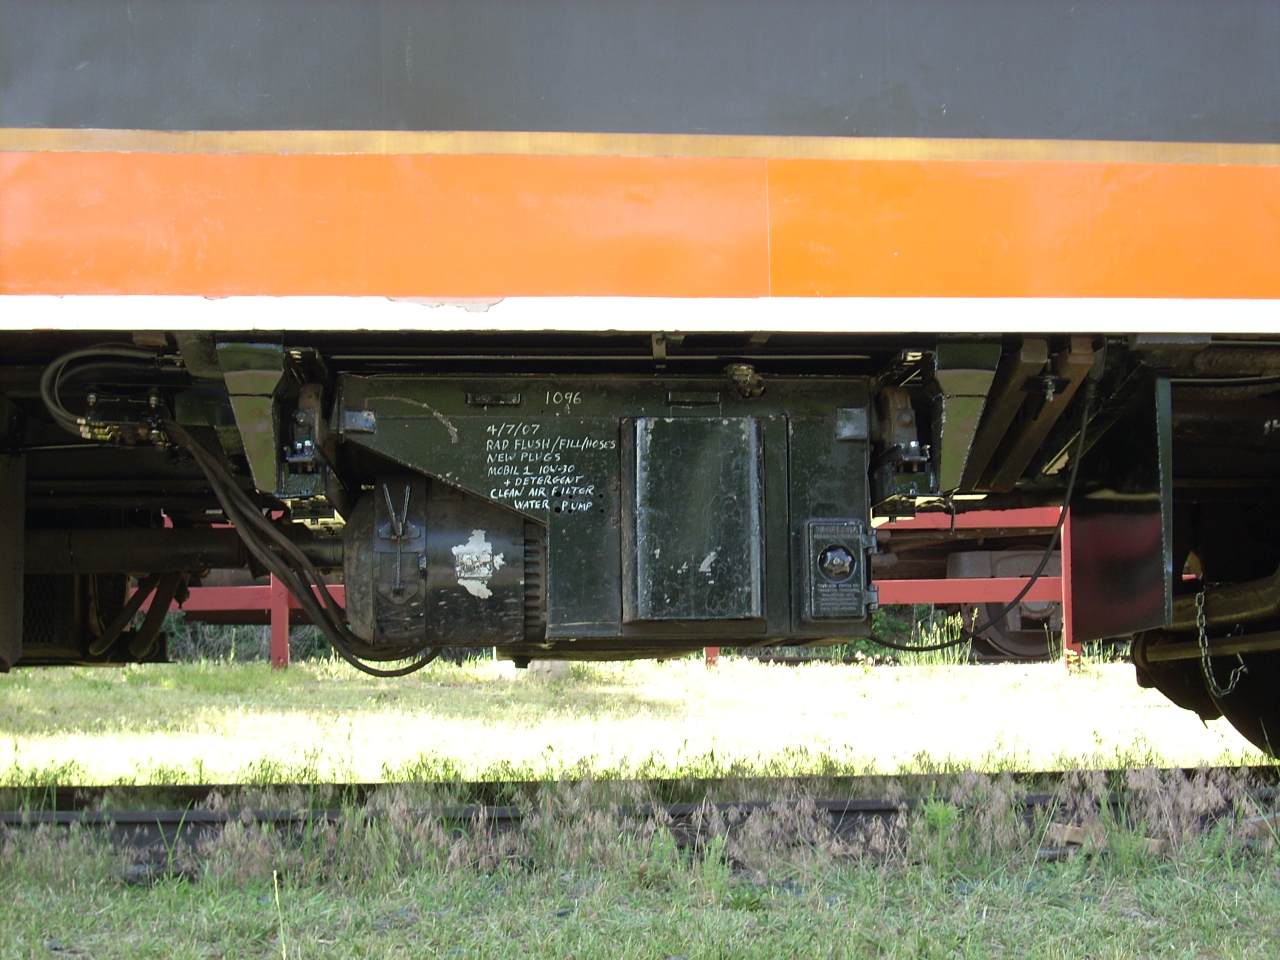
 | Here's the finished installation. Visible left-to-right are the propane supply pipe (mostly inside center sill,) electric terminal block (new conduit and Exane transit cabling,) generator in rollout rails, with maintenance reminders, propane cut-out cock and hose (barely visible on side of right mounting rail,) roll-out rail extensions, control wire cord, and rock shield. |
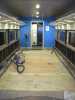
 | MTM's GN 1096. When I first met her ten years ago she was considered 'junk' and several in the museum wanted to disappear her. I've been on a mission to give her value again, and have literally thousands of hours invested in steelwork, FRA type-II windows, Microphore toilets, and now a generator. All the work paid off - the operating crews would have killed me if she wasn't ready for the summer operating season! |
It's official: My loss on GN 1195 in Pennsylvania is paid off. To celebrate, at the end of May I'm travelling east to help Ben Ringnalda for a week on GN 1291 St Nicholas Mountain. While I'm there, we're going to make a side trip to visit the master carpenter at the B&O Railroad Museum, who is a mutual friend. I'll travel via the Empire Builder and the Capitol Limited. Yea!
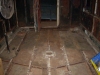
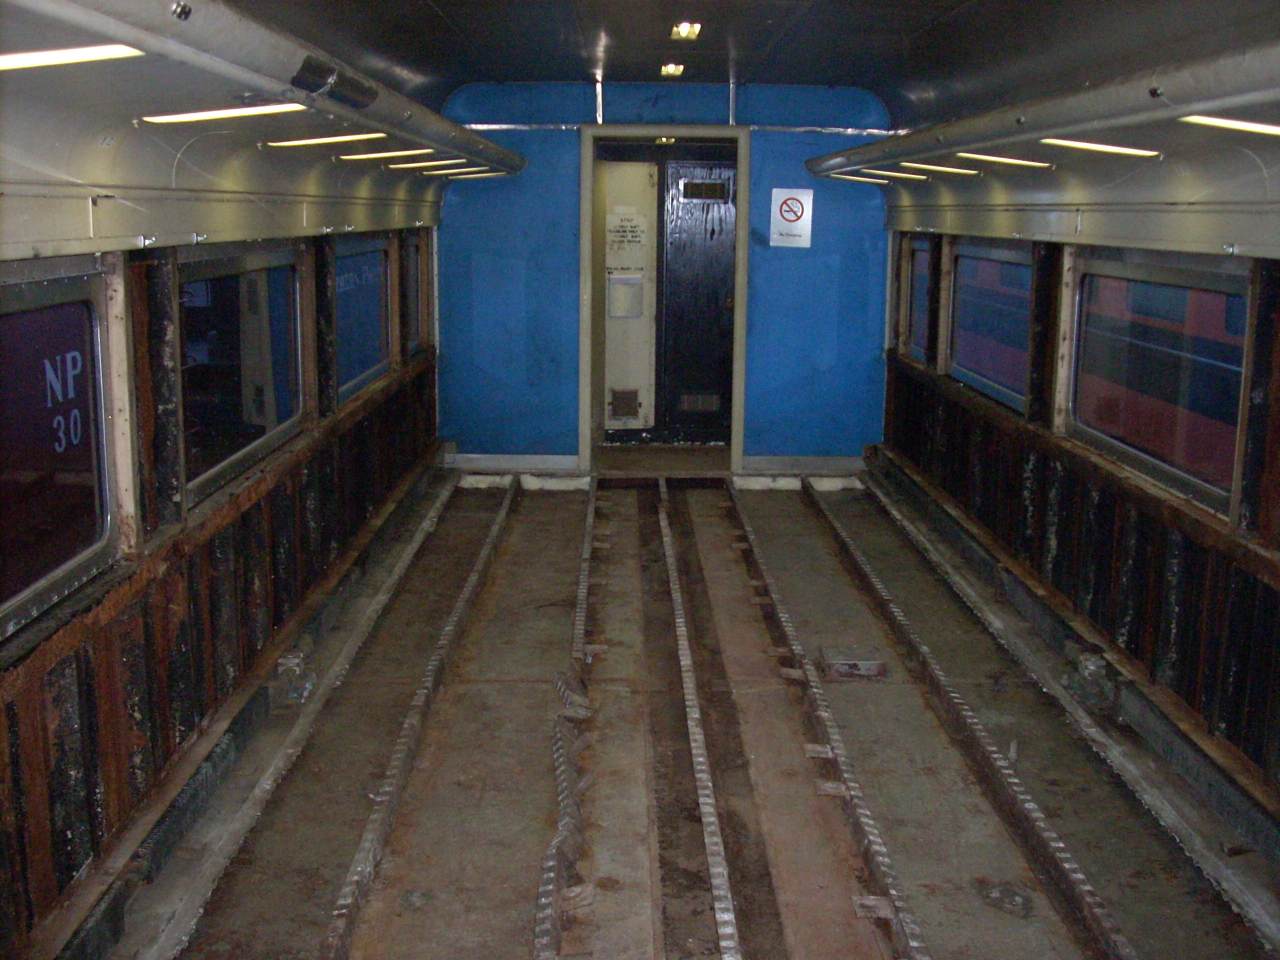
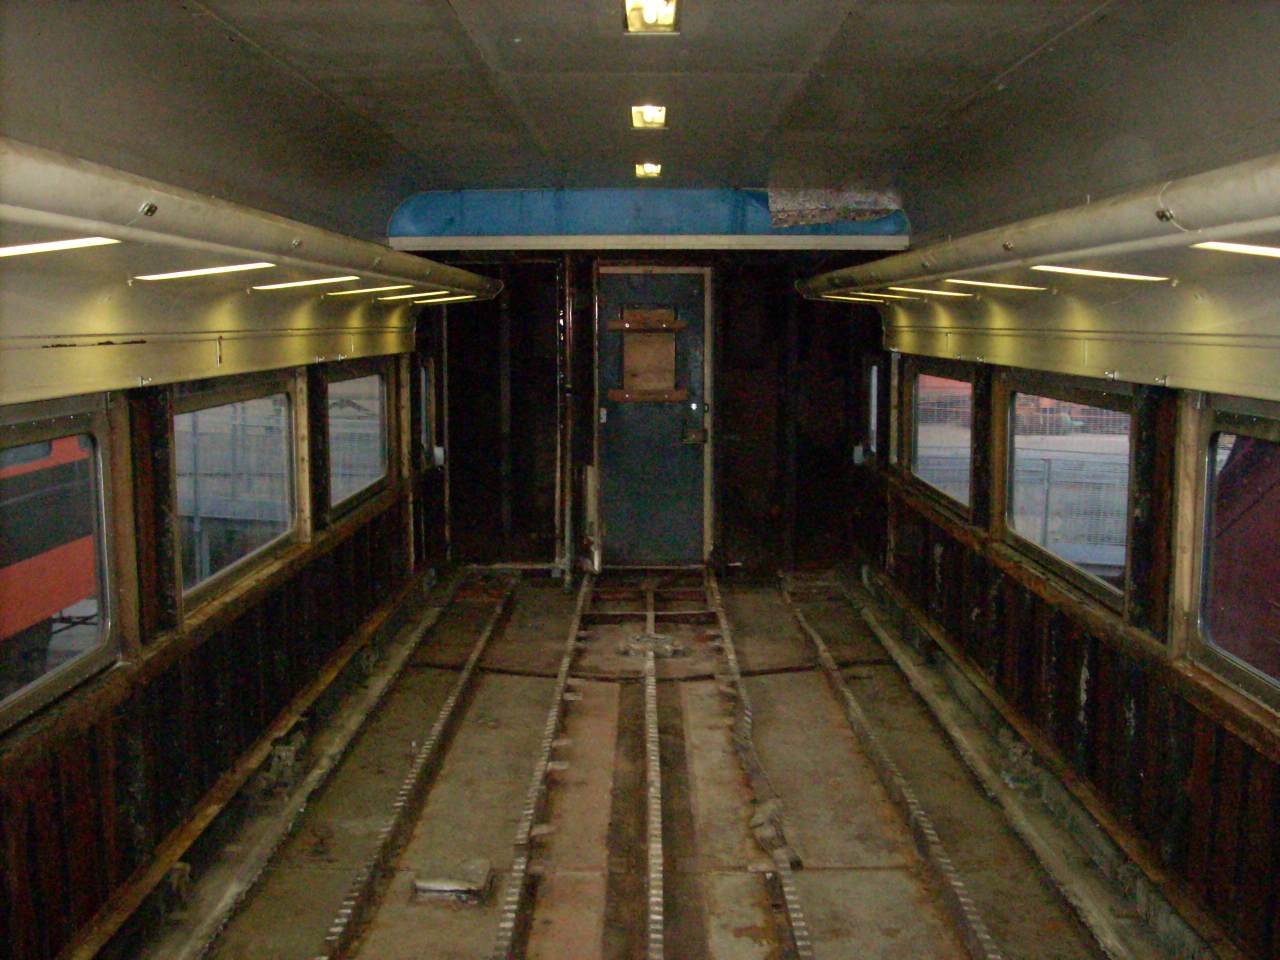
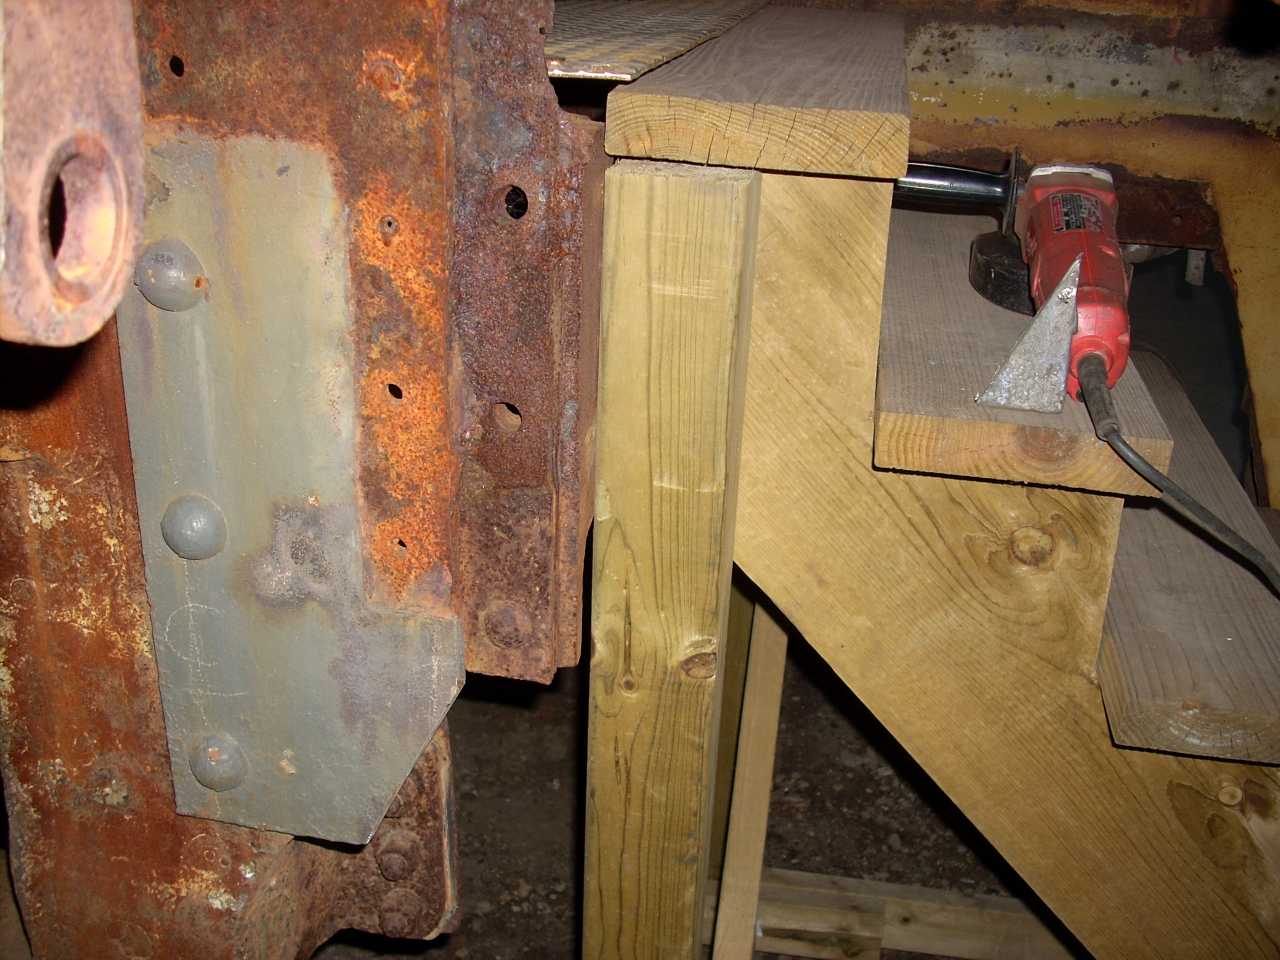
Work on 1146 resumed. I spent the third week finishing the deconstruction of the coach section and restrooms.
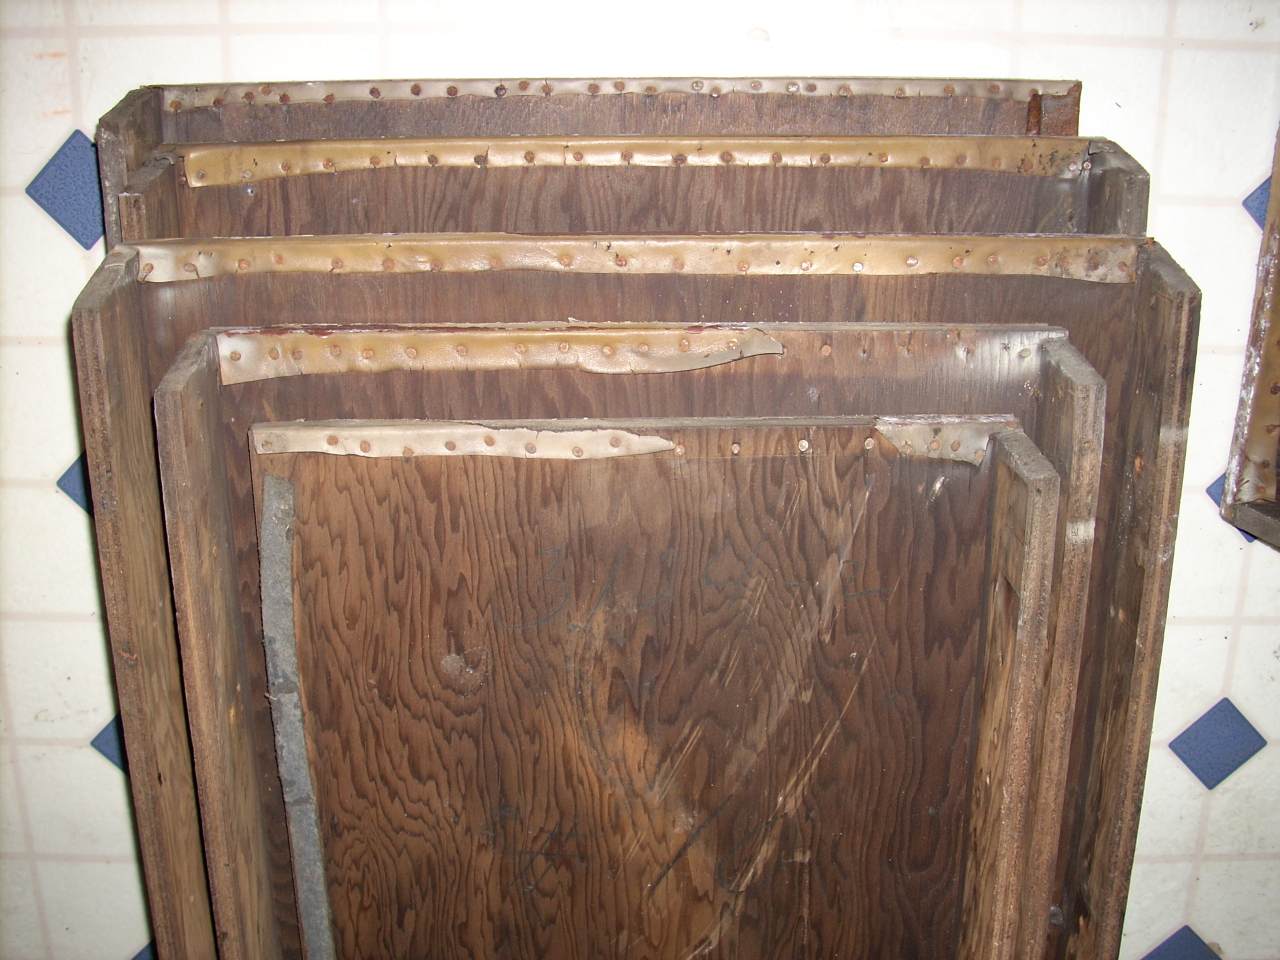
 | Interesting things. These are split plywood shims, placed between the seat frame and the mounting rail to prevent metal-on-metal squeeks. |
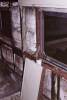 | One window pier panel removed. They are plywood with aluminum trim. Originally they were upholstered in leather over cotton wadding, with horizontal stainless Pyramid Snap-On as accent striping. Amtrak cut the leather off and substituted painted steel. |
 | On the back side, however, a fragment of the original leather survives. |
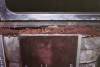
 | Most of the window piers have mild rot in the lower corners. This one (right side next to the women's restroom) takes things to a whole new level. |
A year ago Envirotech Remediation Services gave me a quote on asbestos abatement in the coach and restrooms. They were recommended by the City of Minneapolis. April 30th I signed the contract. Because of the scope (300 sq ft) they must notify the Minnesota Polution Control Agency. Ten working days after notification we can do the work, so its scheduled for May 17th & 18th.
Once they're done, my plan is to do the steelwork between the vestibule steps and the restrooms, and get the coach subfloor installed. I'm hoping for 3/4" marine-grade plywood, in 4x10 sheets to cover the entire width without any joints. I've got a router & bit to cut tounge & groove joints, so they don't 'float' relative to each other, and I'll gap them slightly to allow for expansion, contraction and carbody flexing. After all cutting is done I'll seal them with Minwax wood hardener. That should occupy most of 2007.
The restrooms will not be rebuilt until the overhead mechanical equipment is done. After the restroom/coach bulkhead walls are in, and the exterior side sheet repaired, I'll be able to install the window piers and coach interior below the windows.
Passenger car restoration is not a hobby. Its a life style.
After writing that paragraph about Marine Grade Plywood, I decided to educate myself more. A Google search led me to Glen-L.com, a boat-building resource with FAQs about marine-grade. It confirmed what some have told me: Marine-grade is more about wood quality (species and freedom from knots and voids) and glue quality than about rot resistance. Not surprisingly, the British wrote the spec: BS-1088. They referred me to APA - The Engineered Wood Association. I particularly enjoyed their documents Q220 "Data File: Preservative Treated Plywood" and G210 "Industrial Use Guide: Transport Equipment". APA is a gold mine of information. It seems I should look for plywood that has been pressure-treated (for maximum penetration) with a water-based flame retardant & preservative, then re-dried. The redrying is important, and not commonly sold by big-box retailers. Exterior grade uses the same waterproof glue as marine grade. I can also explore surface coatings like metal or fiber reinforced plastic. A local resource is the Minnesota Woodworkers Guild - I'll have to check them out.
I also took and ordered a 120vac exhaust fan from Grainger which I'd scoped out last October. In a side-by-side comparison with the existing 32vdc fan, the blade diameter is about 1" smaller, the unit is much lighter and more compact, its quieter, and it moves slightly fewer cubic feet per minute. However I think it will still keep the air in the restroom plenty fresh, so I'm going to fabricate a new mounting to reuse the existing housing.
The new fan isn't original, but its also hidden so why bother building a 32vdc power supply for each restroom? I may redeploy one of the removed fans in the kitchen - its a better match to the builders photos than the obvious replacement that came with the car. (Pity - I spent several hours rebuilding that one.)
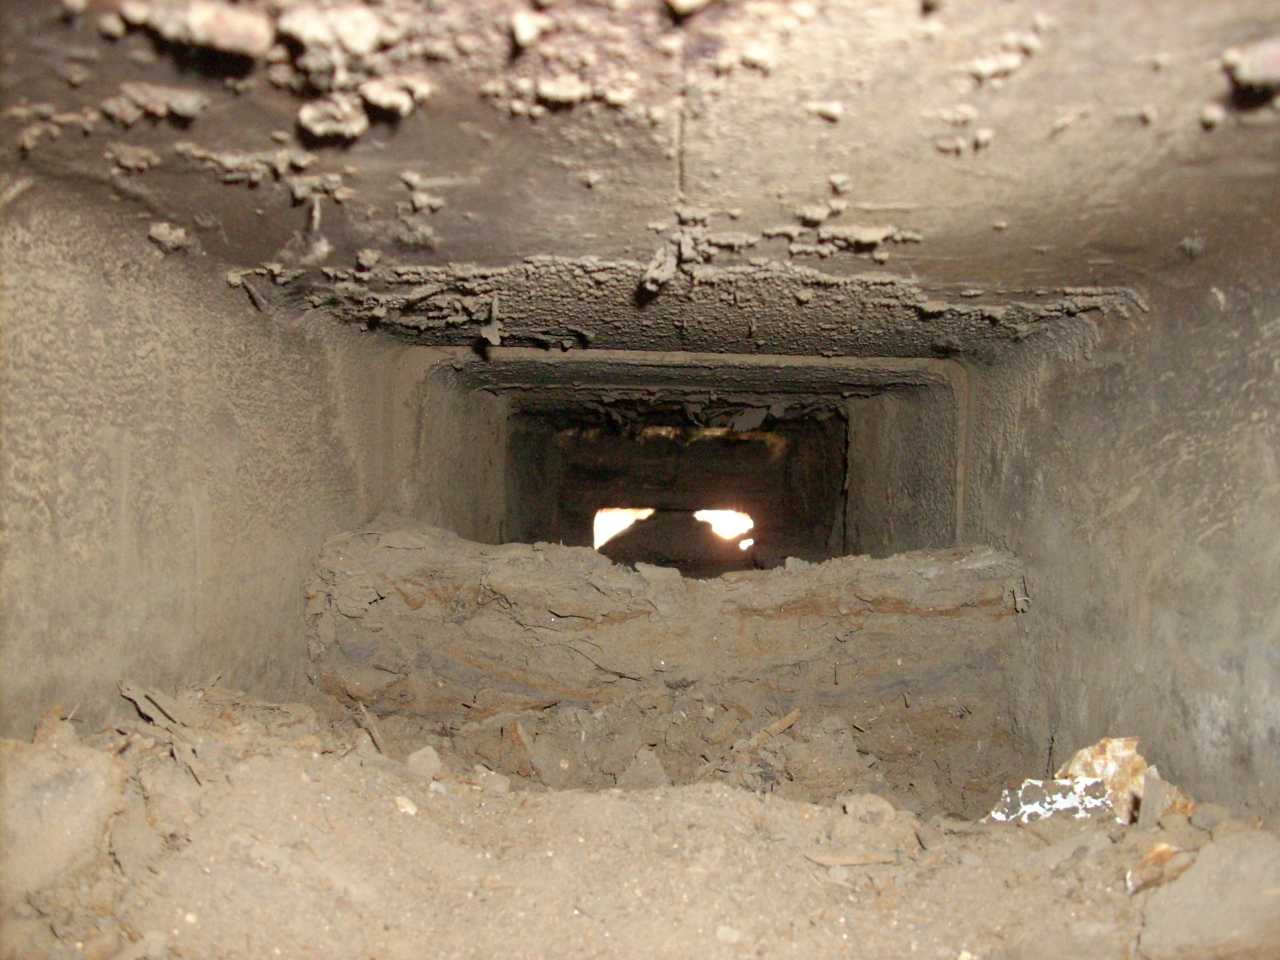
May day evening I spent cleaning one of the restroom exhaust ducts. May is the right time to do this - the wasps haven't moved back in yet! There were some huge nests from previous years. The ductwork is galvanized and fully intact, but the galvanizing is wearing off and the ductwork is rusting. The exterior register is cast aluminum with an expanded-metal grillwork. I'm thinking I may bead-blast everything and apply POR-15 to the ductwork as a preservative. I'll also caulk around the outside, especially the top joint between the hinge and the roof sheet. Installing the fan will be fun - the first small step in reconstructing the restrooms and mechanical systems!
 | I got curious. The bill of materials and the advertising brochure seem to indicate the end piers were a different color than the middle piers. This proves it. I stacked the left side piers to compare. The bottom one goes next to the men's room, the top next to the electrical cabinet. The ends appear to be almost grey in color, while the middles are rather yellow. Note also the two piers on either side of the small window are much narrower. |
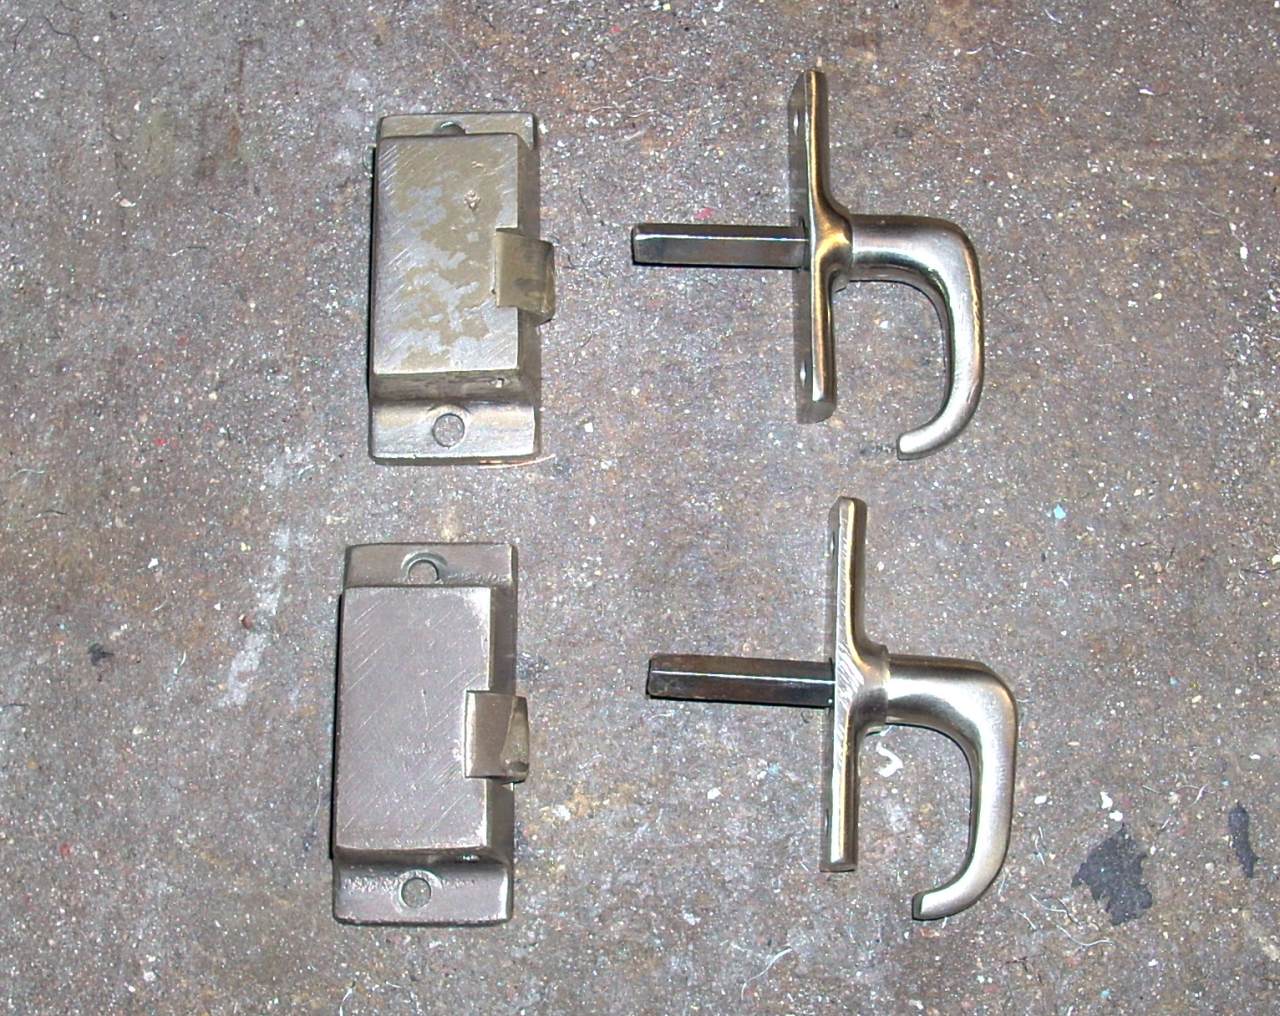
 | A lucky e-bay find: Latches for the linen closet doors. |
 | Installed. These were added by Amtrak (not original) but are handy enough I decided I wanted 'em. I skipped the rectangular plates, though. Screws are stainless oval-head wood screws. |
 | The left door's latch didn't fit the same screw pattern. (I'm still wondering if I had two right-hand latches, or Amtrak did.) Never-sieze on the latch marked the location on the door opening, which I then trimmed with a Dremel cut-off wheel. I rigged a mirror and light to see what was going on. |
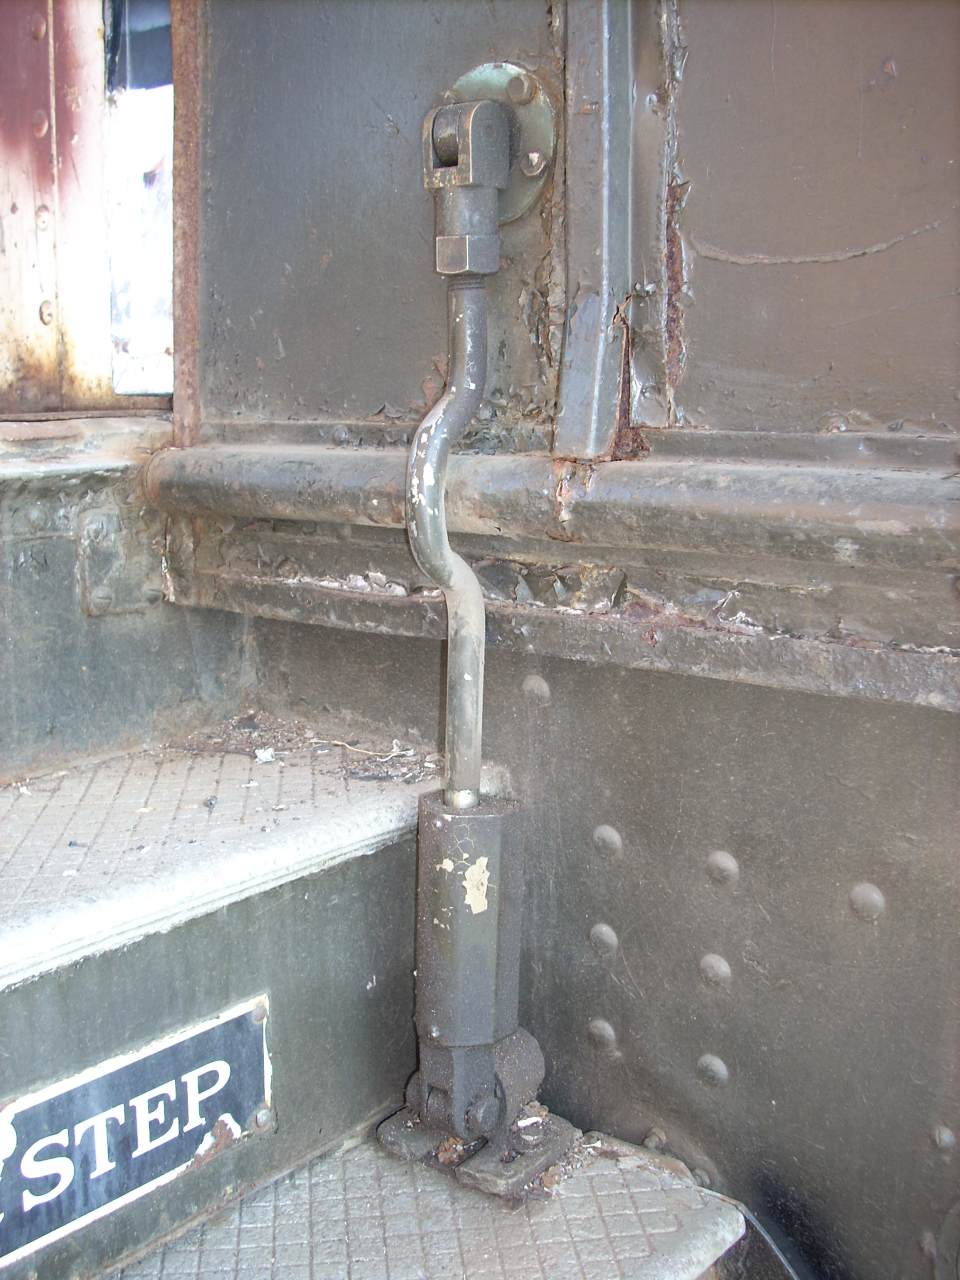
 | A couple years ago I started installing the hold-open for the lower right-side vestibule door. I got a 1/4" shim half-made before setting the work aside: The tap plate in the wall needed replacement. I'll be able to do that once the asbestos is gone, so I finished the shim last night. |
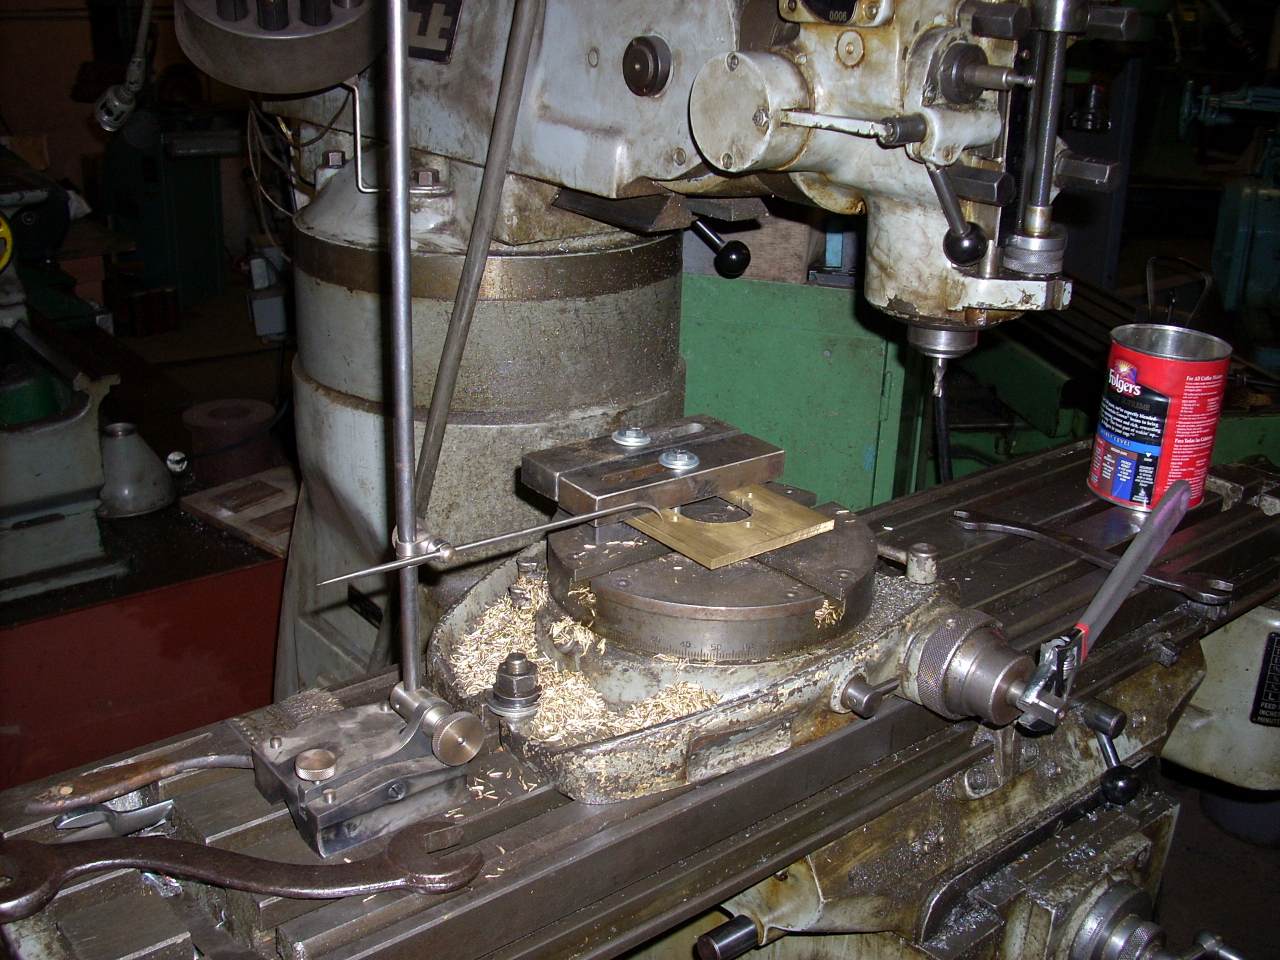
 | MTM's Bridgeport vertical mill is a very useful tool. I used a small end mill and a rotary table to radius the ends, and that measuring tool for properly locating the piece on the rotary table. |
Last weekend I went to a woodworker's store looking for plywood suitable for the floor. No luck, but I did get some intelligence on the wood used for the bas-relief carvings on the dining room window piers. The bill of materials calls for "Oregon Myrtle Wood". Alone among several wood books, "Wood Identification & Use", by Terry Potter 2004, Guild of Master Craftsmen Publications Ltd. ISBN 1 86108 377 7 had an entry. It's scientific name is Umbellularia californica (Myrtaceae), commonly known as Acacia, Baytree, Bay Laurel, California Laurel, Mountain Laurel, Oregon Myrtle, Pacific Myrtle, Californian Olive, Pepperwood, and Spice Tree. As the names suggest, it grows only in California and Oregon. It's fairly dense at 53 lbs per cubic foot, and chiefly used for decorative use because of the small trunk diameter. They call it "heavy, hard-wearing and resilient" but "not very durable, with a low natural resistance to decay." The guy in the store even found an Oregon-based on-line vendor: Northwest Timber.
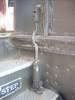
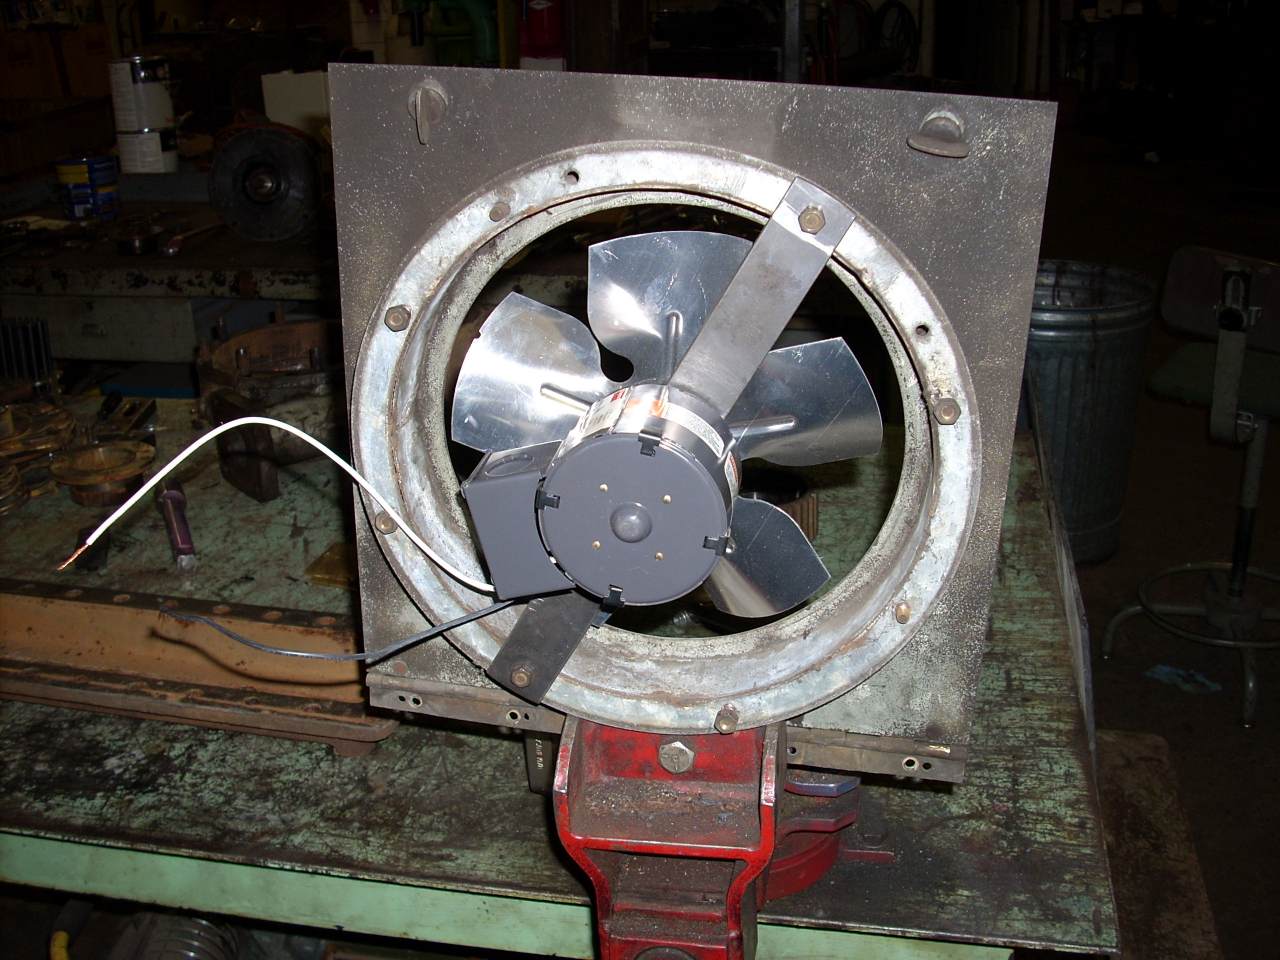
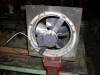 | The Dayton 4C107 exhaust fan for the men's room, test-fitted into the old fan's mounting. Prep & paint is next. My adapter bracket is 1/8" mild steel. |
I've been learning more about plywood. Some tidbits:
- Visits to my favorite lumber stores didn't turn up any pressure-treated, redried, 4x10 exterior plywood - but I got a lead on plastic laminate on a plastic laminate vendor (for the window sills) who also sells faced-plywood interior wall panels to Amtrak and several LRT agencies. They are Nevamar Decorative Surfaces. Look at Design Professionals-->Catalog-->Specialty-->Transit Industry Laminates.
- A board builder lumber supplier told me about "Wood Epoxy Saturation Technique" - a.k.a. "WEST System" - used in boat building. A quick scan of literature on the internet shows its important to use epoxy without thinners. Organic solvents/thinners are larger that water on a molecular scale. As the epoxy cures they evaporate out, leaving a microscopic sponge-like effect that water can penetrate. There is even a company called West System, who apparently co-developed this process back in the '60s, though today they have many competitors.
- A friend told me about signboard - used for making painted signs - which is plywood faced on both sides with fiberglass. He mentioned two varieties: MDO (Medium Density Overlay) which is exterior-grade plywood overlaid with paper soaked in phenolic resin under heat and pressure, and HDO Fir Plywood. Apparently these products hold up very well in outdoor signage, but its still important to seal the end grain. Try Olympic Panel for a huge array of options.
- A quick Google search for "sign board MDO" yeilded a nice surprise. JL Screen Printing, in Pennsylvania, touts MDO, Lusterboard, and Omegaboard for sign use. Lusterboard is - surprise, surprise, aluminum-faced on both sides. Good ol' Plymetal, as originally used in 1146.
All those 'hits', and I've barely started following these leads!
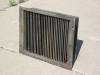
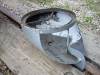
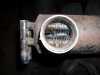
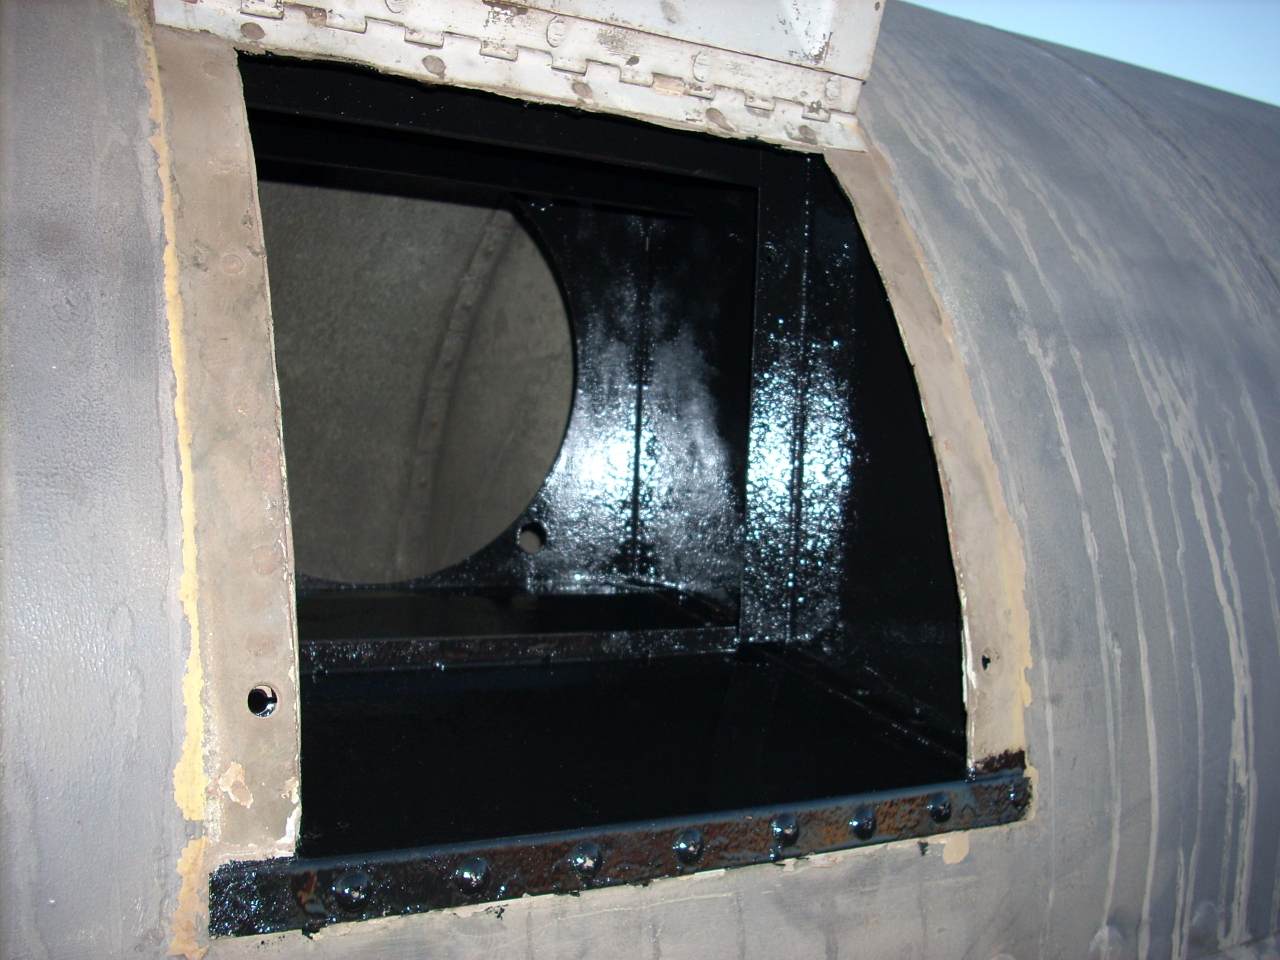
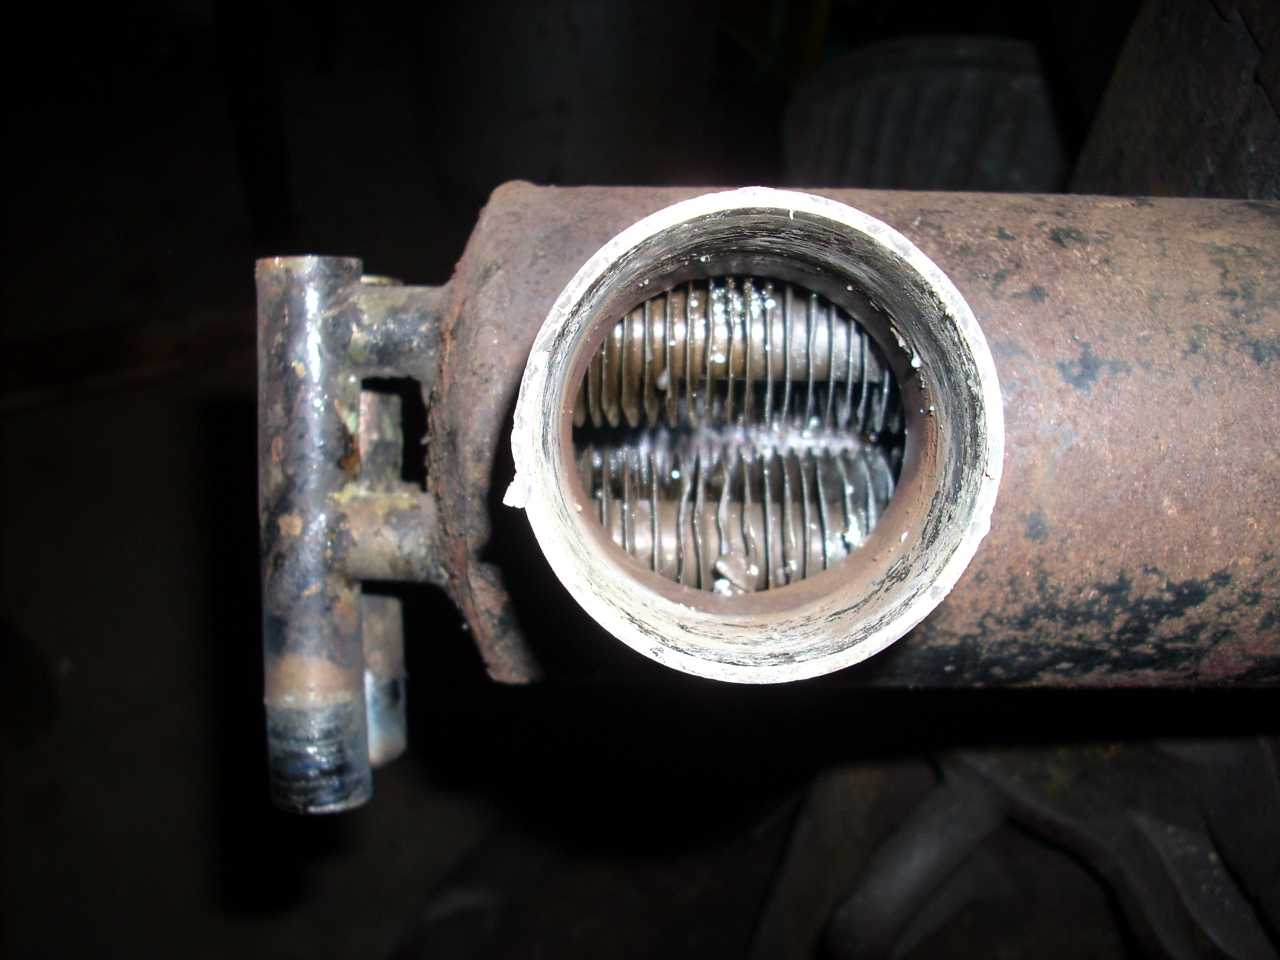
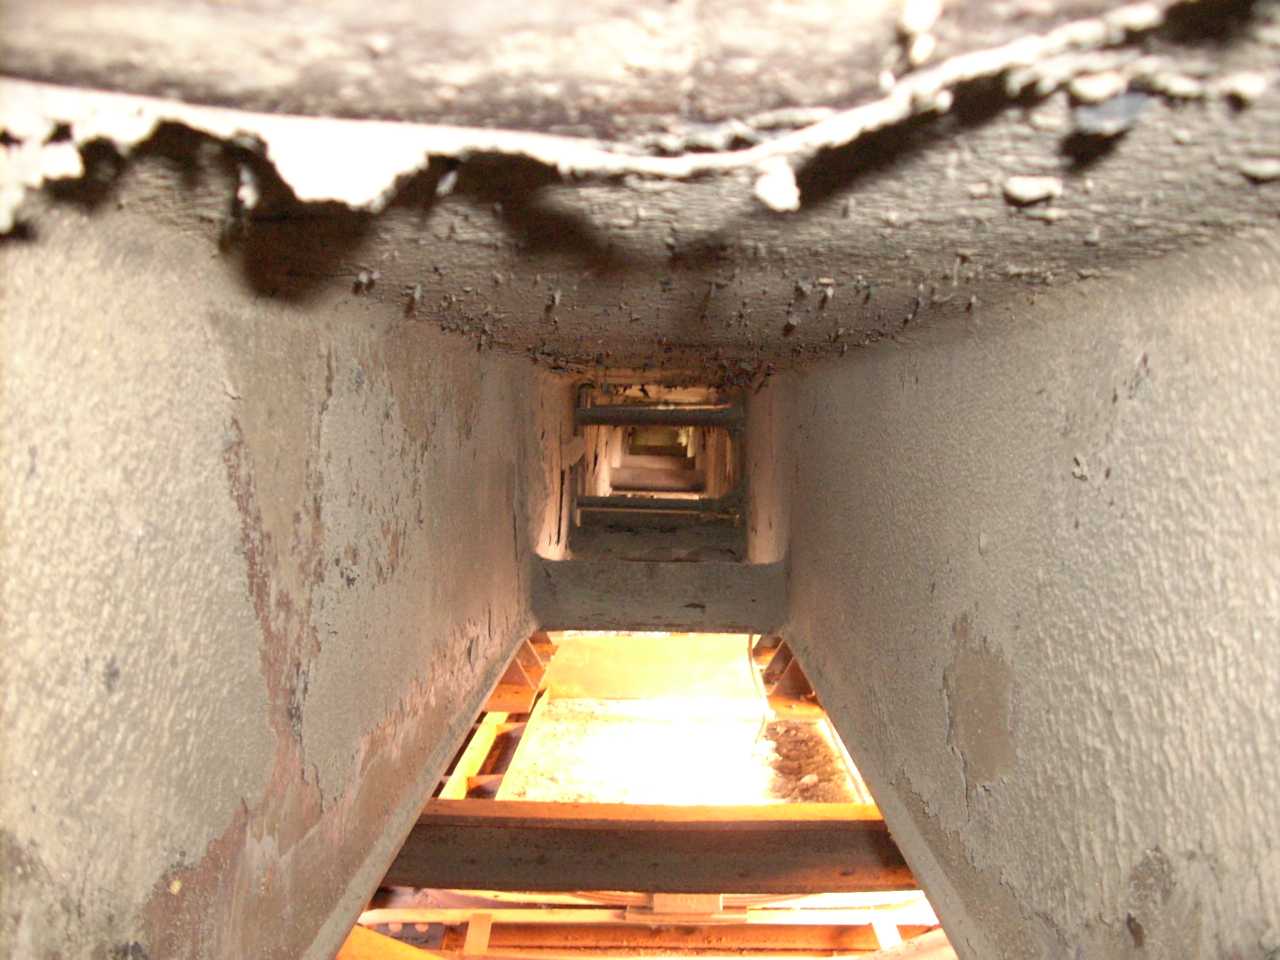
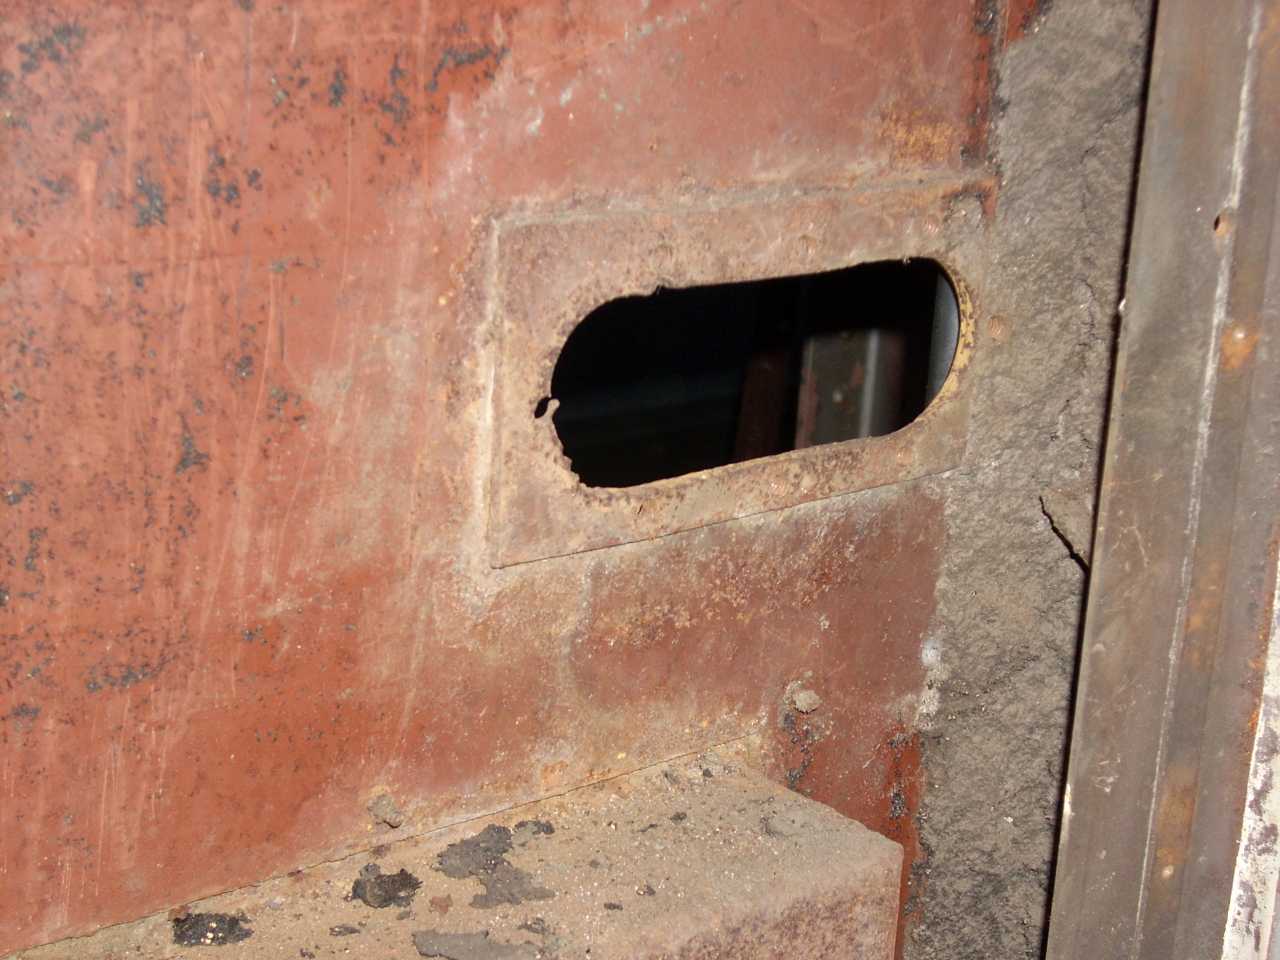
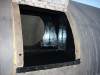 | The men's restroom exhaust duct. The ductwork is galvanized steel, rivited and screwed to a cut-out in the roof. Enough of the zinc was gone I decided to sandblast and rustproof with POR-15. The fan mounts to the inner (round) flange, and a baffle box mounts to the outer flange. Note the five drain holes drilled in the bottom edge of the outer flange. |
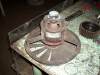 | A Safety 30vdc, 1.2 amp restroom exhaust fan. (Not intended to be open-frame - this one is missing its back cover.) The studs on either side of the end bearing are the electrical connections. I speculate the red label tape indicates when Amtrak last serviced it. |
 | The hinged plates which the fans mount to. These are just inside the inner (round) flange in the duct. Notice the two have different ring diameters! I didn't, and will have to rework a bracket because of it. |
 | The baffle box: Two rows of thin steel 90-degree channels. Notice the lower-right corner rusted out. It was packed with dirt which trapped moisture. |
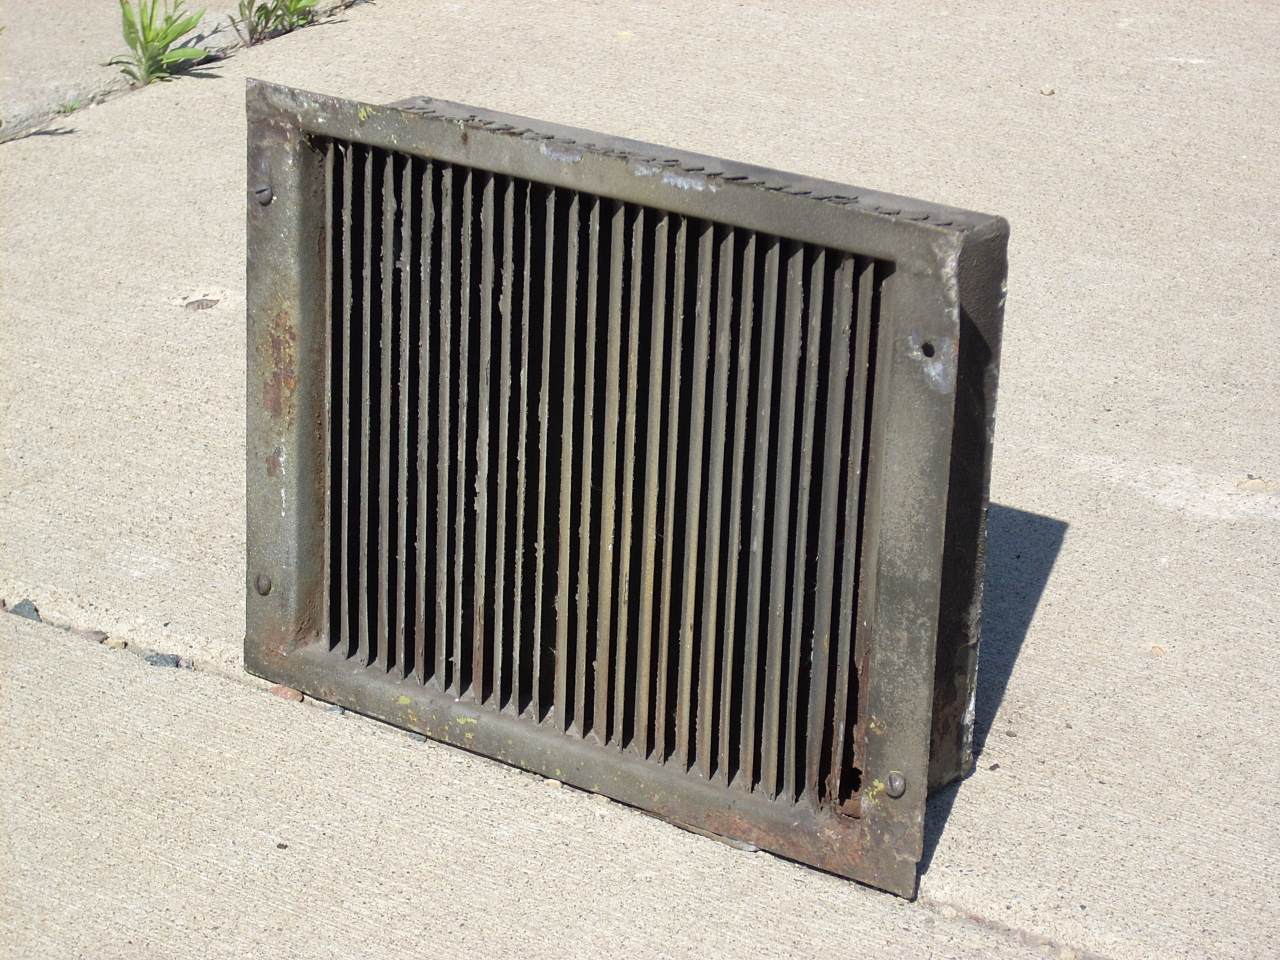
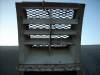 | The external duct cover is an Alcoa aluminum casting ("A-136") with a covering of expanded metal mesh. |
It appears these fans have been changed out before. The hinged plates have four bolt holes around the circular cutout, which once had nuts soldered to them. The rings and flanges were apparently added later, because on the men's they obscure those holes, and because the rings and flanges are different diameters.
 | Asbestos abatement. They had to have a five-stage decontamination process when exiting, including a shower. A very large HEPA (High Efficiency Partical Accumulator) filter/blower at the other end made sure that any holes had clean air coming in, not contaminated air leaking out. |
Abatement took longer than expected. I actually left town on vacation before they finished, so will not have interior pictures until I return.
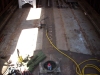
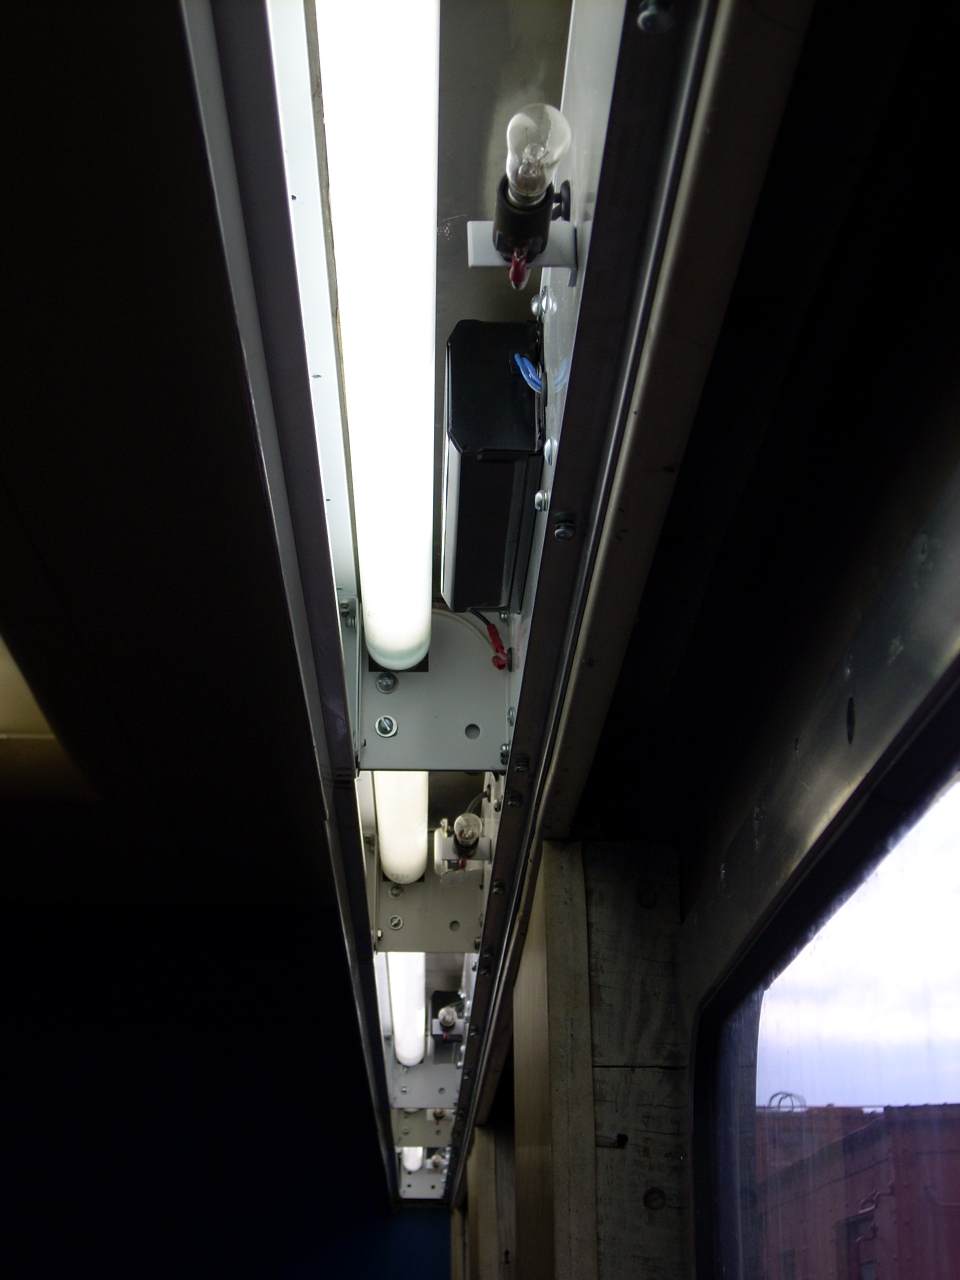
 | To kill time I worked on an improved index to structural steel in the bill of materials. While yawning & stretching I noticed this neat view of the rebuilt light fixtures. Enjoy! |
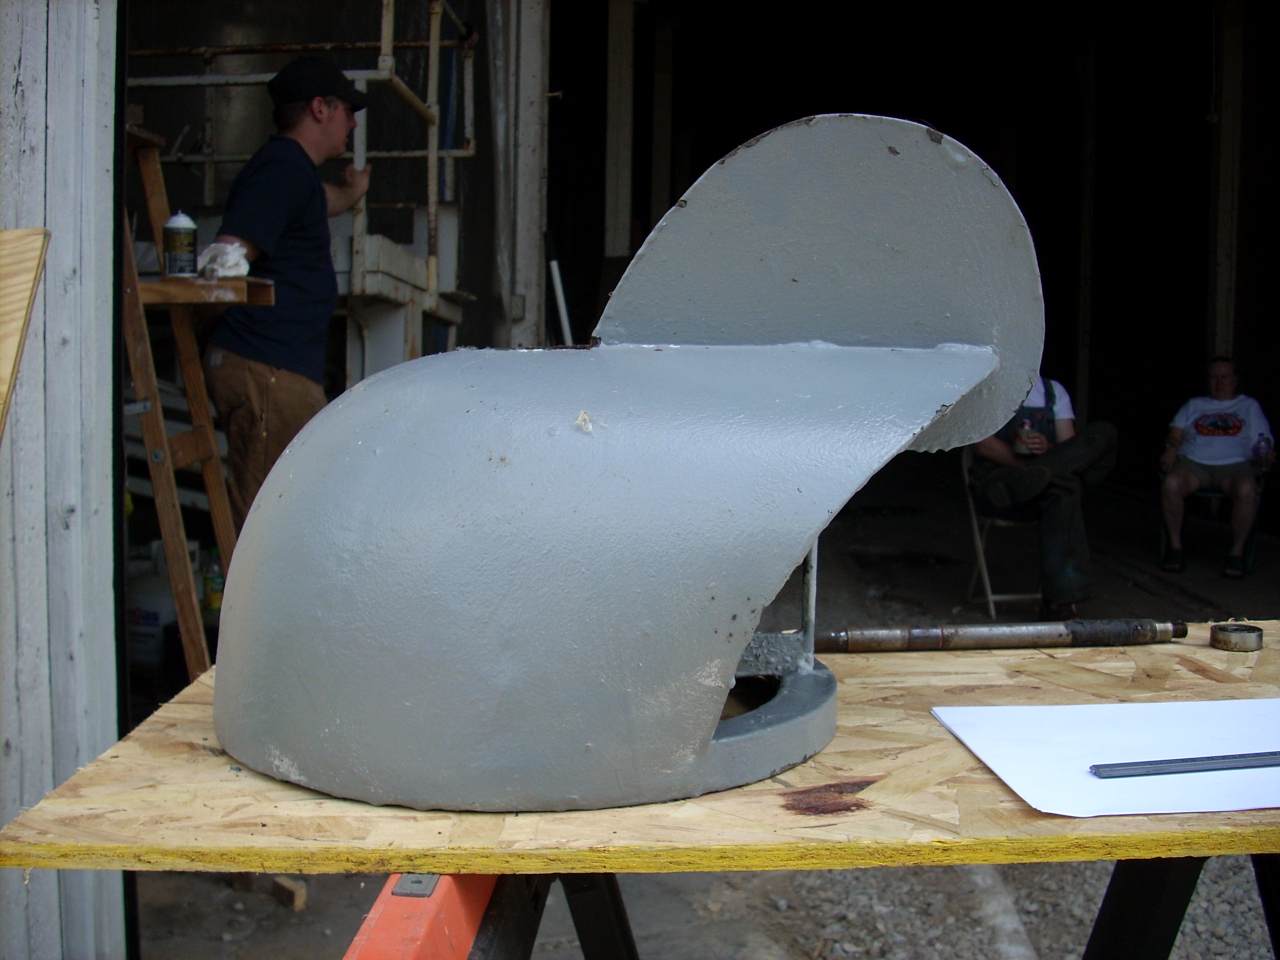
 | The weekend was at Bob Moen's open house in Charles City. I worked on a Waukesha Ice Engine on Milwaukee 182, the "Union Grove". To fit it inside they have to take the Vapor exhaust caps off. 1146 needs two, and I'm not finding any, so I started taking pictures and measurements. |
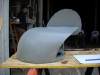
 | Fabrication looks straight-forward: A mix of L-channel rolled into a loop, some 1/4 x 1 stock, some 1/16" and 1/8" sheet, and some circular stock. Notice the dome itself is a weldment of several wedge-shaped cylindrical sections. |
 | The pivot is simplicity itself. The whole top is perched on that one bearing, via the bearing cap. The lower bearing is an ungreased, loose-fit friction bearing. |
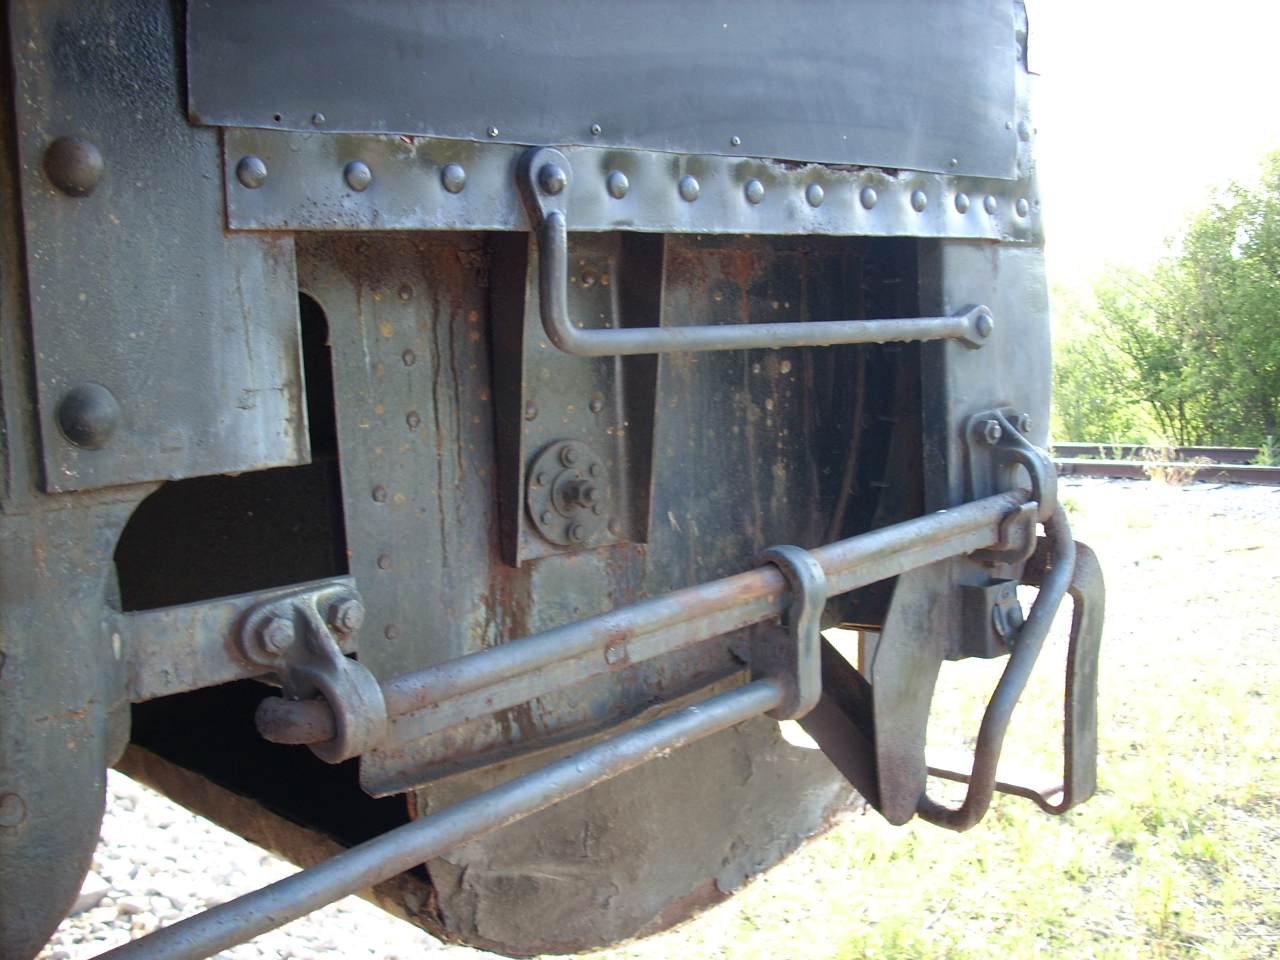
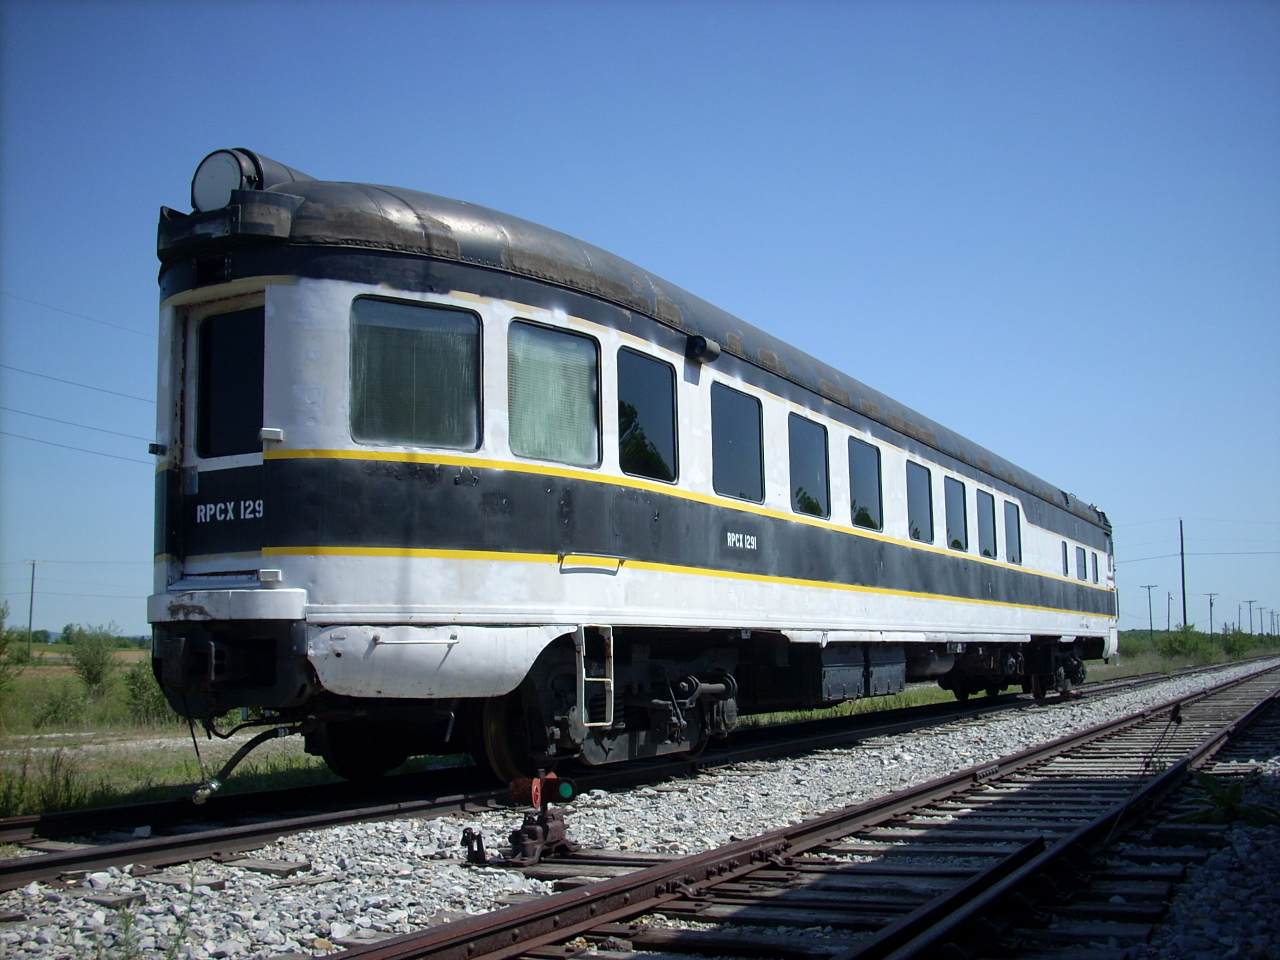
After Charles City, I went to Pennsylvania to help Ben Ringnalda work on his GN 1291 "St Nicholas Mountain" obs car. It was built a year after mine - same builder, same buyer. I noticed 1291's roll-up vestibule steps were probably done to the exact same blueprints as 1146's. So consider these to be 'as built' 1146 photos.
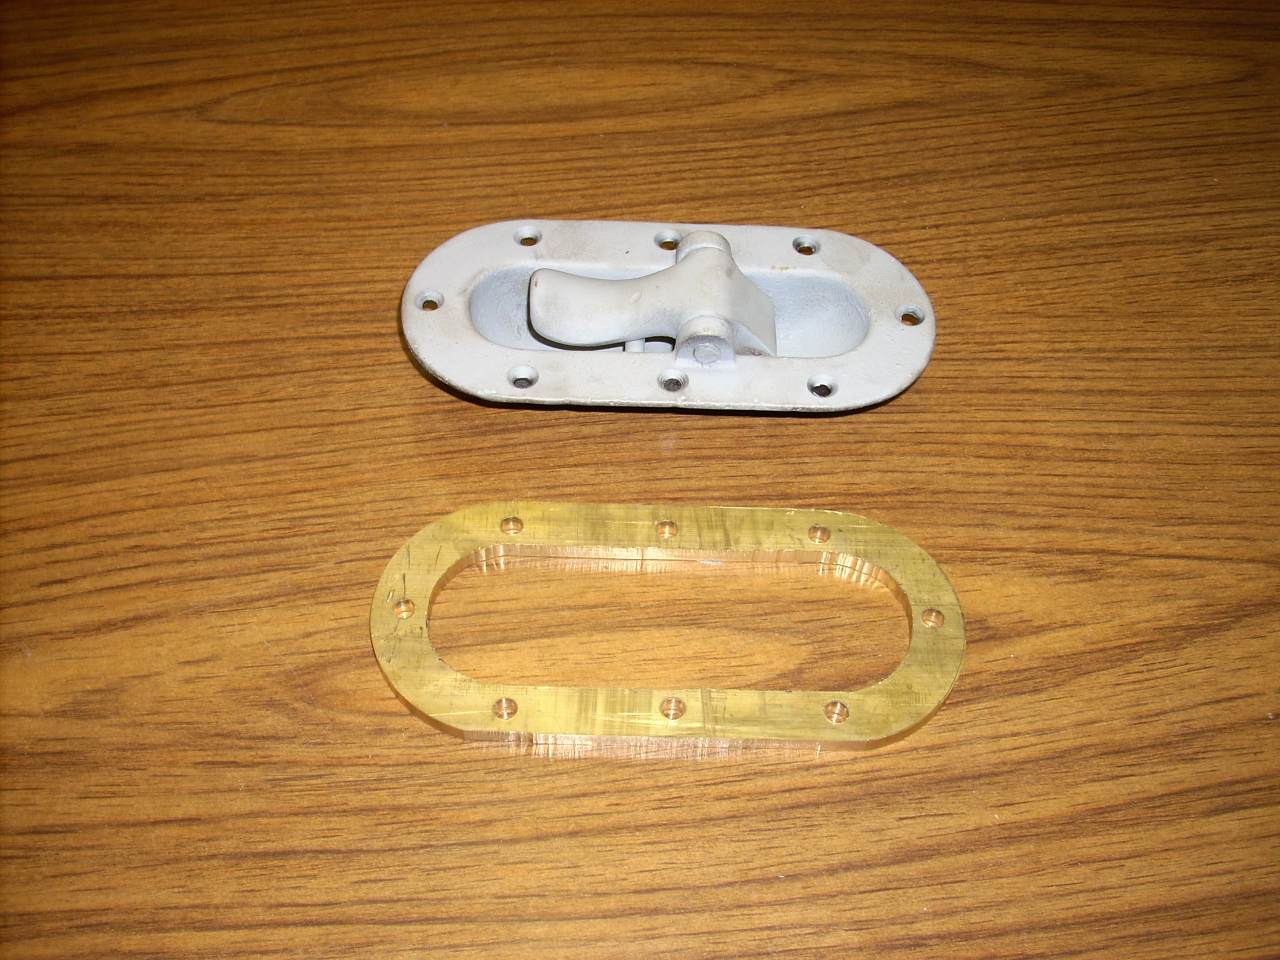
 | This is a light switch, which turns on step light when the vestibule is opened. 1146 has just a plate covering this location on each side. |
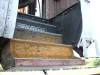
 | That circular thing above the second step is the actual step light. Note the bottom three steps are a separate unit which is lever-operated by closing the trap door. (Wrong style link rod in picture.) The step treads are aluminum castings. |
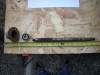
 | The other side has a more original roll-up link. |
 | The back side of the view above. Note the pivot bearing on the left, between the braces, and the box for the step light with feed and switch conduits. |
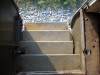
 | A low-angle view to emphasise that the bottom tread has a different nose. Note also the rubber weather stripping applied to the step well sides, and that a separate stirrup is required to meet ICC safety appliance rules. |
 | 1291's BR corner. Besides the roll-up step pivot bearing and stirrup, notice the right-side cut levers are still there. These would have to be re-bent and relocated if HEP connectors were applied. Also note the bracket supporting the bumper plate for the cut lever handle, missing from 1146 - though it turns out these bumper plates aren't original to either car. |
 | A top view of the roll-up steps. |
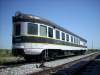 | Ben's car, St. Nicholas Mountain, one of six observation cars built for the 1951 "Empire Builder". In the week I helped, we got six more windows converted to FRA type-II Makrolon. |
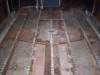
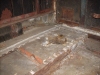
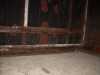
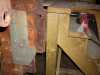
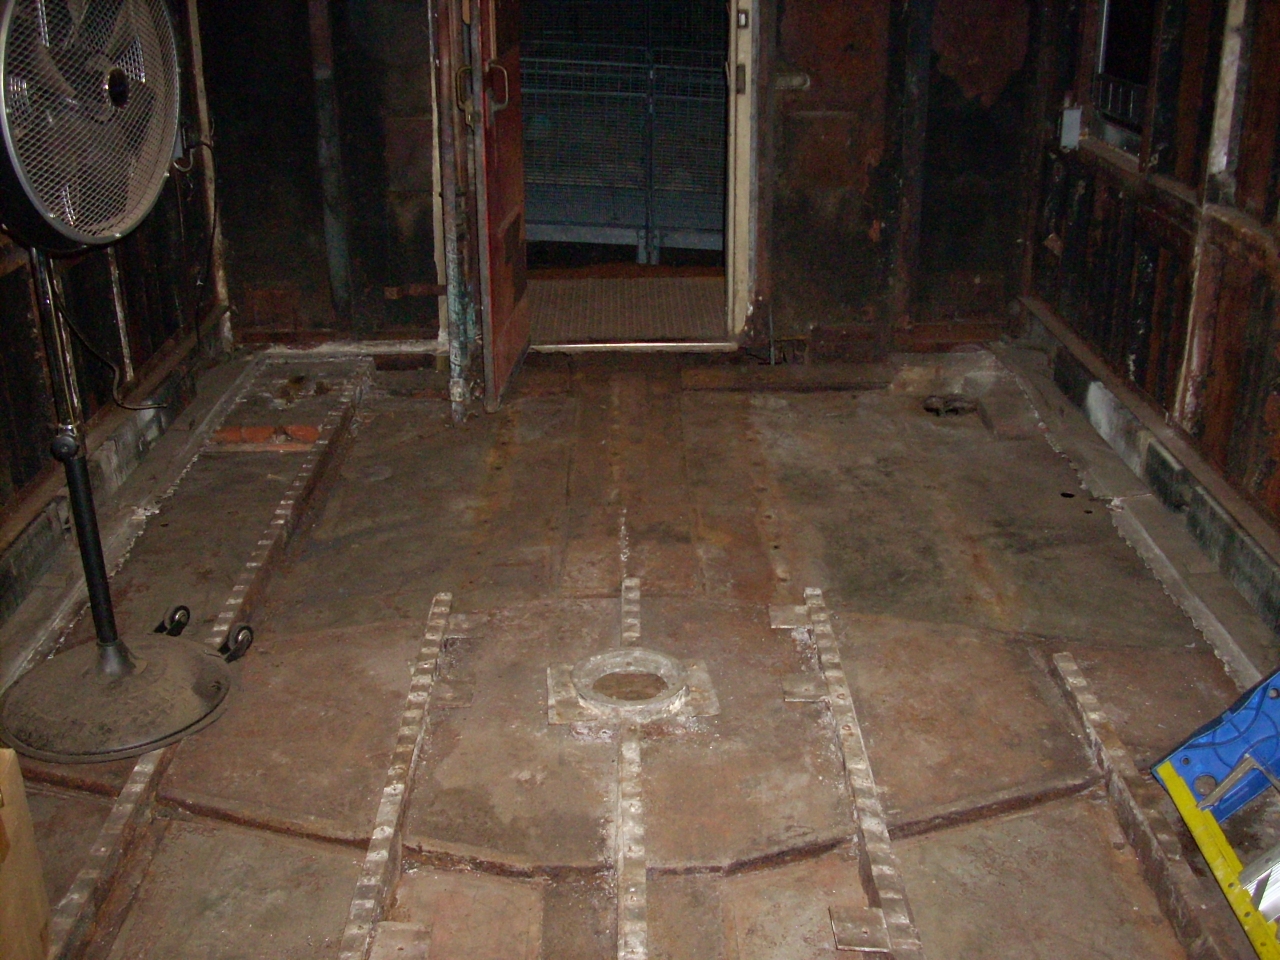
On my return home I got to see the framing under the asbestos.
 | Here's what I saw. I expected it to be bare. I didn't expect the floor stringers to be so badly rotted. It is now obvious that every soft spot in the floor was caused by a failure of the floor stringer, rather than a failure of the corrugated aluminum. (One wonders - did the stainless splash pan contribute to the damage by holding moisture in? Would a tin pan have rusted away, allowing the insulation to dry out more easily?) Oh well, more work for me. |
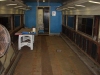
 | Looking back the other direction. Notice Amtrak had added extra framing to support their replacement plywood floor just inside the end door. |
 | Detail: Builders soon learned that reducing the exterior skin thickness to reduce weight caused problems with "waffling". Pullman used .090" skin with horizontal corrugated thin sheet tack welded to the inside. ACF used .120" skin with vertical stiffener L-channels. Budd corrugated the skin and called it "fluting". |
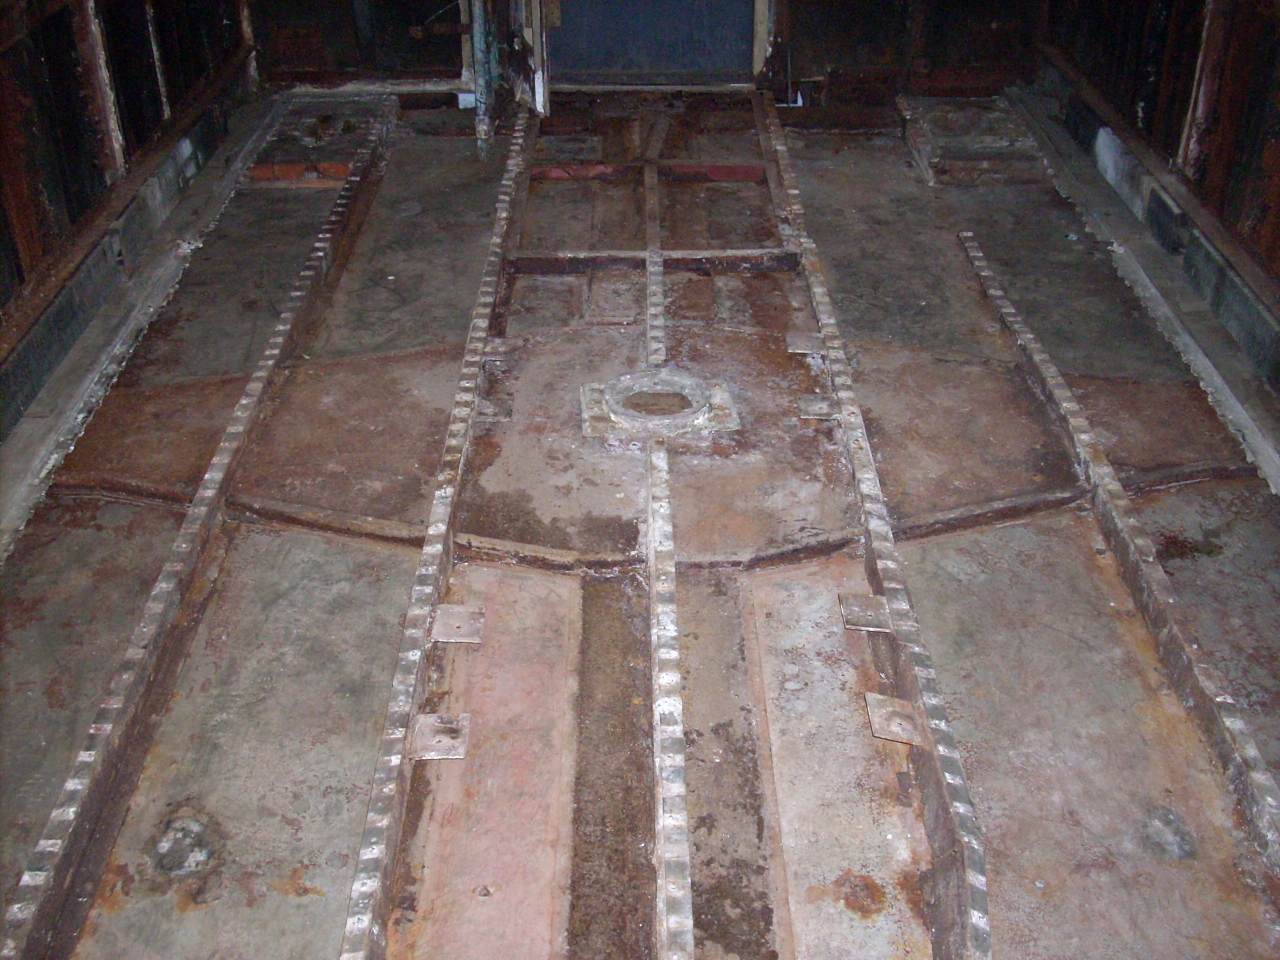
 | Detail: The floor was corrugated aluminum "Chanarch", with a skim coat of "Tucolith" light-weight composite. Note the heat shield was riveted to the Chanarch before the Tucolith was trowelled on - that lip was buried. The stringers are L.A.H.T. steel Z-channels, riveted to the cross bearers, with 1/4" of Masonite for sound deadening. Note the Chanarch was riveted to the stringers at nearly every corrugation. |
 | Detail: Heavy wood blocking was used to support the toilets. This completely filled the space normally occupied by insulation. |
 | Detail: The vestibule step light switch opening is visible above the toilet structure. There was a junction box behind, which went away with the asbestos. |
 | Detail: The center sill runs down the center. The large diamond-shaped structure around the center pin access hole is the body bolster. Note the stringers are not directly under the seat bases. Instead steel support tabs were welded on, drilled, and tapped. |
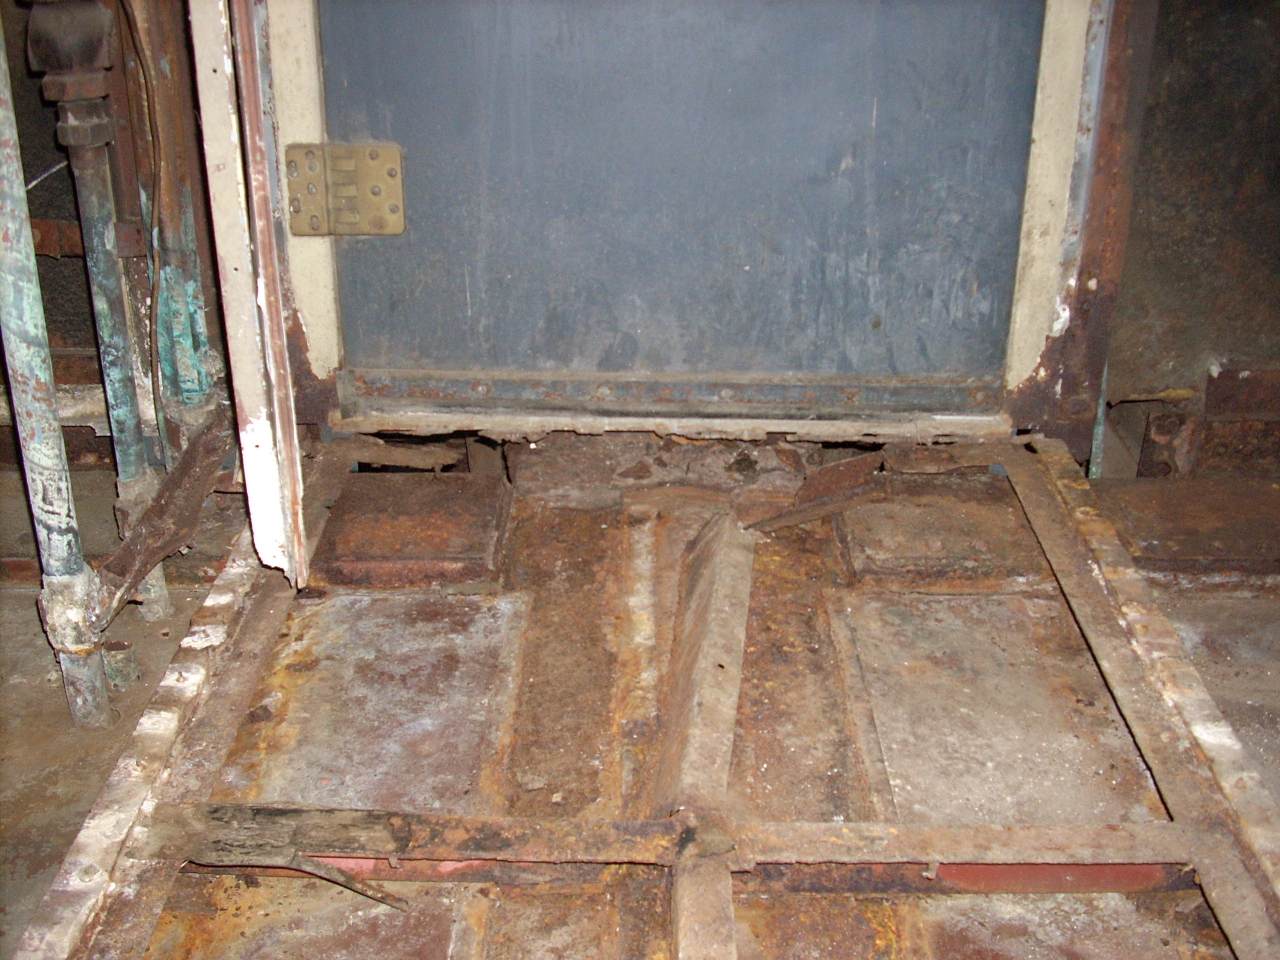
 | Detail: A closeup of the rot under the door threshold. |
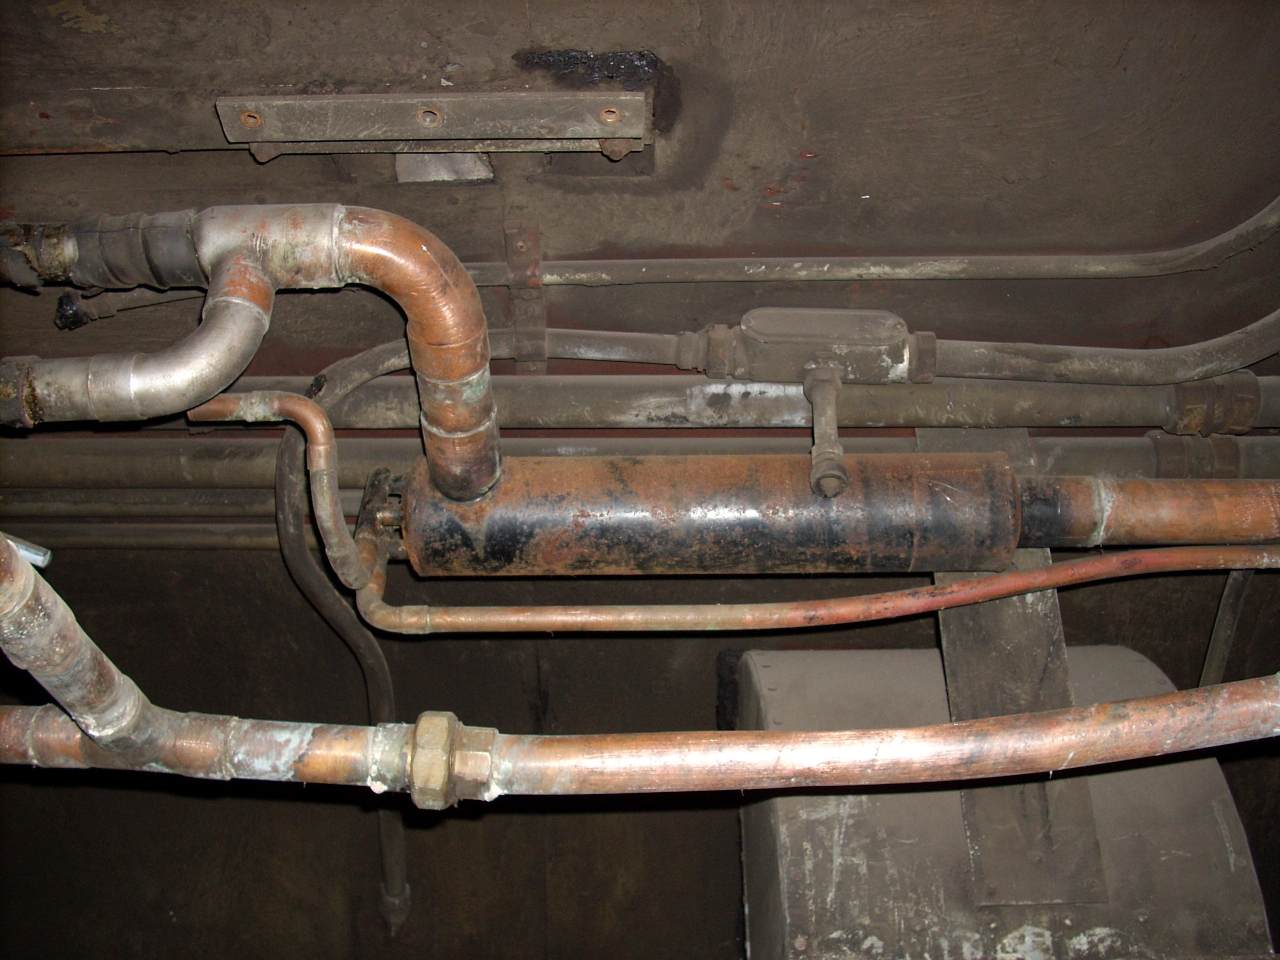
 | Detail: I had the abatement folks preserve the overhead A/C and condensate drain pipes. They uncovered this interesting complication - I don't know yet what its for. (Edit: It's the "heat-interchanger", to "remove heat from the liquid refrigerant and transfer it to the suction vapor".) |
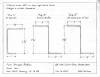
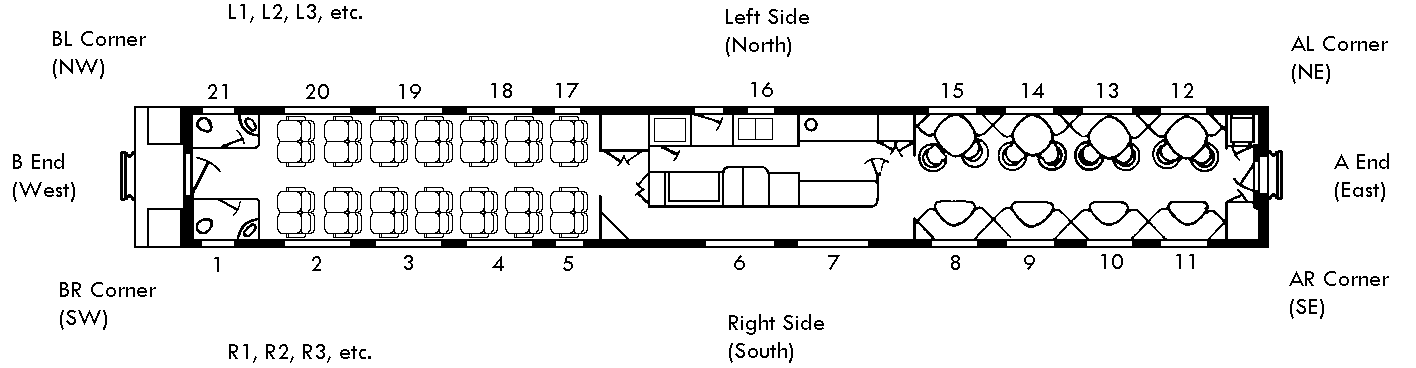
I got curious, and figured out the window numbering scheme. (Each window sash and trim piece has the car number and window number stamped in it.) I made this diagram for my own reference, to keep track of shop nomenclature (left/right, A-end, B-end); ACF drawing nomenclature (east, west, north, south); and window locations.
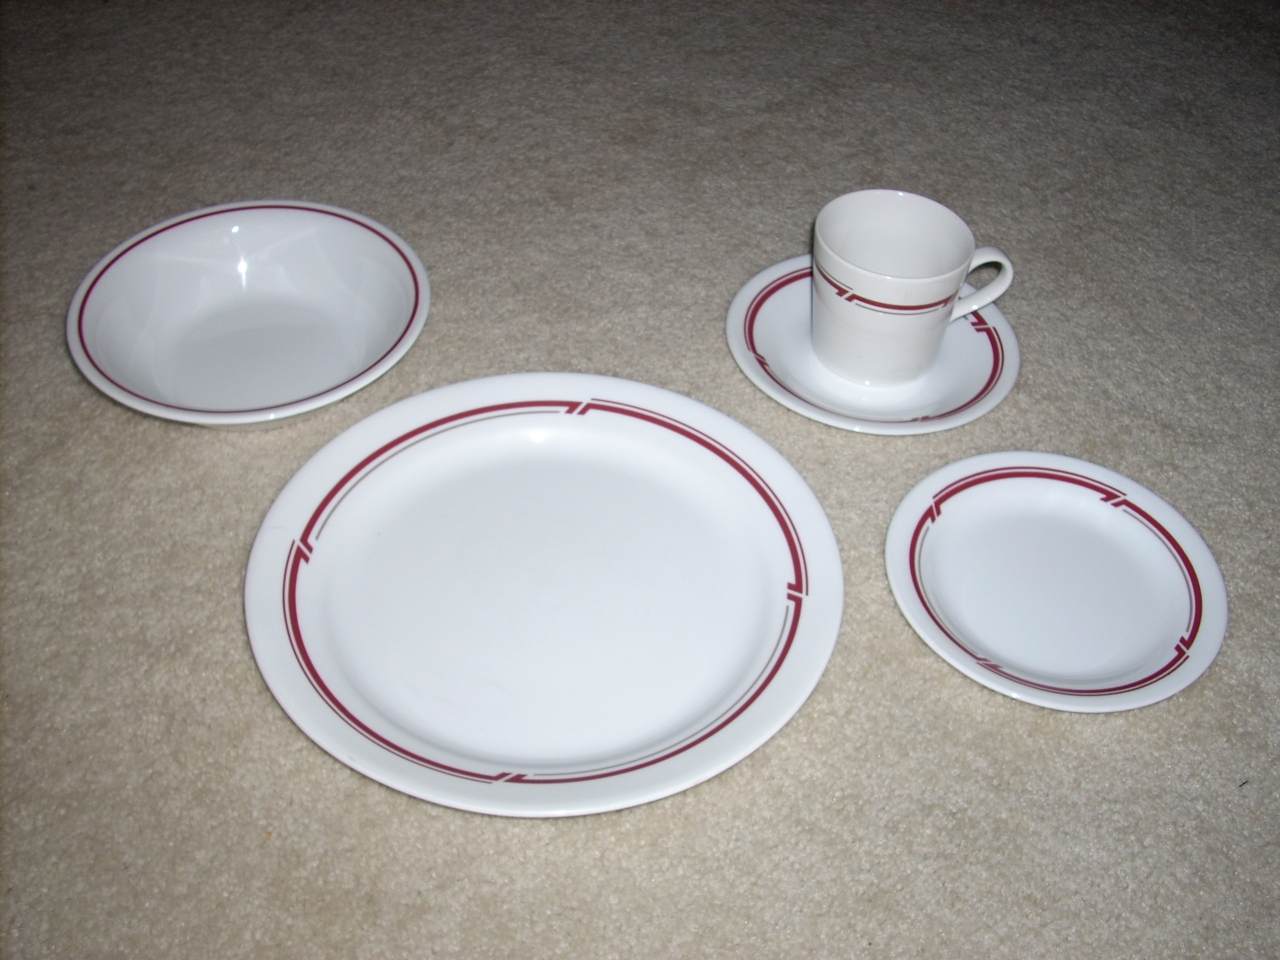
 | Your tax dollars at work? Mid-America Railcar and the Friends of the 261 recently picked up Amtrak's surplus dining car china. (Excepting the Empire Builder, Amtrak is now serving on signle-use plastic, in response to Congress' budgetary pressure.) I bought fifty place settings for $300. With seating for 24, this gives 1146 two full sittings plus a small margin. Thanks to a former Amtrak man for that good idea. True, it's not GN china, but such collectibles would be worth far more than 1146! |
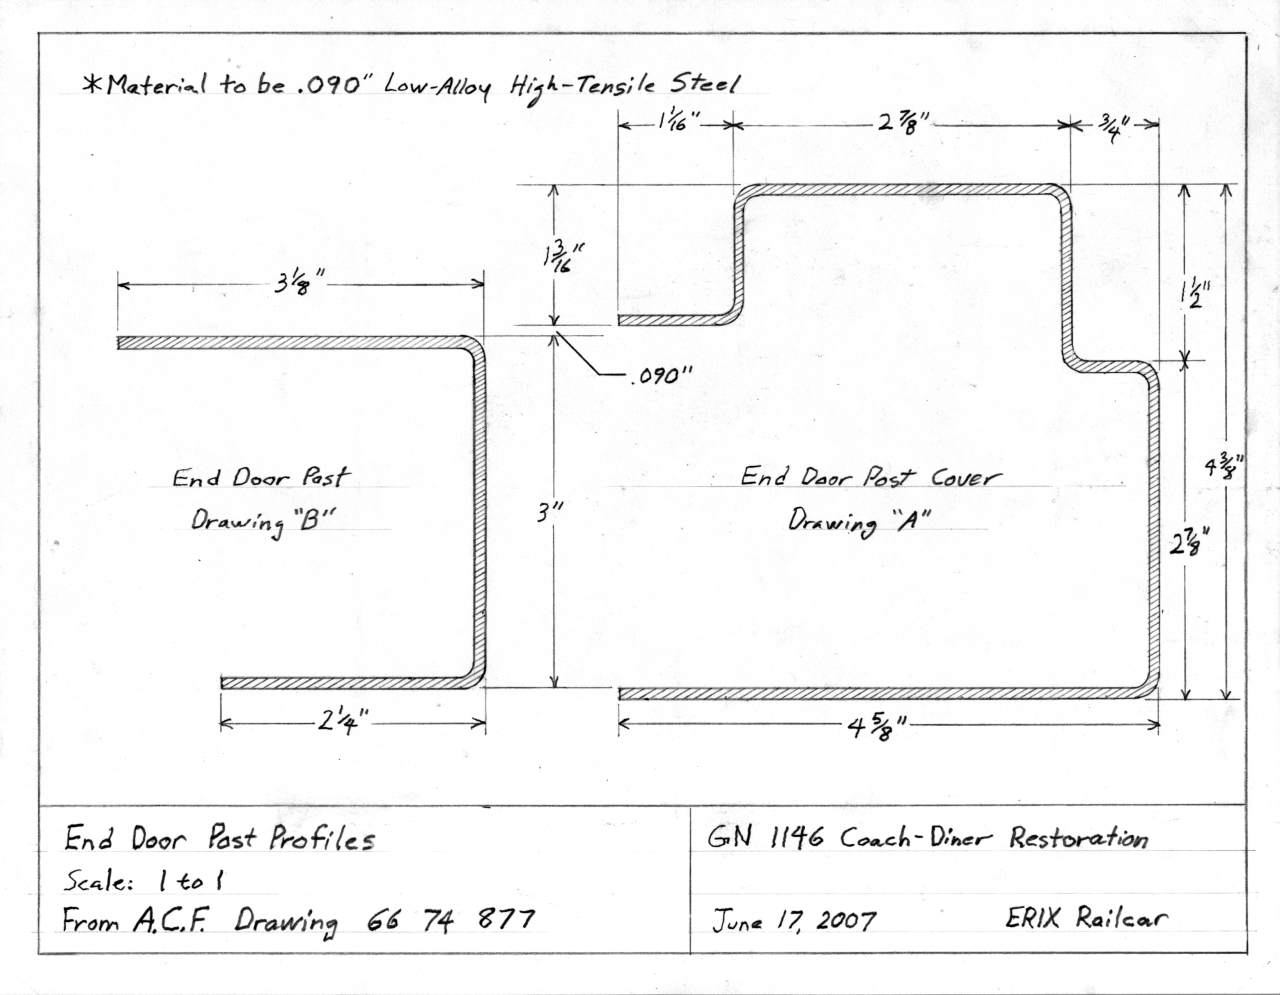
 | The various steel shapes for repairing the coach floor will be done by a steel fabricator - they're too long and complex for the shop tools I have access to. On the A.C.F. prints the profiles are small details in huge prints. I'm redrawing them for the fabricator's convenience. |
 | Other complex shapes required are the end door posts - they're badly damaged at the bottom. I'm thinking I'll get better results splicing in new channel, than building something up from individual bent pieces. |
Here's an interesting bit of news: Friday, July 20th will be a fun day for 1146. Starting at 1:00 pm, I've been asked to have it open for visiting GNRHS members to view. Several are coming to MTM after their annual convention. Later that evening, probably starting around 9:00 pm, MTM has asked to use 1146 in a shuttle train. Apparently a Stillwater book seller is making arrangements with MTM to host an event for the release of the seventh and final "Harry Potter" book. I understand they'll be shuttling muggles from the Rutledge Depot (near the entrance gate) to the turntable for a midnight release party. The dining section, air brakes and hand brake are still serviceable from November 2005, but we'll have to couple it to something with vestibule steps. What fun! I've already notified my insurance agent.
Not much new to report on 1146 in July. I've been consumed making preparations for the July 20th festivities, preparing a seminar on "Keeping DC passenger car electrical systems alive" for the January 2008 RPCA conference, and working on Waukesha Ice Engines to keep MTM's DC streamlined car air-conditioned.
Preparing for July 20th, I got the dining room cleaned and put the B-end safety appliances put back together. The events were fun. Thirty to fourty GNRHS members visited Jackson Street after their convention in Minot, and several toured 1146. I particularly enjoyed talking to one fellow who, as a youth, had summer jobs washing dishes in the GN's dining cars. The Harry Potter book release party was also great fun, though the museum decided not to use 1146. (They said I had enough to worry about. I was a little sorry she didn't run, but it was a relief too.)
From time to time, people suggest that I could get 1146 operational more quickly if I weren't so committed to perfection. That is true. Having to spend many evenings fixing aged air conditioning this month, however, reinforced my conviction that I'd rather spend the time and money to do it right the first time. I don't enjoy late-night heroics in the weeds, ballast and rain.
No reply yet from any steel companies on the fabrication work I need.
I've asked Bob Jackson from Northwest Rail Electric to visit 1146. I need to firm up the electrical, heating, and cooling plans, and want his expert advice. He's made plans to come in mid-August.
Bob Jackson and I spent the 15th looking over 1146 in detail. I had a ton of questions. Here are some highlights of what I learned, in a question/answer format.
Q: Stadco Generator?
A: For longevity, size the generator so that 55% - 80% of its capacity is used. The spacing of 1146's needle beams allows for 65 or 80 kw generator. My chosen location (replacing the A/C wet condenser) should work, although the end of the water reservoir partially intrudes. Muffler mounting may have to be juggled a bit. There have been some interface changes, which will require a firmware upgrade to the engine control module and adding an oil pressure relay. A larger power-from-generator interlock relay will be needed as well - it was sized for 52 kw.
Q: Does my wiring work pass muster?
A: He liked what he saw. Recommendation: Replace the aluminum DIN rails with steel for durability. Also add stop blocks to keep the terminal blocks from sliding. Provide a stop block every 10-12 terminal blocks. Cage clamps should be retorqued to manufacturer's specs after wiring is finished. Using a 2kv jacket on the Exane isn't required and is harder to work with. Good mechanical mounting of wire bundles minimizes strain on wiring connections.
Q: Is Certi-Crimp tooling required?
A: (AMP Certi-Crimp tools can be calibrated and are required in aircraft repair. I have the cheaper AMP Pro-Crimper.) Not required. Good AMP PIDG or Thomas & Betts crimp-on lugs are superior to consumer-grade lugs because the barrel is continuous and clamp the wire more evenly.
Q: Enough circuit breakers?
A: SP 100 was to reuse several 32vdc circuits. 1146, with electric heat, electric hot water, refrigerators and standby air, will need a larger 208 panel.
Q: Better enclosure of 480 circuit breakers?
A: They can make a new front panel with a folded-over right edge, to keep people on the hallway side from poking their fingers in.
Q: Batteries?
A: Panel was designed for two battery groups: Markers + emergency lighting and generator starting. These days markers are usually split off into a third battery group. A diode was used to charge both groups off one charger - didn't work well in practice and they've switched to using a Battery Separator from Sure Power. They like Optima Batteries. Wire size to battery - Stadco, #8; emergency lights, #8 or #6. (Bigger = less voltage drop.)
Main bus wires W60 (B+) and W61 (B-) should be #10.
Q: Emergency Lighting?
A: Guideline in 11 candlepower.
Q: 32vdc trainline feed?
A: NWRAIL does not offer. Bob recommended a transformer/rectifier set, with over-current protection for the diodes. (Diodes can't handle over-current like a motor-generator or battery bank can.)
Q: Shore Power?
A: Can bypass transformers if 208Y is guaranteed. Otherwise, need transformers to step up or down and/or convert delta to Y. In captive service, that can be guaranteed. Everyone uses 480 HEP shore power now, but in days of old some had 208Y, some had 208 delta, and some had 240 delta. MTM has mostly ex-GN equipment, which wired the shore-power relay pins in the Quelarc connector for delta - a short circuit if a 208Y cord is plugged in - so 1146 might need delta-to-Y transformers for safety. MTM's are 60 amp, so 7.5 kva transformers will suffice. A circuit breaker is required between the transformers and the Quelarc. Quelarc connectors were discontinued recently - now about $1500 ea, for special production.
Q: Carbody = Ground?
A: The steel carbody serves as the ground. Tie the 208Y neutral to ground in exactly one place. (Possible exception: If isolation transformers separate the connections to ground.) DC negative also ties to ground.
Q: Truck bond wires?
A: Can use #2 Exane with crimp-on lugs, or battery cable from Napa.
Q: Air Conditioning?
A: Ceiling vents - for max air flow strip paint off then repaint with lacquer, not enamel. Refrigerant plumbing will be 5/8" and 1 1/8" schedule-K copper pipe, silver-soldered, with ACR large-sweep fitting. Support every 4' minimum. R-22 may go away eventually. Contains some CFC's (not as bad as R-12) and to go away by 2013, but deadline keeps getting pushed out because a suitable replacement hasn't been found. R-22 operates at a higher pressure than R-12, so conversions usually experience problems with soft-soldered joints.
Q: Baseboard heat?
A: Bob talked me out of a hot water loop. More plumbing, have to hang a boiler somewhere under the car, and what if the plumbing leaks? They provide 33", 375 watt units. By rule-of-thumb, a car needs 40 kw of heat. Wiring can be adjusted to run heaters at a lower voltage, hence lower wattage, if needed to avoid "spotty" baseboard heat. Heating strategy: First stage, 9 kw overhead to temper the air. Second, baseboard heat to warm the car (does the "heavy lifting.") Third, another 9 kw of overhead heat. For 1146, Bob recommended using the coach baseboard as the 2nd stage, and putting the dining room baseboard on a separate thermostat.
Q: Lavatory & kitchen hot water?
A: The National Sanitation Foundation sets food service and drinking water quality guidelines. For hand washing, they require tank-style water heaters, not on-demand "instant" heaters. (In case of a power failure.) Bob thought to use two 18" dia x 20" tall heaters, each with two heating elements. They'd be plumbed in parallel, perhaps one at each end of the hot water run, and three of the four heating elements would be used to balance the three-phase load. Use a 40-amp 3-phase breaker for 4500-watt elements, or a 30-amp for 3000-watt elements. The water heater(s) can be hung under the car.
Q: Steam for "existing" kitchen utilities?
A: Many restraunts use low-pressure steam. Should be something available...
Q: Kitchen refrigerators?
A: Best to replace Frigidaire reciprocating compressor and condenser unit with a new unit designed for R-22.
Q: Standby air for water pressure?
A: Good idea. Can recommend a typical cast compressor from Grainger.
Q: Plumbing freeze protection?
A: Run water pipes under the baseboard heaters. Can use self-regulating heat tape, or regulate with a thermostat. Connect to a 3-phase breaker to distribute the load. Wrap heat tape around the water reservoir - may need to lower the reservoir a little if its tight against the center sill.
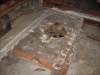
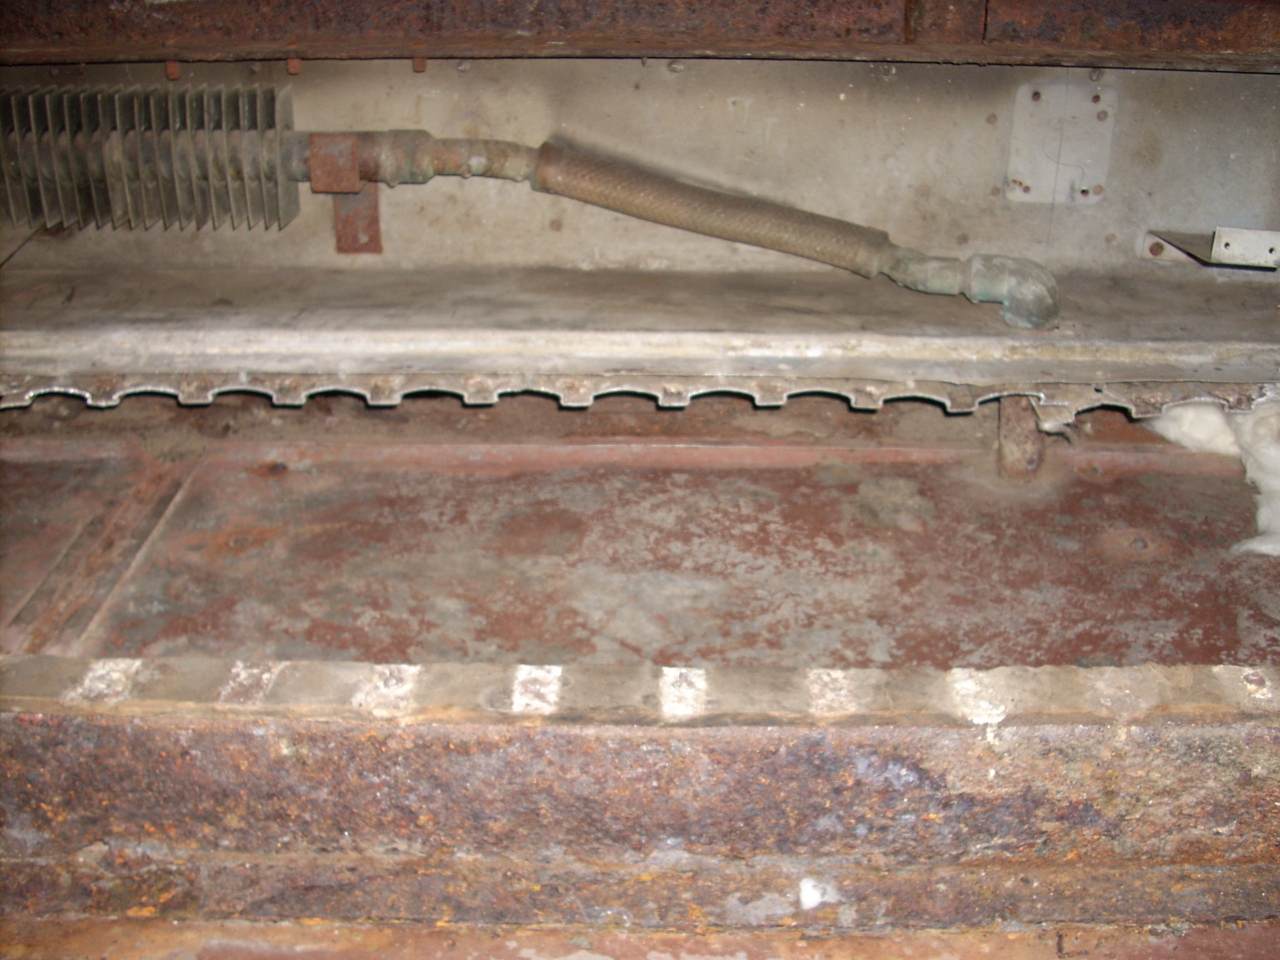
 | Just before Bob's visit I had started removing the floor stringers, and finished needle-scaling the top side of the end casting. |
 | The floor under each toilet is insulated with wooden blocking rather than fiberglass, for toilet stability. |
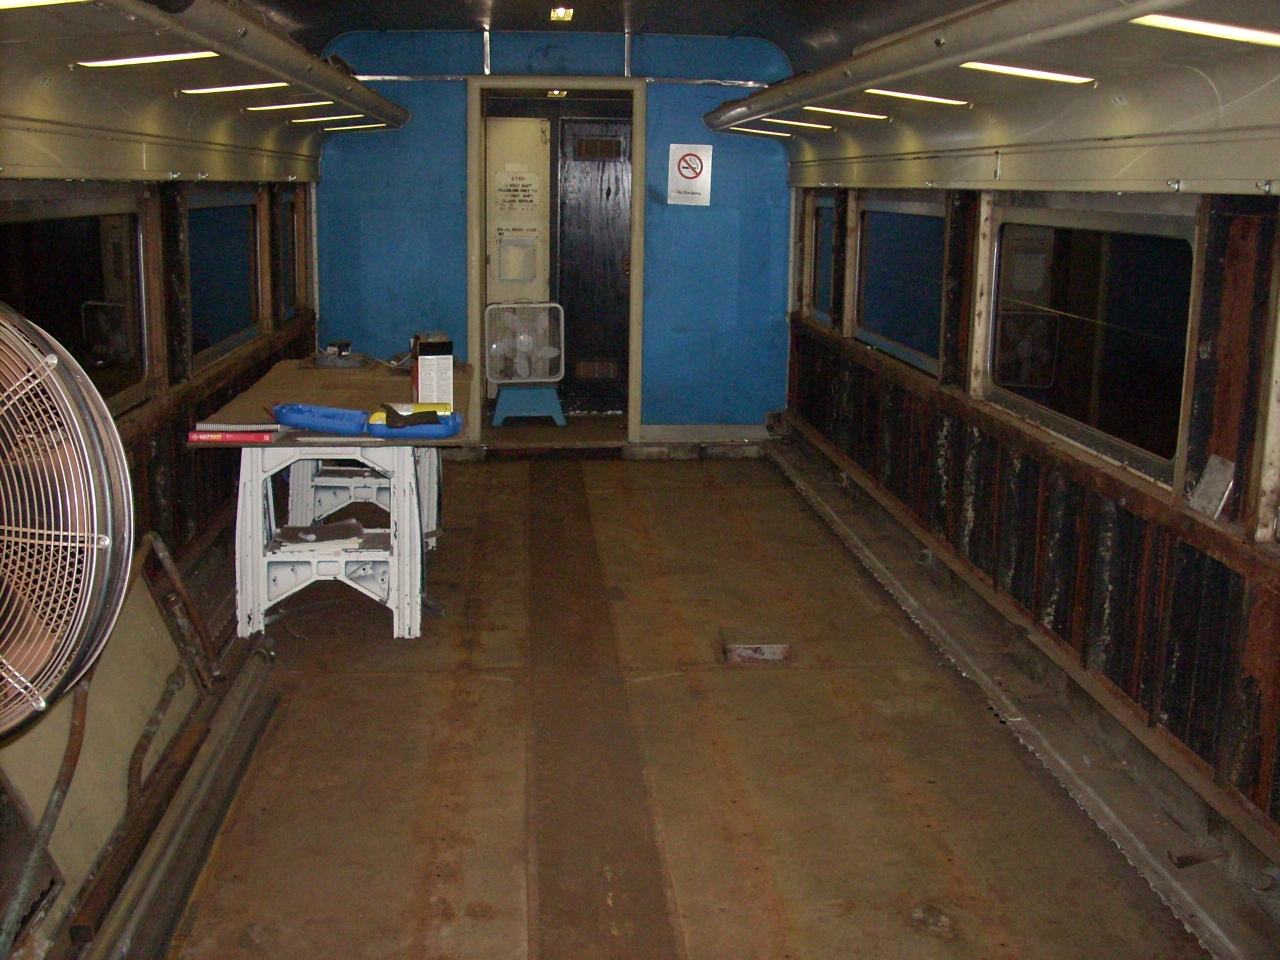
 | I tried to remove the radiation so that someone else can reuse it. (I know the Executive Director at North Freedom - they actually use steam heat for their snow trains.) This is a fairly nice construction detail, showing the inner pipe (steam out to end of radiation) and the outer pipe (steam returning from the end.) Also note the adjustable-height pipe clamp with spring retainer clip, and that the radiation was manufactured by Vulcan Hartford. The heat shield behind and below, I think, is to protect wall/floor materials and also to reflect the heat into the room. |
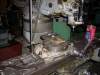
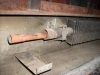
 | I spent all of Labor Day weekend removing floor stringers. With a combination of grinding rivet heads off, grinding through welds, and breaking things with a sledge hammer, they came out. The stainless splash pan is riveted to both the stringers and the cross beams with 1/4" rivets about every six inches. Where they cross, a 3/8" rivet was used. (Haven't gotten those out yet - need better technology.) The center stringer was skip-welded directly to the center sill. After stringer removal, I used a hammer & drift punch to remove rivets and a grinder to smooth down welds. I also used the ball-peen end of the hammer to chip (OK, bang!) rust cakes off the center sill. The WD-40 is in the center pin hole because I'll have to remove the top bezel to get the floor in. The screws are getting repeated soakings. |
 | By Monday evening all the stringers were out, except for the far left corner under the table. I still have to remove the left-side radiation, heat shields, and floor remnant to get a look at the side wall floor stringers. |
 | With a measuring tape, I worked out where the baseboard heat units will be installed. Happily, the coach and dining/hall zones mimic the steam heat layout almost exactly. The only real mod is an extra unit in the men's room to get a little extra heat and to balance the load across the three phases. Because there is no heat in the kitchen - none needed when in use! - 1146 will only have 36 kw of heat, a little shy of the 40 kw rule-of-thumb. |
 | The radiation (that's what the Vapor manual calls it) was produced by Vulcan Hartford. My guess is they were part of the Vapor corporate family. Mid-Continent Railway Museum has a history of running steam-heated trains in the winter, so I'm hoping they might have a use for this equipment. |
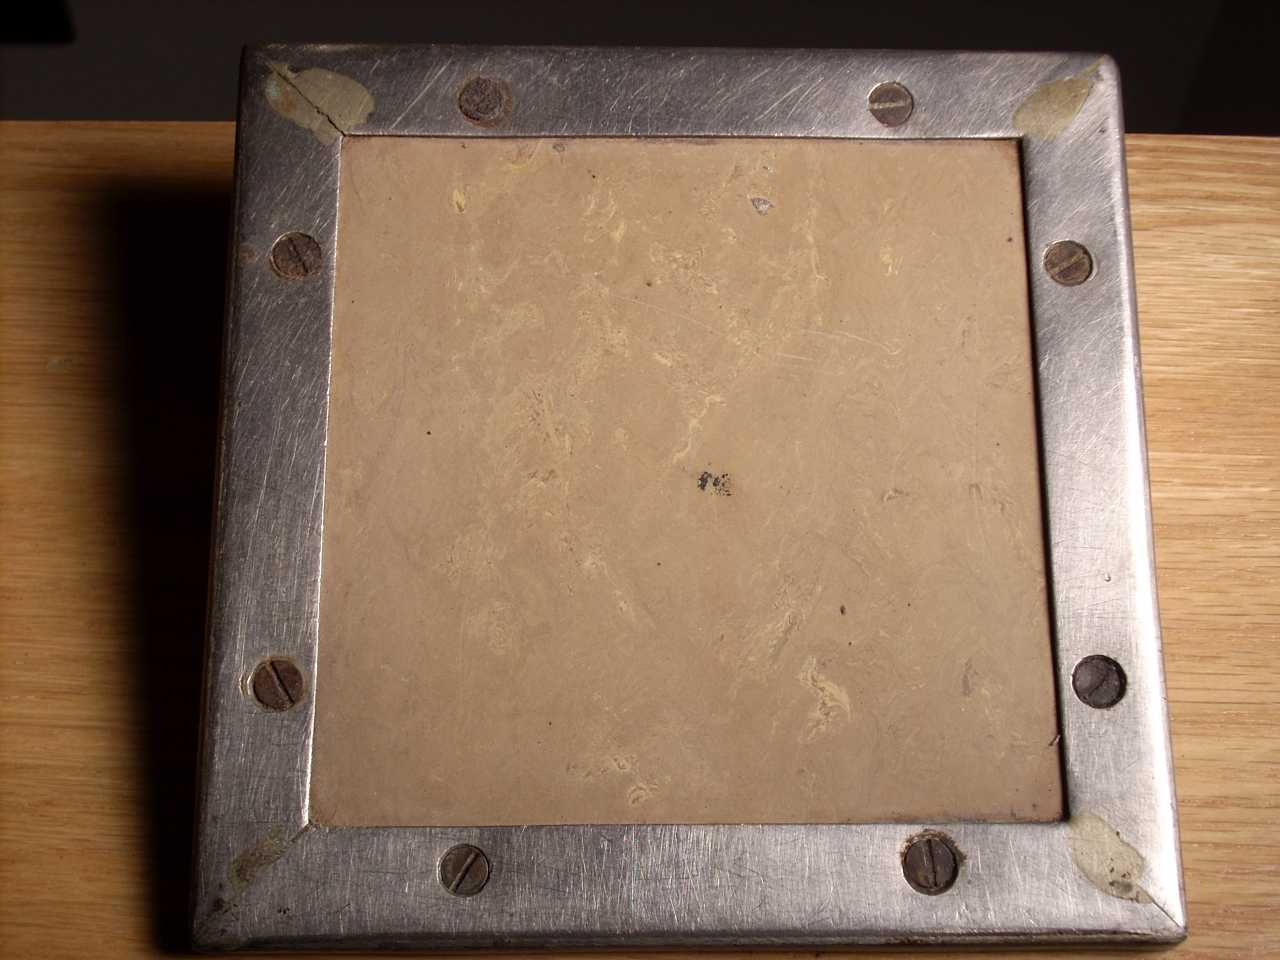
 | Out take: This was the access cover for the coach baseboard heat shutoff valve. It won't be reused, but I cleaned it up as a sample of the original floor tile. The black stain in the middle appears to be exactly that: A stain. The construction is interesting. Its just a steel plate, tile glued to it, and folded stainless edge trim. |
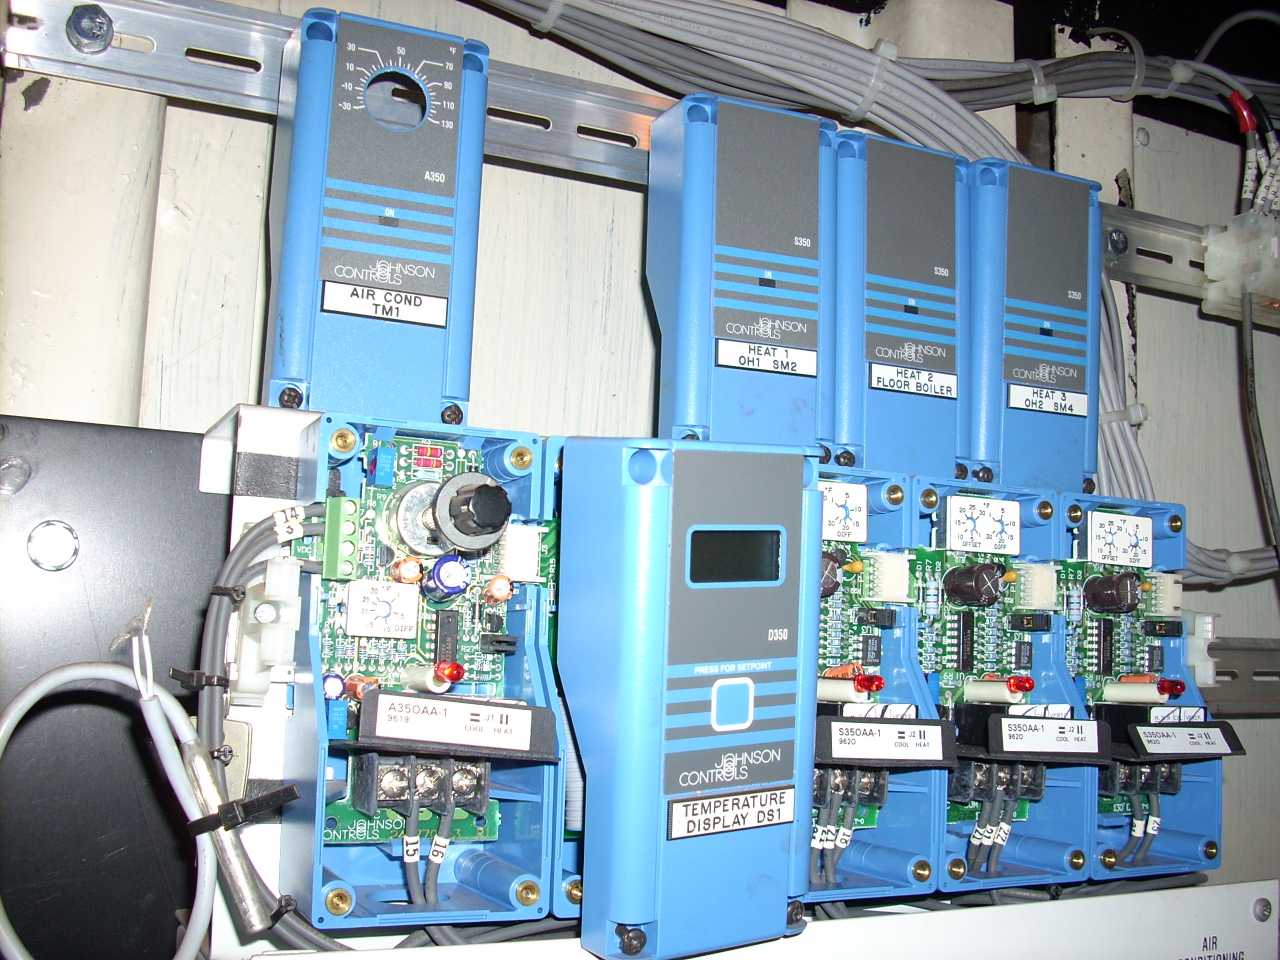
 | Curiosity: I opened the environmental controls on the Northwest Rail Electric control panel, and went looking for operation manuals on the internet. I found they're from the Johnson Controls System 350 product line. System 350 follows a building-block approach. From left to right, the A350 monitors the controlled temperature, and has one SPDT equipment control output. This one has been set for cooling. Next is the D350 display unit. The last three are S350 slave SPDT outputs, which are configured for heating. Each turns on at a lower temperature than the previous. To put the dining room baseboard on an independent thermostat, I believe I will need another A350 configured for heating, another sensor bulb, another D350 display unit, another circuit breaker, and another power relay. |
Despite the out takes, most of September I spent removing the baseboard heat and sheild, so that I can replace the floor underneath. It's a slow process, as none of the screws budge. They either break off under the impact screwdriver, or get ground off with my Dremel. I'm a fan of Sears Craftsman tools, but their impact driver was too compact for easy use on the heat shield. Ben Ringnalda had introduced me to a larger, more ergonomic version made by OTC Tools, the 4607. Like Ben, I ordered mine from Midway Auto Supply. The impact screwdriver bits eventually break when used on really frozen screws, and they're hard to find. I ordered 20 Proto J60256 impact screwdriver bits from Total Tool in St Paul.
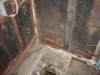
 | Since taking the interior walls out, the end door posts have been floating. For security and to preserve alignment, I put temporary bracing in. |
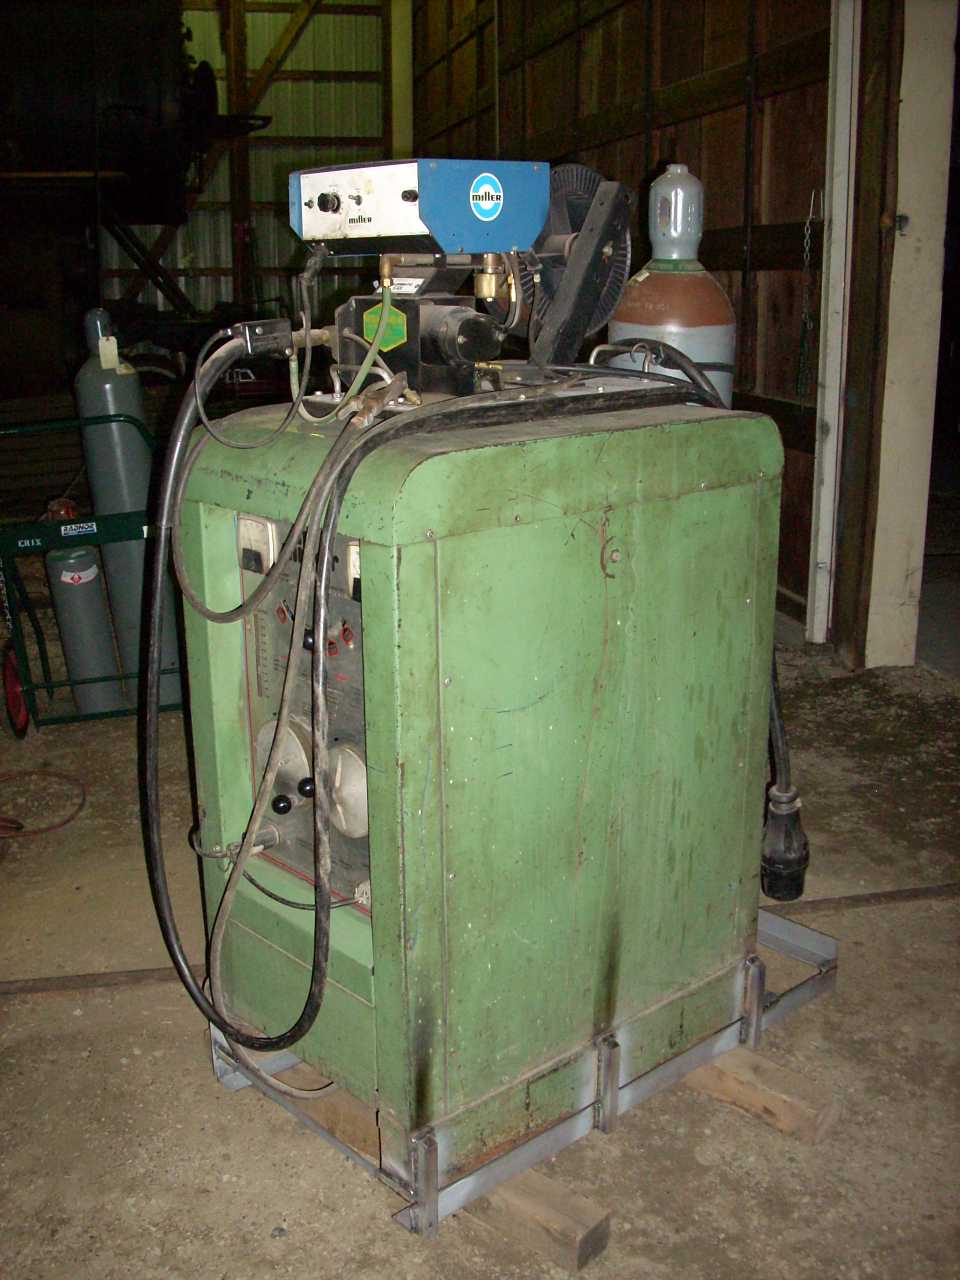
 | Tooling department: Welding on railcars can be a challenge, just because the welder is on the ground far from the work. My solution: Adding forklift pockets to an old welder I'd picked up a while back, so that it can be conveniently and safely positioned. Since taking the photo I've also added locking caster wheels. |
 | Since Bob Jackson said the old R12 refrigerant piping shouldn't be reused with R22, I've started removing it. Since I can unsolder joints with propane or (for big pipes) mapp gas, it appears ACF used a tin/lead soft solder in construction. This detail photo gives us a glimpse of the interior of the Frigidaire freon heat exchanger. |
 | I've gotten the first section of heat shield removed. Most of the screws are frozen. A few I got loose with the impact driver and/or Mapp gas torch, but most had their heads lopped off with the Dremel. Happily, the supports for the cover grill come off with the heat shield so I don't have to mess with them. What's left in this picture is (top to bottom) the seat mounting rail, the top tap strip for the heat shield, an edge piece for the floor, and the outside floor string. The plywood on the floor I laid down to protect the splash pan. |
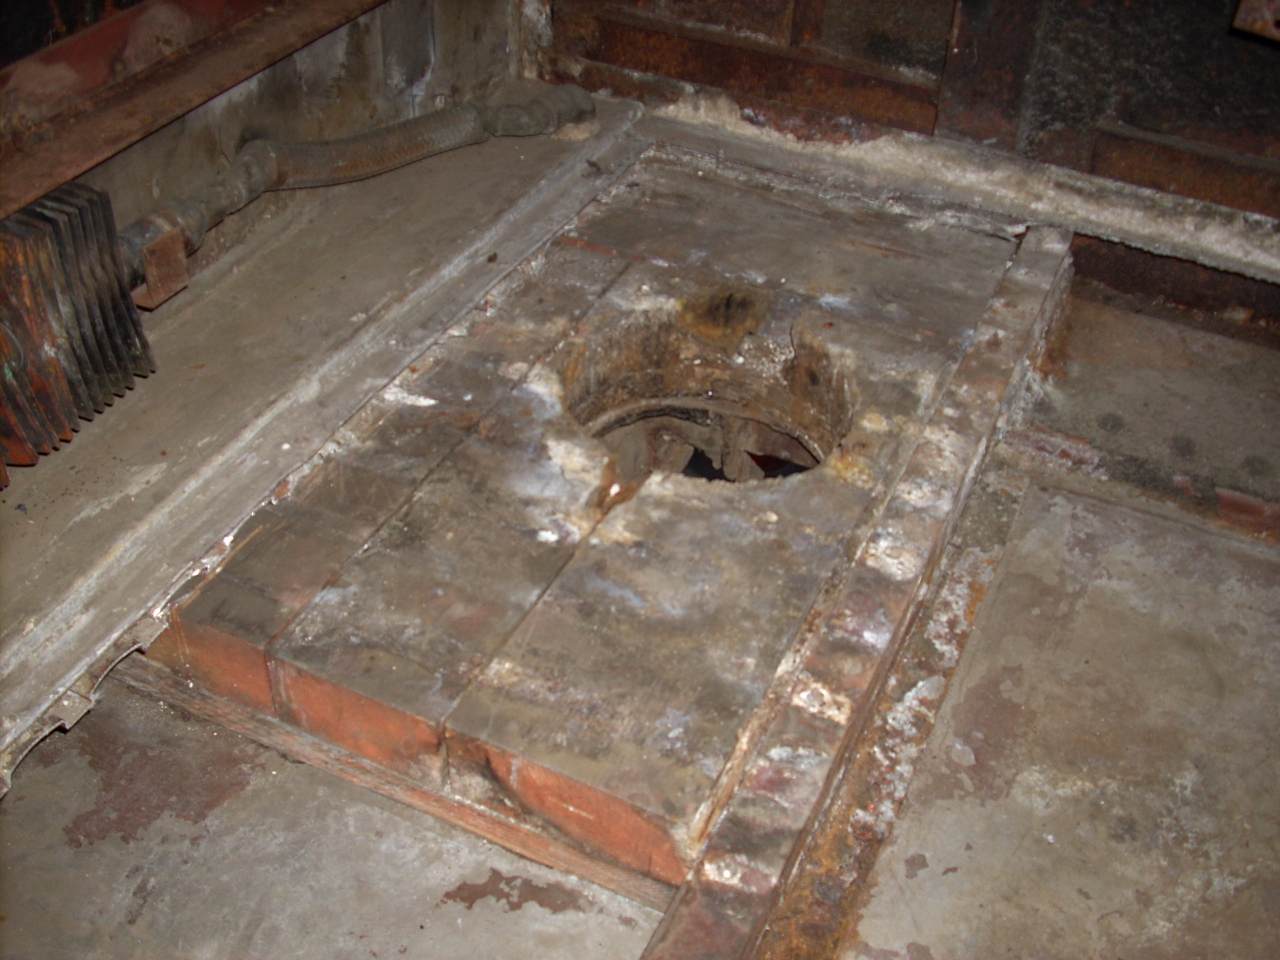
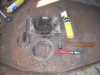 | After several weeks of soaking the screws with WD-40, I removed the cast aluminum ring from the center pin hole. It has a lip that requires installation after the floor is place, so I had to remove it. (It also needs cleaning, and has a crack which I might want to TIG weld.) Even after soaking, the impact driver and Mapp gas torch were required to loosen the screws. Interestingly, the WD-40 had soaked into the pores of the Aluminum casting. Also the smoke from the burning oil & grease was horrendous. |
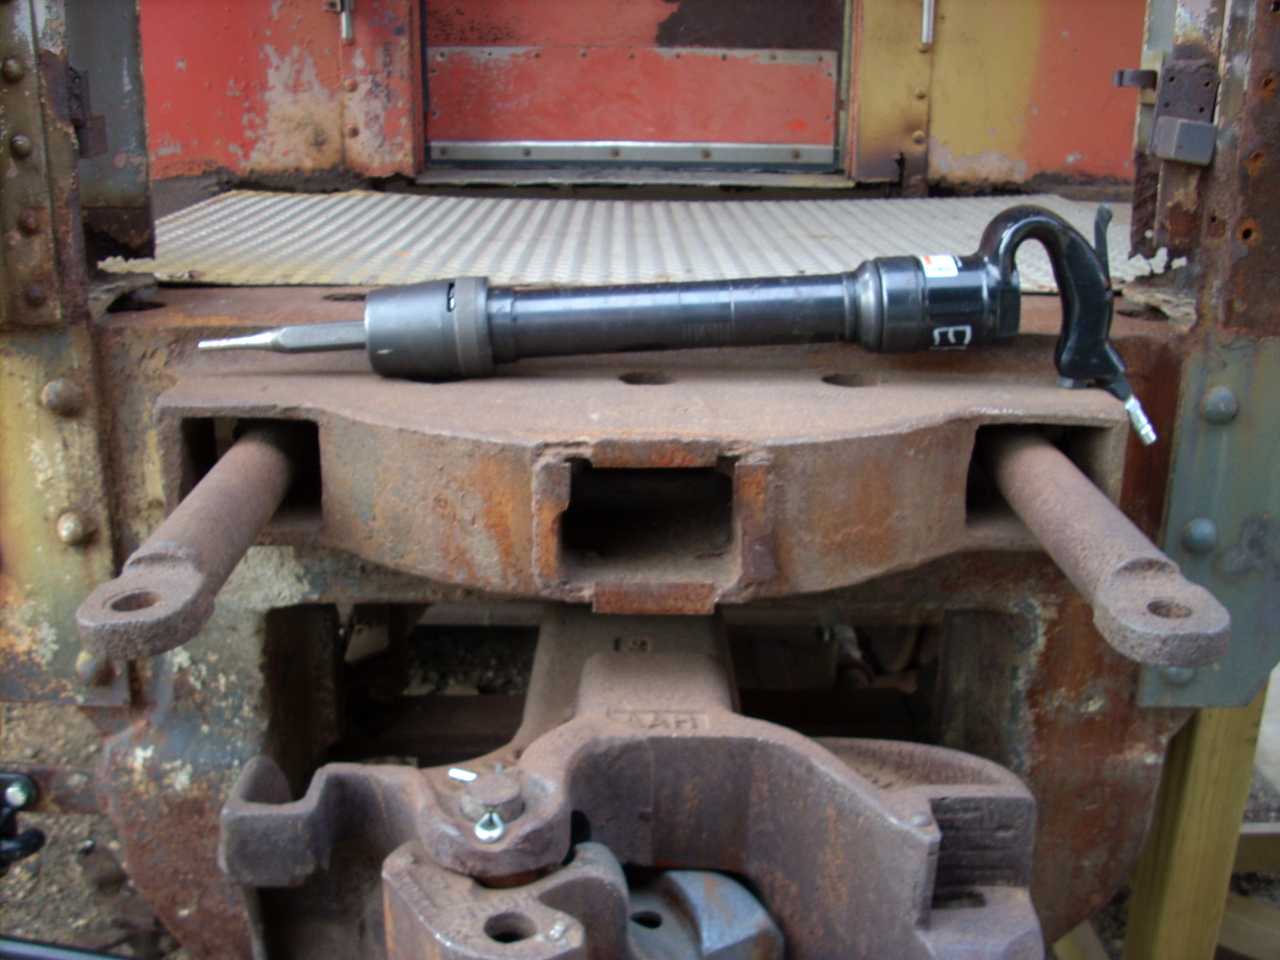
 | I removed the locking center pin so that I could vacume up my mess. For those not familiar with them, the outer segments are cast, with lobes top & bottom which capture the truck. In a derailment, they prevent the trucks from separating from the carbody. (In old days, chains at all four corners of the truck did the same job.) The center piece fills the gap between the pin segments, so that they cannot fall out. Contrast with a freight car truck, which has only a 1 1/4" solid pin to keep the car from sliding off the truck. |
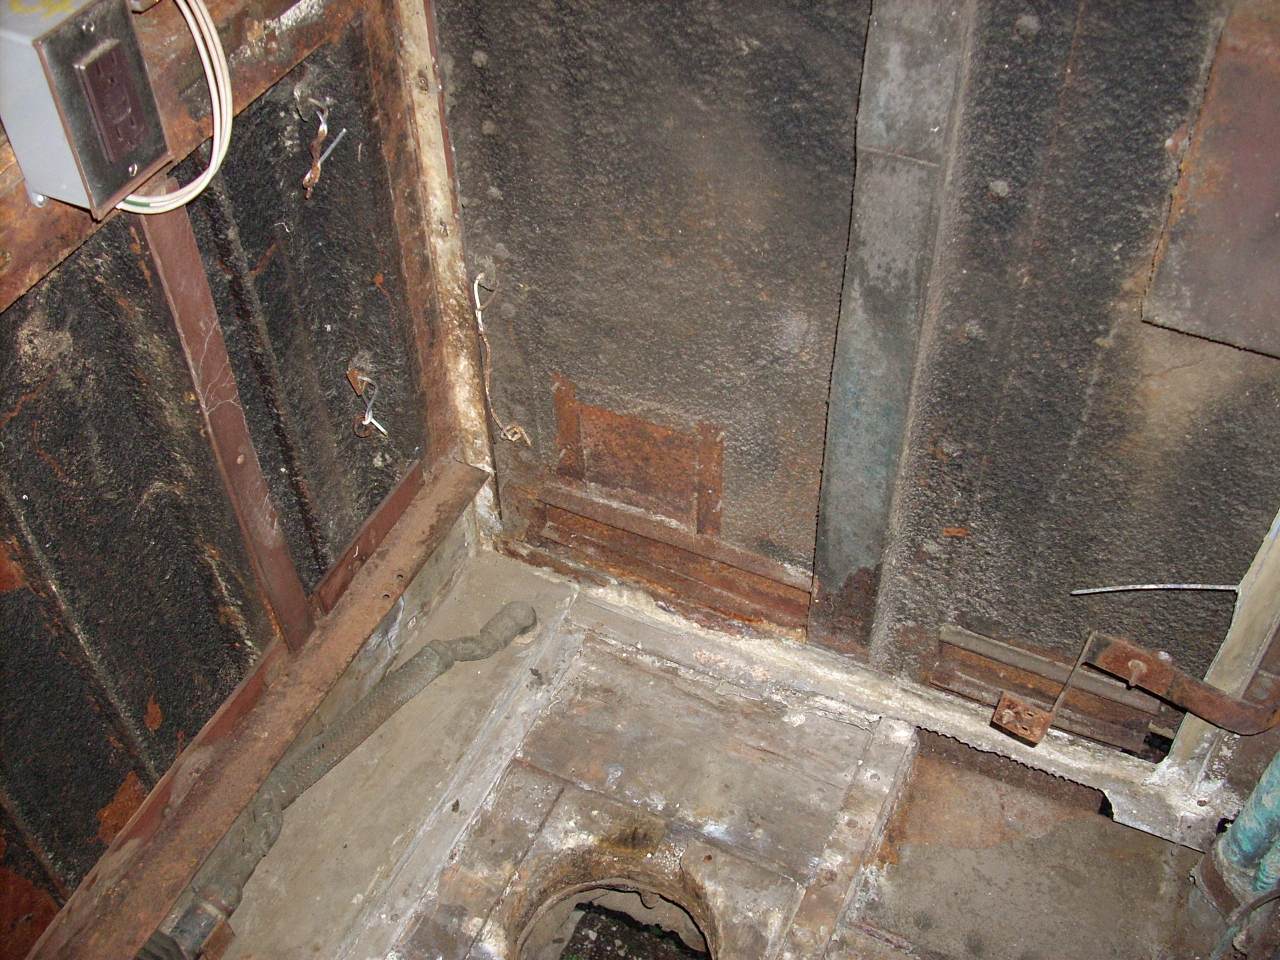
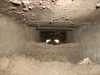 | While vacuming around the center pin, I went for the dirt piled up on either side. My camera served as a poor-man's boroscope. This is the coupler-end after loosening everything I could reach by hand. I had to empty the shop vac five times! |
 | The interior of the center sill, from the B-end center pin towards the center of the car. It's wonderfull to see that the center sill, the backbone of the car, has no visible damage. |
Exciting news! I've got a structural engineer lined up! I'm going to ask him to tackle the BR collision post first, since I've already got all the surrounding metal removed for the repair. It will make for some very visible progress, given where the car is parked in the museum.
 | MTM's very observant materials manager noticed this: A rectangular array of pop rivets in the left side of the coach section, below the window. They correspond to a badly-done Bondo patch on the outside. Apparently a sign(?) was attached here, but no such sign appears in any historical photos I've seen. I'll speculate it was there in the undocumented years between Amtrak and Bob Moen's purchase of it. |
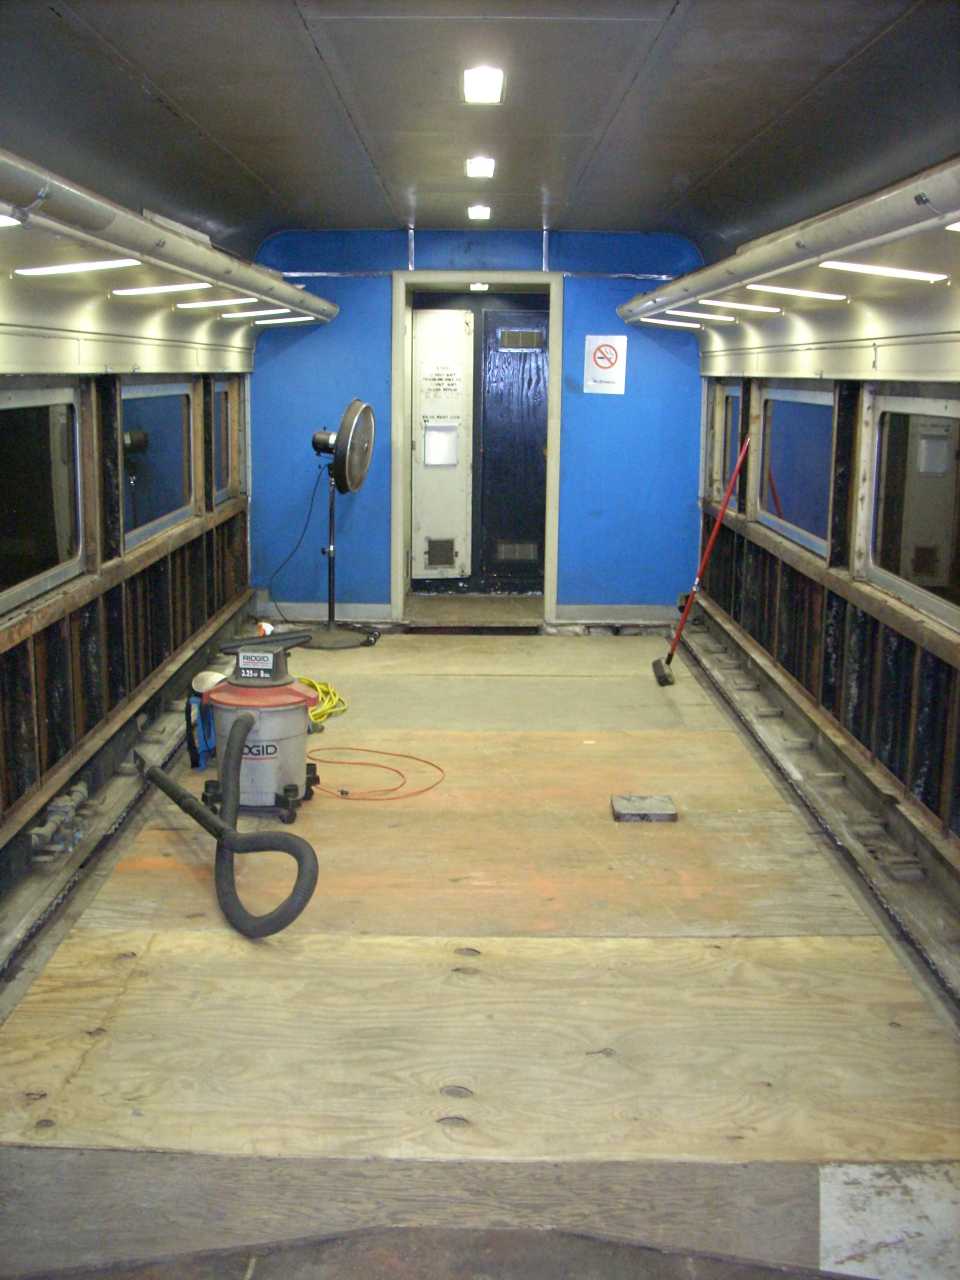
 | Every month a group of us Twin Cities-area car owners (and potential converts?) get together for a slide show. October was my turn to host, and since 1146 is far cleaner than my house I decided it would be the venue. Here's the temporary plywood floor I laid in the "theater." |
 | Pizza was from John's Pizza Cafe, the only pizza place that can reliably find the Jackson Street Roundhouse. We in the shop get delivery every Saturday evening, so I shared our "local delicacy" with my guests. |
 | Let it rain! We had a great evening anyway! Three people brought some very interesting slides of the C&NW, Milwaukee, Rock Island and Burlington from the 50's through the 80's. (I had never seen such good views of the Burlington coach yard in Minneapolis.) The emergency/night lights proved just right for finding one's way in the dark, and I'd acquired enough cheap heaters from Menards to remove the chill. The evening was a success - everyone said 1146 was a wonderful venue. |
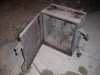
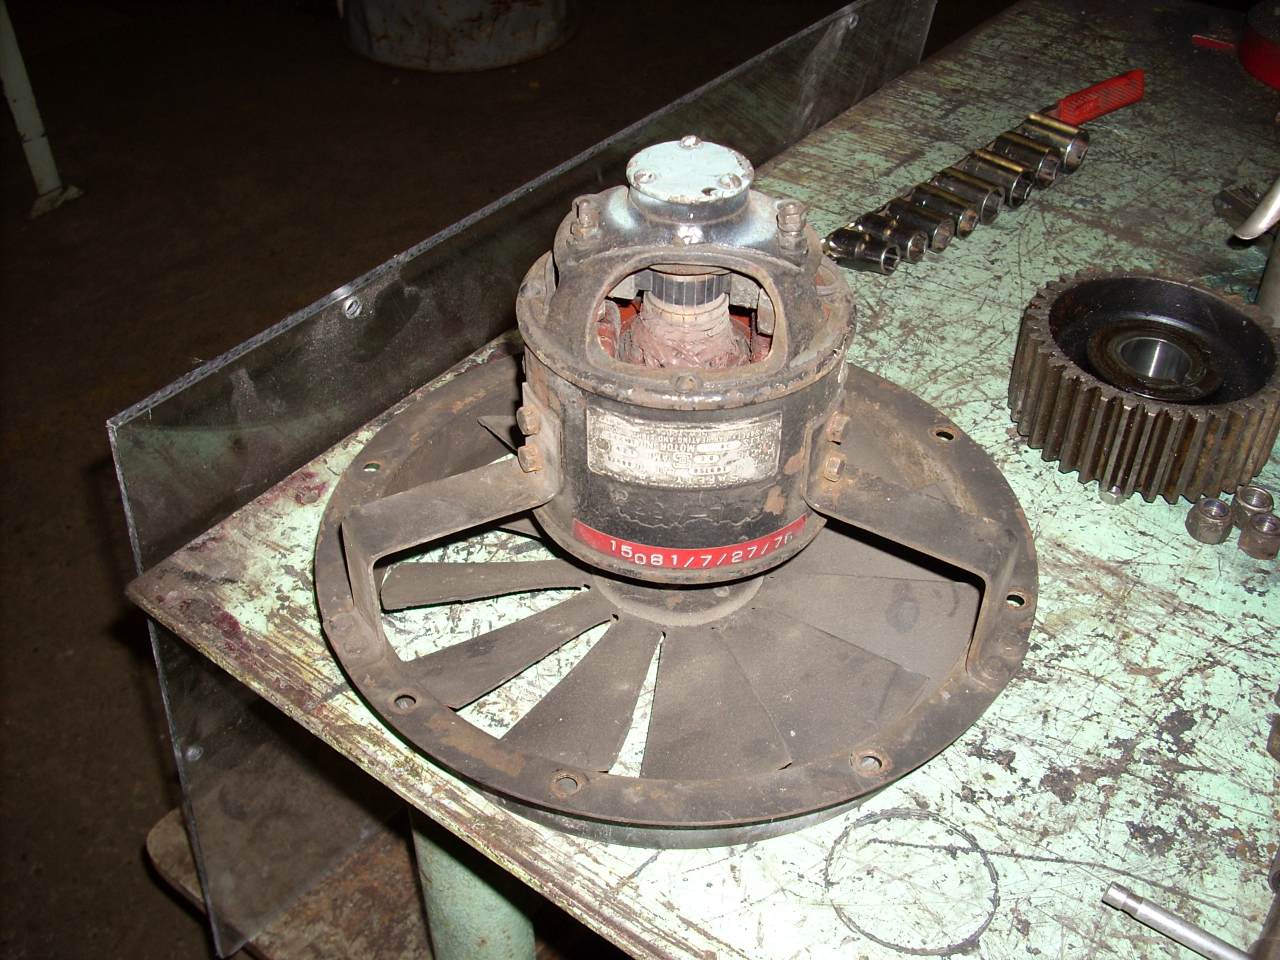
 | I've long delayed removal of the "junk" under the car - to keep the weight on the springs and to keep my options open. However, since the old A/C system will not be removed, and I'm moving towards structural work and new mechanicals, why not remove the under-car AC components. This is the back side of the Frigidaire (General Motors) evaporative condenser. Any repair parts MTM wanted for their GN 1213, GN 1215, or GN 1224 have already been removed. By blowing air and spraying water over the condenser coils, an evaporative condenser can do a better job of extracting heat from the Freon. (Just like the human body sweats to cool off.) The water pump and water fill attached to the right side. The round cover and fitting on the back side are an automatic fill float valve. |
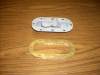
 | The float valve, after removal. The float itself had fallen off long ago. |
 | Found the float! |
 | Here is the actual condenser coil. I may add fittings to pressure test it - though the condition of the cooling fins on the opposite side is deplorable. The top of the condenser box comes off, so these coils are replaceable. |
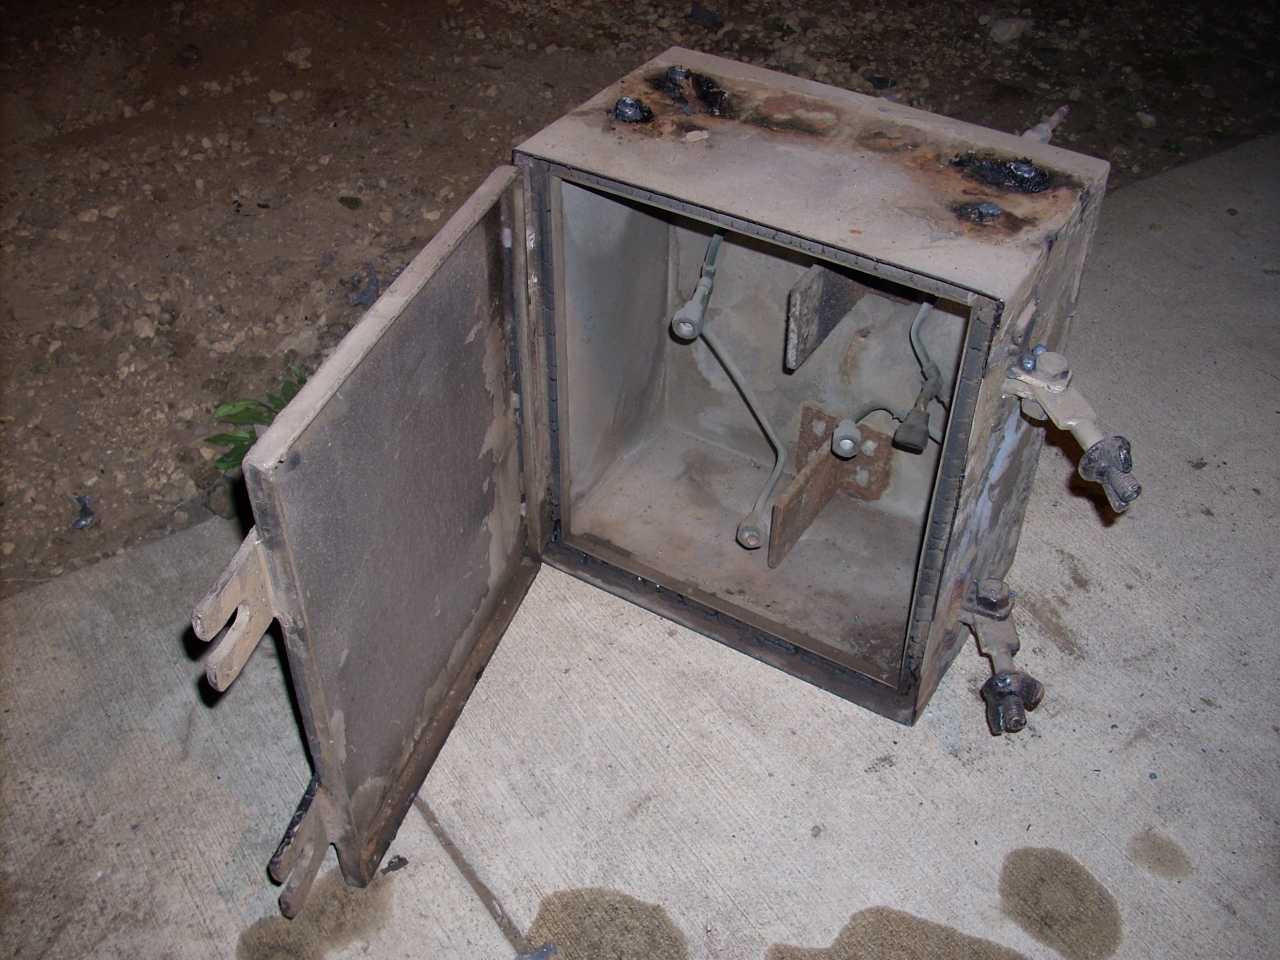
 | This box housed the Freon pressure and suction line gauges, limit switches, and fill points. It is entirely stainless, which seems more typical of Amtrak, but it appears in a pre-Amtrak photograph. I don't know if its original, but being stainless it is in very reusable condition. |
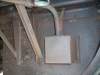
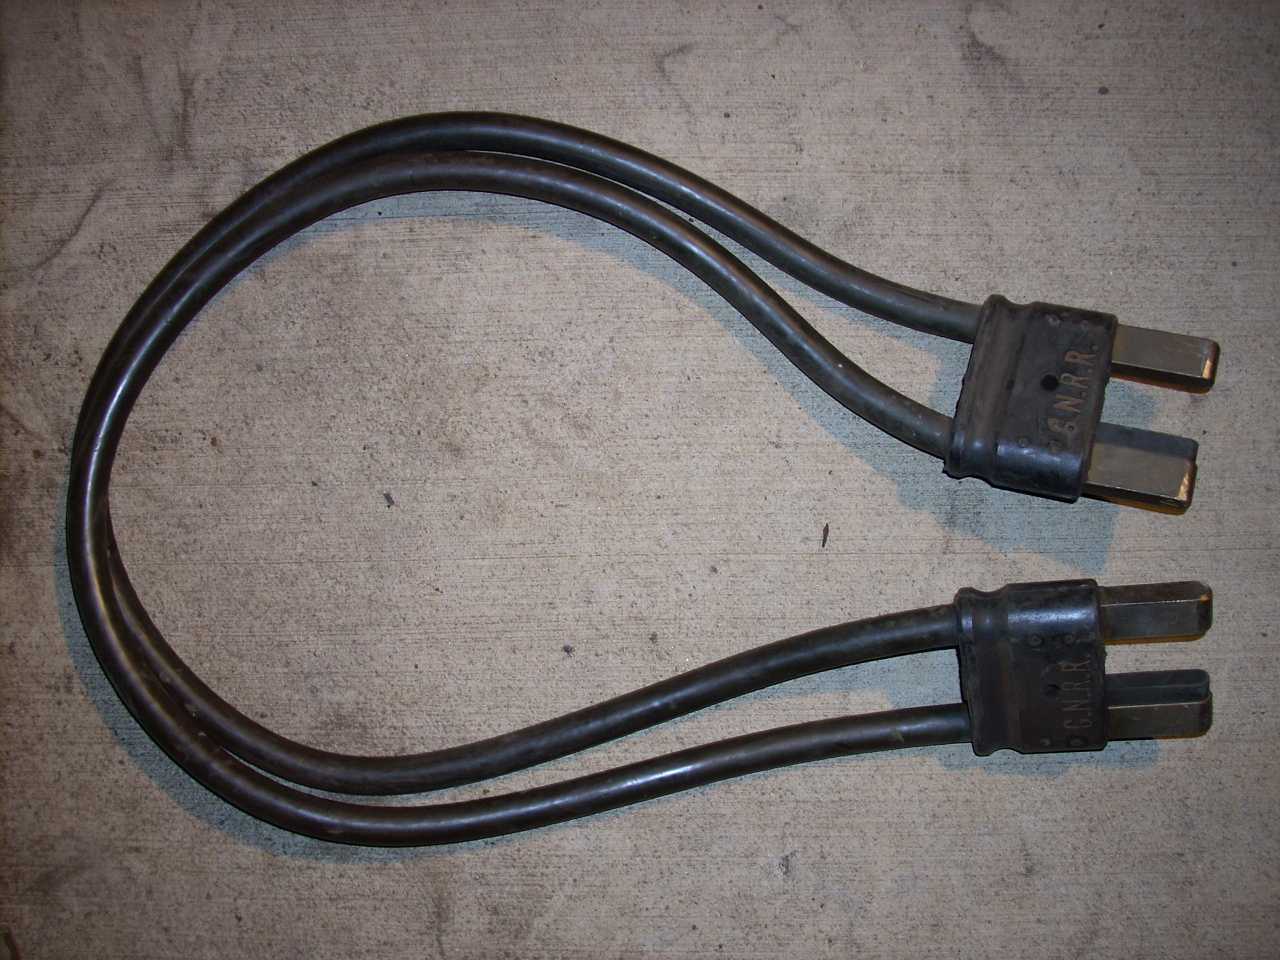
 | Here's something I forgot to mention: A couple months back I found this GN 32vdc trainline connector on e-bay. Cool! |
 | My structural engineer requested alloy analysis of the collision posts and "low alloy high tensile" steel. The collision post sample I took from a structurally-unimportant area. The samples are at Stork Twin City Testing. |
Related to the collision posts, I've been finding out how/if Amtrak wants to inspect the structural repairs as they progress. I've got a few leads, and will report more when I know more.
Stork Twin City Testing returned the lab results on my steel samples. All underwent "chemical analysis on an optical emissions spectrometer in accordance with SOP Chem-10". The floor stringers and side sheets, which the bill of materials specified be "Low-Alloy, High-Tensile," have a chemical composition similar to ASTM Standard A 242, 2004, "Standard Specification for High-Strength Low-Alloy Structural Steel," ASTM International, West Conshohocken, PA, www.astm.org.
The average chemical composition of the two samples:
- .095% Carbon
- .33% Manganese
- .105% Phosphorus
- .03% Sulfur
- .375% Silicon
- .705% Chromium
- .415% Nickel
- .01% Molybdenum
- .345% Copper
- 97.59% Iron
- BOM specified "Low-Alloy, High-Tensile". Composition is similar to ASTM A242-04 or Cor-Ten Steel
Digressing a bit, Amazon.com has an on-line book review of "Perspectives in Civil Engineering - Commemorating the 150th Anniversary of the American Society of Civil Engineers". Page 326 talks about the ASTM adopting, in 1941, specification A242, the first for High-Strength Low-Allow weathering structural steel, having twice the corrosion resistance of copper steel. It says the first major application of weathering steel was in 1933, to railroad hopper cars, and notes its use in PCC streetcars. It also equates A242 to Cor-Ten A, and A588 to Cor-Ten B.
Another book reviewed on-line by Amazon.com, "Corrosion Forms & Control for Infrastructure", discusses the corrosion resistance, weldability, bolting and fatigue characteristics of A242 and A588 weathering steel on pages 116-120. It says the claims that weathering steel has twice the corrosion resistance of copper steel and four times that of carbon structual steel are not reliable, since they fail to take into account the multitude of environments in which structural steel must perform.
The collision post sample, for which the bill of materials gave a performance specification rather than a material composition specification, seems similar chemically to AISI 1015 Steel.
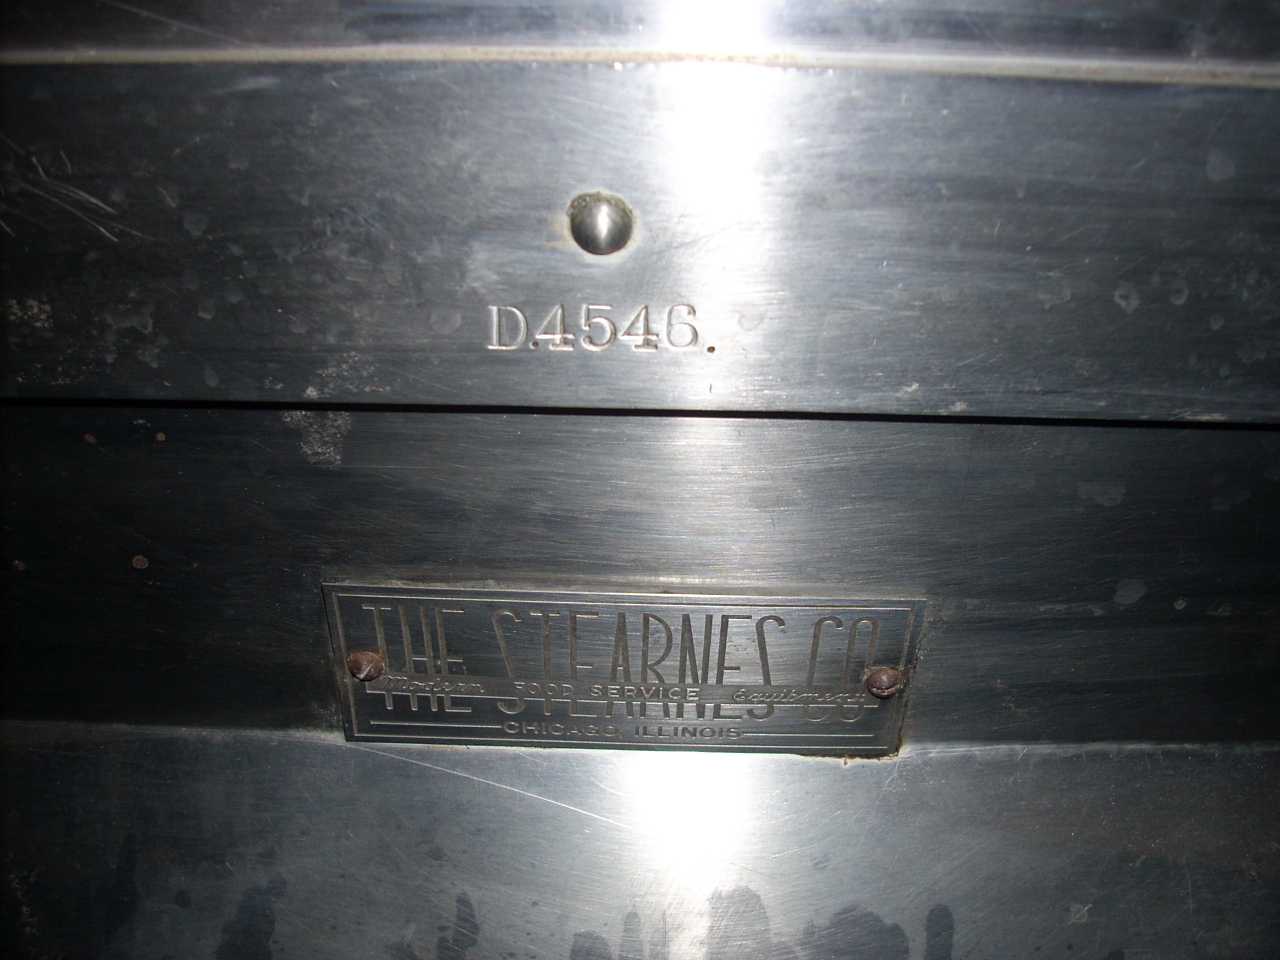
 | Someone wrote to ask if the kitchen stove has a manufacturer's tag. Here ya go! |
 | To remove rivets from the collision post and coach floor, I picked up an almost-new Ingersol-Rand 11001A Rivet Buster. Its essentially a small jack hammer, with a 1 1/16" bore and an 11" stroke. A year ago I'd picked up some black-out punches for this gun, thinking I could drive the rivets out with a heavy hammer. No such luck. They work great in the rivet buster. The 3/4" punch quickly popped out the 3/4" rivets which secure the collision posts to the end casting. The 3/8" punch (shown) I used on the small rivets which secure the end sheet to the collision post. That was trickier, since the recoil kept causing the gun to wander from the hole, beating up the thin end sheet. By driving a cold chisel between sheet and post, the sheet became an alignment hole, keeping the punch on the rivet in the post. |
 | I started scraping the original spray-on rustproofing off the coach end sheets. It has started to separate from the steel, creating a void where rust can start. If memory serves, it was called 'Ded-nox' or something like that. What caught my interest here is that it contains ground-up cork. For removal, an automotive gasket scraper works well, provided its kept sharp by clamping in a vise and filing crosswise. I'm going to replace it with POR-15 rust preventitive. |
 | To do: This is the tap plate for the catch for the upper half of the vestibule Dutch door. The holes are stripped, so before I apply the POR-15 I'll need to replace the tap plate. |
It's getting cold in Minnesota. I'll soon be changing to my indoor winter projects - restoring all the restroom hardware.
Sunday I took another sample of the collision post. This one is large enough (I hope) for tensile strength testing. As I understand it, they machine it to a desired cross section, then pull hard on both ends. The force necessary to rip it apart is its tensile strength. I took material which will be replaced, so they'll have to work around rust pitting and rivet holes.
Update: Yield - 41,000 psi / Ultimate - 62,800 psi.
A reader e-mailed me today, asking if I'd ever heard of Electrolytic Rust Removal. This is a new one on me, but the chemistry and concept are fascinating. Too bad I can't dunk the entire car and undo all its rust problems! Seriously, the process will not cure lost cross section in structural members, and does not work on copper, brass or aluminum, but it could be useful for reclaiming small steel components.
This time last year I was scrimping and saving to absorb losses on a failed attempt to donate GN 1195. Now I'm pleased to report that by this time next year, I could potentially have my entire debt (automobiles) out of the way. That will help a lot - every $10,000 I owe costs me $100 a month in interest and fees, which is a sizable fraction of my monthly restoration budget.
I've been thinking about writing a piece on personal protective equipment. Steel-toed boots, respirators which filter out isocyanates, dust, mold, lead & asbestos, safety glasses with side shields, ear plugs and gloves are always within reach these days. Years ago, when I was young and invincible, I absolutely hated safety equipment. It was clumsy, hot, restrictive, and not cheap. The truth is I've paid a bit for my hubris. There are worse things than discomfort.
1146 is taking a back seat right now to holidays, preparing to co-present a 90 minute seminar on Safety electrical and Waukesha propane equipment at next January's RPCA convention, and repainting GN 1213 for the museum. Both are quite interesting projects.
GN 1213 is very similar to 1146: ACF built 1146 in 1950, and 1213 in 1951, both of Cor-Ten and both for the GN. 1213 needs a little steel work before repainting, so I did some steel research for both. Interesting steel links I found:
Armed with this research, I asked MTM's steel supplier (North Second Street Steel Supply) for a .090" sheet of A242. (Editorial note: I confused Pullman and ACF. Should have asked for .120".) They said A242 is an obsolete spec, but were able to procure a 210 lb, 4'x12' sheet of 12-gauge A606 type 4 (COR-TEN A) for $315.00. 12-gauge sheet is .1046" - .0154" under. (11-gauge is .1196 - .0003" under. Oops?) ACF used .120" COR-TEN, and Pullman used .090", so this is a good stock material for repairing both makes. (By the way, 13-gauge is .0897 - .0003" under Pullman's .090".) I was glad to see it come in a 12' sheet - perfect for 1146 floor stringers.
I also did some searching for appropriate welding materials. Most hits were artists looking for the perfect filler material for their weathering steel sculptures. Here are their favorite products:
The museum's welding supply store (Oxygen Service Company) had a 33-lb spool of the ESAB 8100-W available for $140. It can be used with the 75% Ar/25% CO2 shielding gas they normally buy, so I purchased it.
I weld with .035" ER70S more often than anything else, so when I tried .045" flux-cored 8100-W, I needed a bit of retraining. First, the larger diameter makes a difference. I had difficulty getting a good weld on something as thin as 12-gauge, though it worked beautifully attaching 12-gauge to 1/4" plate. I suspect it is less tolerant of surface rust. Also, the flux core results in a glass-like slag covering over the weld, which protects the hot weld from atmospheric contamination, but must be removed before the next operation.


